This post may contain affiliate links. Please see my disclosure policy for details.
Giving Your Cabinets a Facelift: A DIY Painting Guide That Won’t Make You Cry
Contents
Listen up, folks! We’re about to embark on a cabinet-painting adventure that’ll make your kitchen look like a million bucks without spending, well, a million bucks. Grab your paintbrushes and let’s dive in!
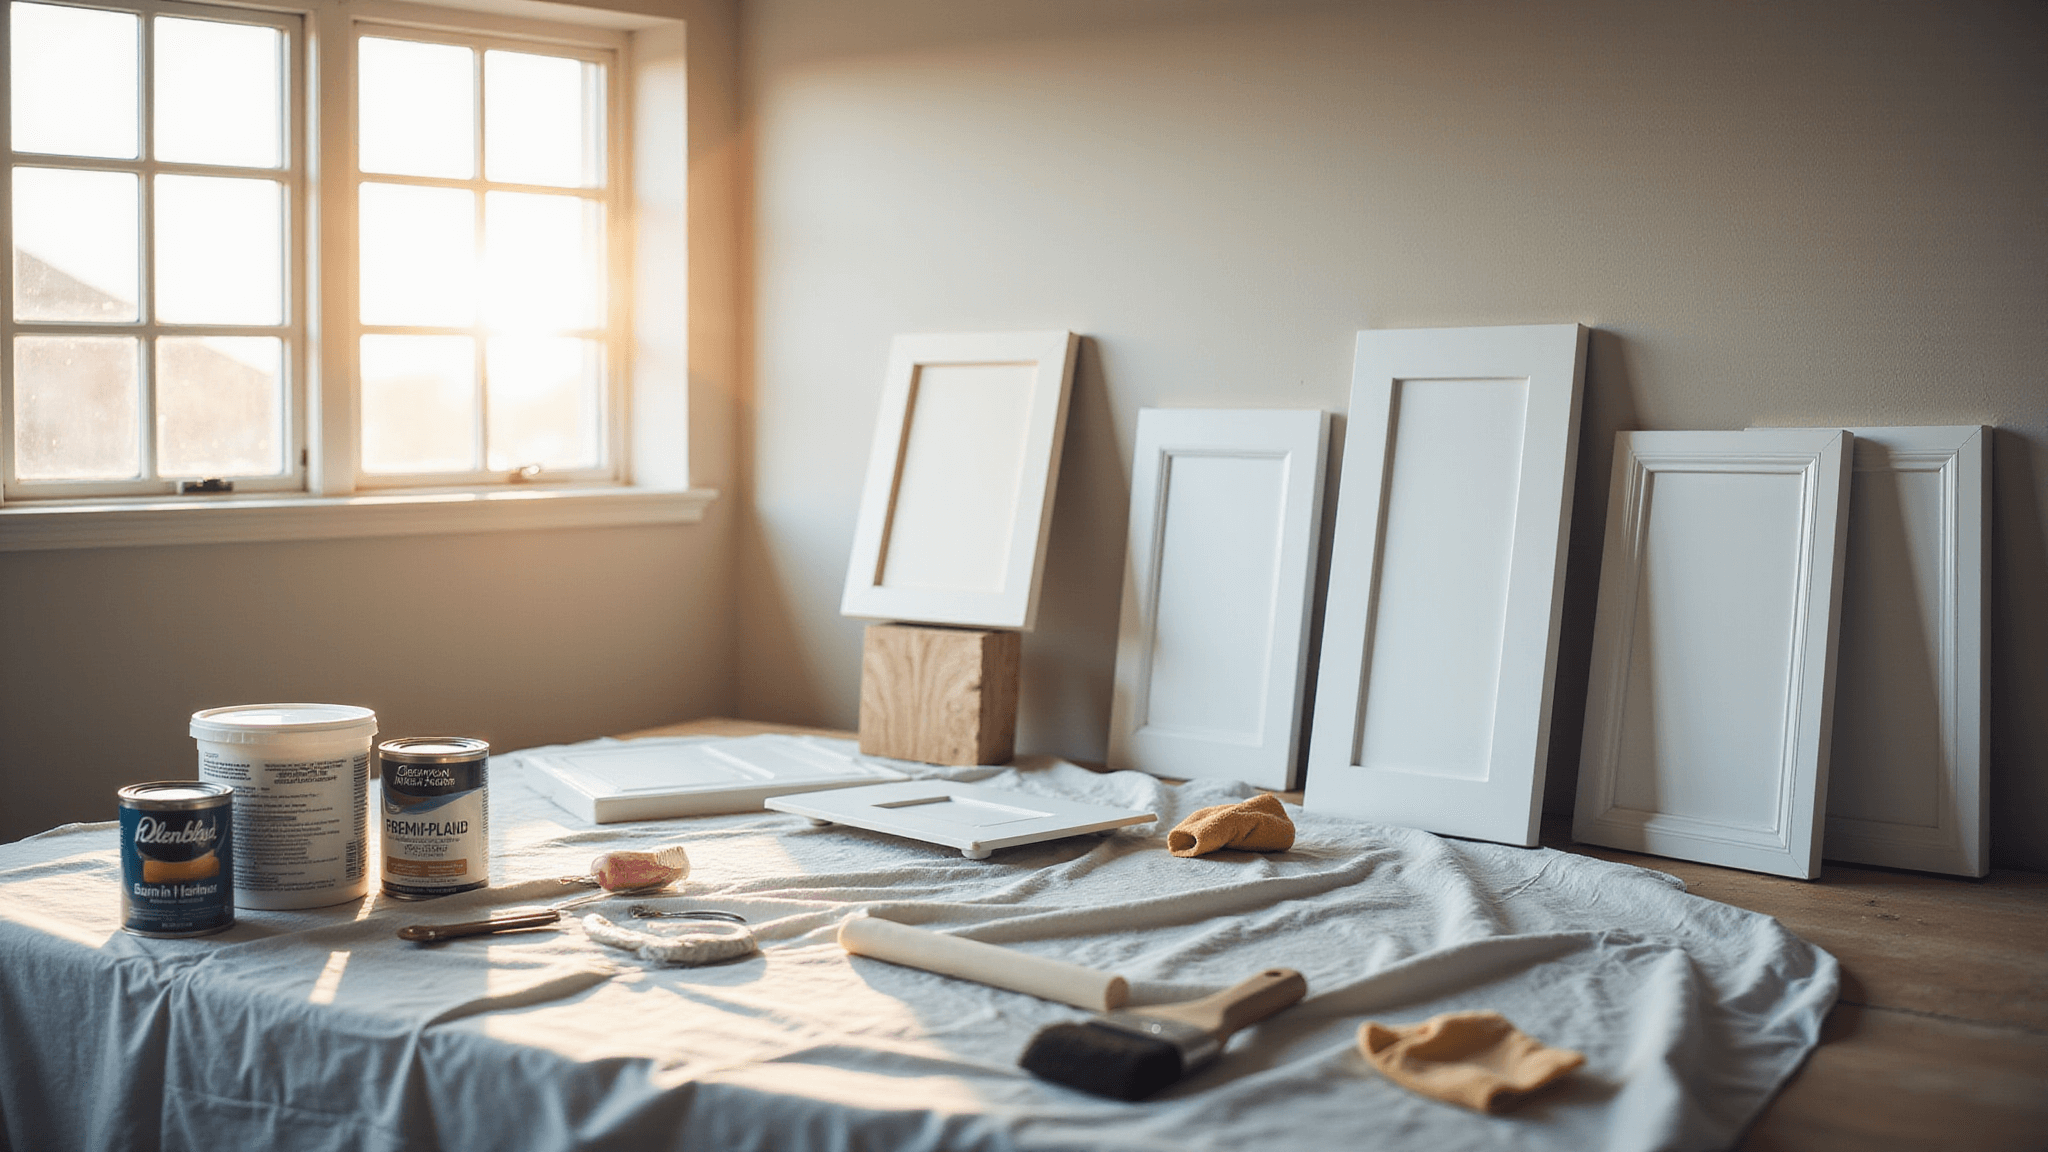
Materials You’ll Need (Don’t Skimp on These, Trust Me)
• Degreaser or TSP substitute (because your cabinets are probably grosser than you think)
• Screwdriver (to remove hardware – don’t paint over those knobs, you savage)
• Fine-grit sandpaper (220-grit is your new best friend)
• Heavy-duty cleaner/deglosser (think of it as exfoliation for your cabinets)
• High-quality primer (the unsung hero of this whole operation)
• Paint (semi-gloss or satin finish – we’re not savages, remember?)
• Paintbrushes and foam rollers (for that smooth, pro-looking finish)
• Painter’s tape (because straight lines are sexy)
• Drop cloths or tarps (unless you want a Jackson Pollock-inspired floor)
• Small risers (scrap wood works, or get fancy with some Legos)
• Safety gear (gloves, masks – protect yourself, you’ve got a kitchen to show off later)
Now, Let’s Get Down to Business
1. Strip ‘Em Down
Take off those doors, drawers, and all the hardware. Label everything like you’re organizing evidence for a crime scene. Trust me, Future You will thank Past You for this.
2. Clean Like Your Mother-in-Law’s Coming
Grab that degreaser and go to town. Scrub like you’re trying to erase bad memories. Get in those nooks and crannies. Remove any bumpers or stoppers – we’re leaving no surface untouched.
3. Sand, Baby, Sand
Time to rough up those surfaces. We’re not trying to strip them bare, just give them a little texture. Think of it as exfoliating your cabinets. Wipe away the dust when you’re done – we’re not barbarians.
4. Deglosser: The Secret Weapon
This step’s optional, but it’s like adding garlic to a recipe – it just makes everything better. Slap on some liquid deglosser for extra paint-sticking power.
5. Prime Time
Use a high-quality primer that’s meant for cabinets. Apply it thin and even, like you’re frosting a cake but, you know, less delicious. Let it dry according to the instructions – no cheating!
6. Paint Like You Mean It
Now for the fun part! Apply thin coats of paint, using a brush for the fiddly bits and a roller for the flat parts. Work in the direction of the wood grain if you can. Let each coat dry fully – patience is a virtue, my friends.
7. The Waiting Game
Let everything cure properly. Some paints need a full 24 hours or more. I know, I know, watching paint dry isn’t exactly thrilling, but neither is chipped cabinets a week later.
8. Put It All Back Together
Once everything’s dry, reassemble your kitchen like a giant, very satisfying puzzle. Consider updating your hardware – it’s like jewelry for your cabinets.
Pro Tips (Because I’m Nice Like That)
• Ventilation is key – unless you enjoy paint fumes with your morning coffee.
• Label everything. Seriously. Future You will worship Past You.
• Don’t cheap out on materials. Good paint is like good wine – worth the extra few bucks.
• Use a garage or basement for drying if you can. Your living room is not a paint studio.
• Multiple light coats are your friend. Heavy coats are for amateurs and people who enjoy drips.
• Foam rollers are magic for smooth finishes. Thank me later.
• Don’t skip the primer. It’s not just there to make the paint companies rich.
Time and Difficulty
This isn’t a quick afternoon project, folks. Plan for 2-4 days, depending on how many coats you do and how patient you are. It’s not rocket science, but it does require some elbow grease and attention to detail.
Safety First!
Wear gloves and masks – you’re painting, not auditioning for a horror movie. If you’ve got kids or pets, consider low-VOC paints. And remember, Legos make great door props if you’re on a budget.
The Grand Finale
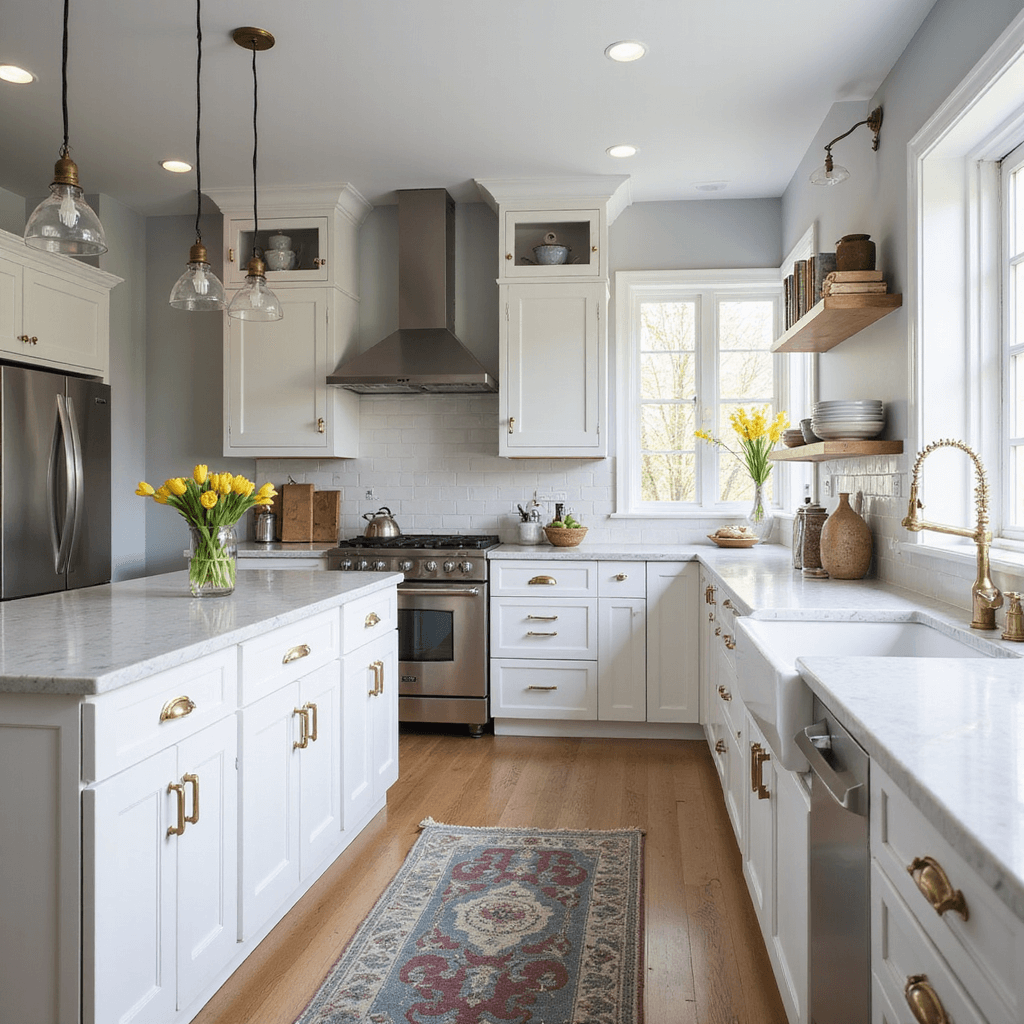
Step back and admire your handiwork. Your kitchen now looks like it belongs in a magazine, and you did it all yourself. Bask in the glory, then invite friends over to show off. Just don’t let them touch anything for at least 24 hours.
Now go forth and paint those cabinets! Your kitchen’s awaiting its glow-up, and you’re just the DIY hero to do it. Happy painting, and may the brush strokes be ever in your favor!






This is exactly what I needed to find! I’ve been searching for the best process to learn how to paint my cabinets, but haven’t been able to find a blog post that lays it out this easily. I’ve been dreading doing this myself and have been seriously considering hiring someone, but after reading this, I feel so much more confident. I know it’s going to be a big job still, but makes me realize that I can in fact do it. Thanks so much for sharing!