This post may contain affiliate links. Please see my disclosure policy for details.
Tropical Twirling Parrot: A Colorful DIY Craft Adventure
Contents
Ever wanted to bring a slice of the rainforest into your home? Well, grab your scissors and let’s get crafty! Today, we’re making a vibrant twirling parrot that’ll have you feeling like you’re in the heart of the Amazon.
I’ve made more of these feathered friends than I can count, and let me tell you, they never fail to brighten up a room. So, are you ready to ruffle some feathers? Let’s dive in!
What You’ll Need:
Cardboard or thick cardstock (for our parrot’s body)
Colorful construction paper (think tropical hues for those fabulous feathers)
Paint and brushes (to give our bird some personality)
Googly eye stickers or paper circles (because every parrot needs a watchful eye)
Scissors and a craft knife (careful now, we want to craft, not carve!)
Glue stick and/or hot glue gun (let’s stick together, shall we?)
White string (for that perfect twirl)
Optional: markers for extra pizzazz
Time to Create: About an hour (including drying time, perfect for a cuppa!)
Step 1: Shape That Bird (5 minutes)
First things first, let’s give our parrot a body. Grab your cardboard and draw out a simple parrot shape. Think rounded and plump – parrots aren’t known for their streamlined figures!
Don’t forget the beak! Cut it out separately; we’ll attach it later for that 3D effect.
Pro tip: If you’re making multiple parrots, create a template. It’ll save you time and ensure your flock looks uniform (if that’s your thing).
Step 2: Paint Party (10-15 minutes)
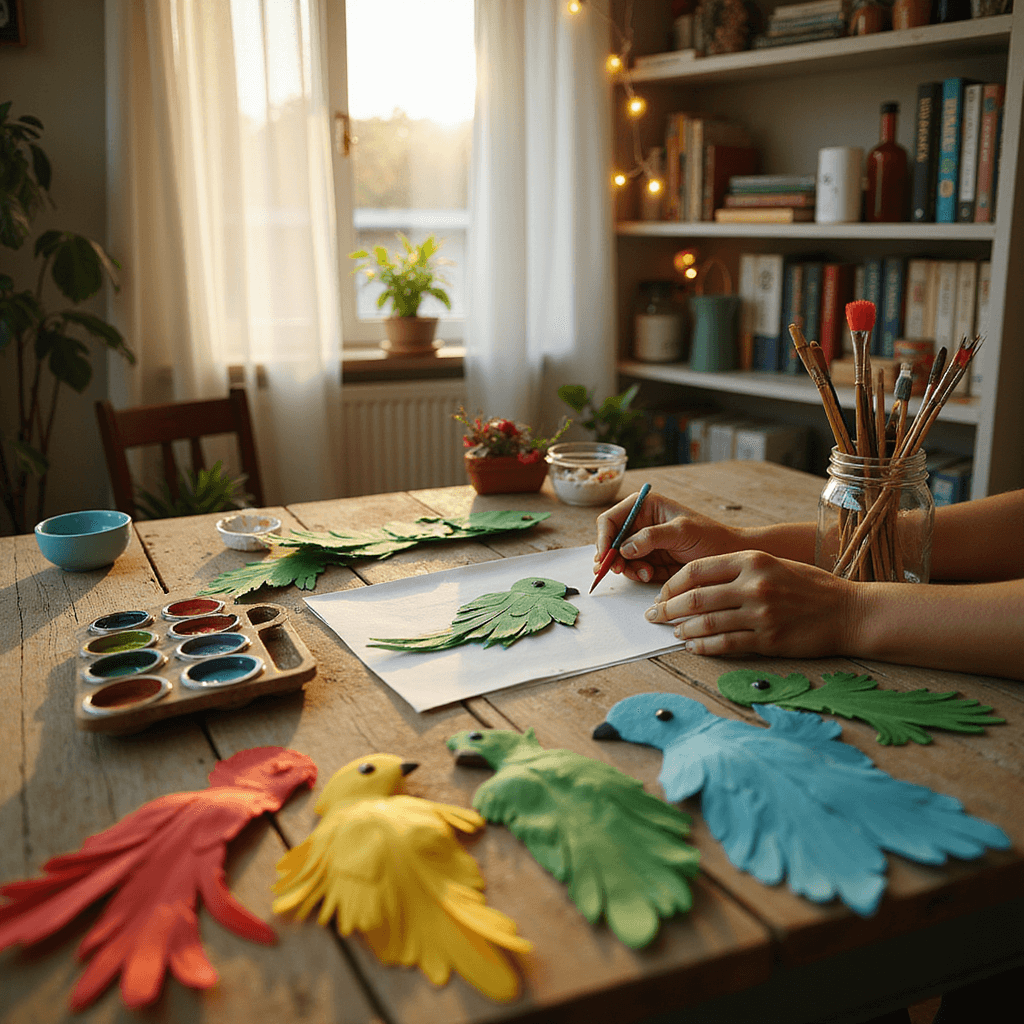
Now, let’s bring this bird to life with some color! Choose vibrant hues – think tropical sunset meets exotic fruit salad.
Paint the body and beak separately. I like to use acrylics because they dry faster than my grandmother’s sense of humor.
While your parrot’s getting its beauty sleep (aka drying), let’s move on to the fun part – feathers!
Step 3: Fantastic Feathers (10 minutes)
Alright, feather fans, it’s time to get snippy! Grab your colored paper and start cutting:
- For tail feathers: Cut 1-inch wide strips along the long side of the paper.
- For wing feathers: Same width, but cut along the short side.
Now, here’s where the magic happens – curve the ends of your strips with scissors. Voila! Instant feather effect.
Feeling fancy? Mix in some tissue paper for extra texture. It’s like giving your parrot a fancy hairdo!
Step 4: Feather Attachment (10 minutes)
Is your parrot dry? Excellent! Let’s give it some plumage.
Cut two 1-inch slits in your parrot’s body – one in the center for wings, one at the back for the tail.
Bundle up your tail feathers and thread them through the back slit. Bend them down for that classic parrot tail look.
Do the same with the wing feathers in the body slit, but fan them out. We want our parrot looking fly, not flightless!
Step 5: Face Time (5 minutes)
Every parrot needs a personality, so let’s give ours a face!
Glue on that beak we cut earlier and stick on a googly eye. One eye’s enough – we’re going for charming, not creepy.
Want to go the extra mile? Draw on some extra details. Maybe your parrot has freckles. Who am I to judge?
Step 6: The Final Touch (5 minutes)
Last but not least, let’s make this bird soar! Or at least twirl gracefully.
Poke a small hole at the top of your parrot’s head and tie on a piece of white string.
And there you have it! Your very own tropical twirling parrot, ready to brighten up any room.
Hang it up, give it a gentle spin, and watch your colorful creation come to life!
Remember, crafting is all about having fun. If your parrot ends up looking more like a peculiar pigeon, that’s okay! It’s got character.
So, what are you waiting for? Get crafting and let your imagination take flight!
Happy parrot-making, my fellow DIY enthusiasts!


