This post may contain affiliate links. Please see my disclosure policy for details.
Glitter Ornaments: A Sparkling DIY Adventure
Contents
I’ve got a confession to make. I’m a sucker for anything that sparkles. So when I stumbled upon the idea of making my own glitter ornaments, I nearly fell off my crafting chair with excitement. Let me tell you, folks, this is one DIY project that’ll have you feeling like a festive wizard in no time.

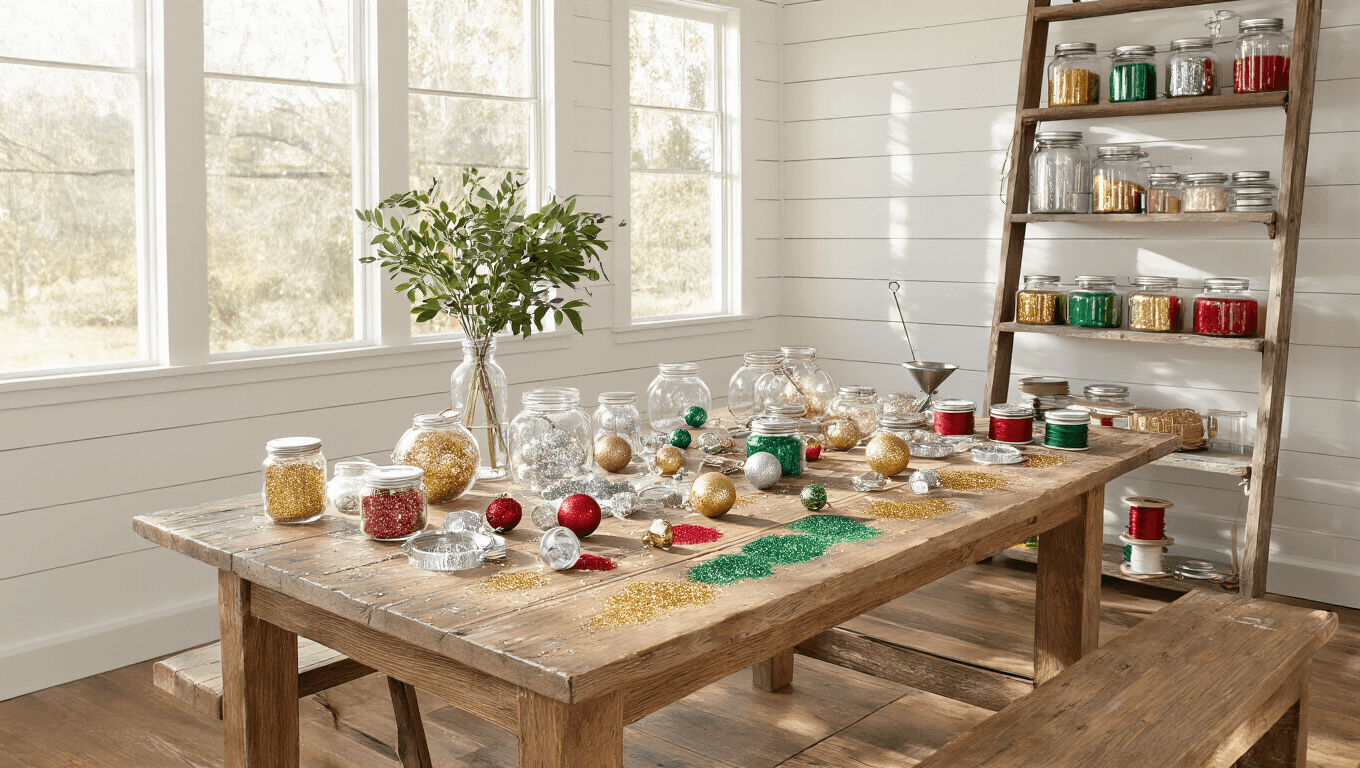
Gather Your Magical Supplies
Before we dive in, let’s gather our magical supplies:
- Clear plastic or glass ornaments (your choice, but plastic is less likely to shatter if you get too excited)
- Glitter (fine, chunky, or both – go wild!)
- Adhesive (polycrylic, clear glue, or Pledge floor finish – yes, really!)
- A funnel (or get creative with a rolled-up piece of paper)
- Cups or liners (to catch the excess sparkle)
- Optional extras: vinyl stickers, ribbons, paint pens (for when glitter alone just isn’t enough)

Ready to Get Your Sparkle On?
Let’s do this!
Step 1: Pop That Top
First things first, we need to remove the ornament’s cap. Gentle does it – we’re not trying to decapitate the poor thing.
Step 2: Get Sticky
Pour a small amount of your chosen adhesive inside the ornament. About 5 mL should do the trick. Now, channel your inner bartender and give it a swirl. Make sure you coat the entire interior. Once you’re done, drain any excess into a cup. We’re going for sparkly, not soggy.
Step 3: Glitter Time!
This is where the magic happens. Use your funnel (or MacGyvered paper cone) to pour about a tablespoon of glitter into the ornament. Now, rotate and swirl that bad boy until every inch is covered in sparkly goodness. Want to kick it up a notch? Mix fine and chunky glitters for some serious texture.

Step 4: Shake It Off
Cover the opening with your thumb (or a piece of paper if you’re feeling fancy) and give it a good shake. Then, turn it upside down over a cup and tap out the excess. Don’t throw it away – that’s prime glitter for your next ornament!
Step 5: Dry and Shine
Let your glittery creation dry for a few hours or overnight. Patience is a virtue, my friends. Once it’s dry, pop the top back on and admire your handiwork.

Creative Ideas
But wait, there’s more! Let’s talk creative ideas:
- Glitter Gradient: Layer different colors for an ombre effect that’ll make your ornament the talk of the tree.
- Custom Color Mixes: Blend glitters in a separate cup before adding. Blue and silver for a wintery feel? Red and gold for holiday glam? The world is your glittery oyster!
- Animal Designs: Use vinyl cutouts to add cute faces. A glittery penguin ornament? Yes, please!
- Marbled Swirl: Swirl different glitter shades for a mesmerizing marble effect.
- Personalized Touch: Add names or dates with vinyl or paint pens. Great for commemorating special occasions!
Pro Tips
- For seamless blending, start with a small amount of your first color, swirl, then gradually add more colors.
- Use cupcake liners to catch spills. Trust me, your future self will thank you.
- If you see gaps, add more glitter and swirl again. We’re going for full coverage here, people!
Safety First
- Work in a well-ventilated area. Glitter may be magical, but inhaling it isn’t.
- Using plastic ornaments? Smart move if you’ve got little ones (or clumsy adults) around.
- For a non-toxic option, stick with water-based clear glue.
So there you have it, folks – your ticket to glitter ornament glory. These sparkly beauties are perfect for gifts, holiday decorating, or just because you need more shine in your life. Now go forth and glitter! And remember, in the immortal words of someone who clearly loved sparkle: “When in doubt, add more glitter.”

")


