This post may contain affiliate links. Please see my disclosure policy for details.
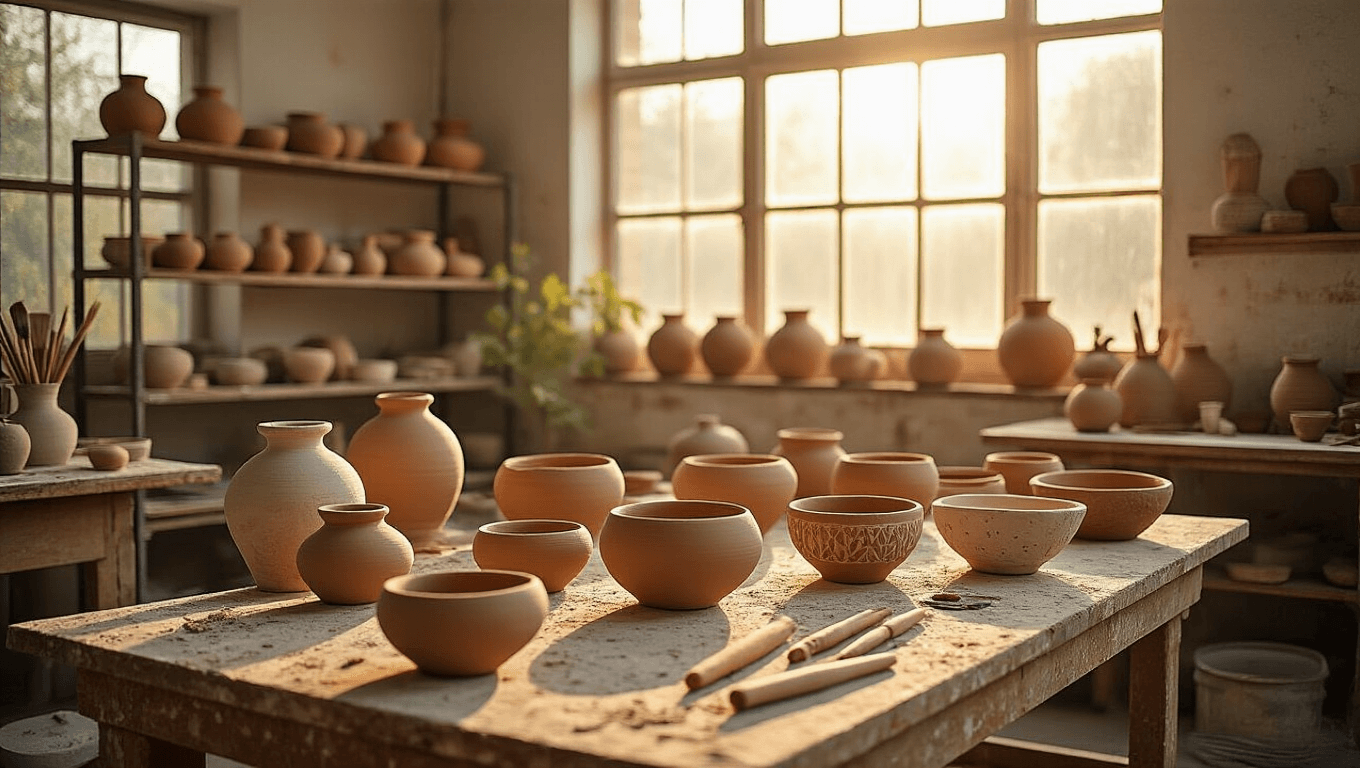
I’ve always been fascinated by the tactile joy of working with clay. There’s something incredibly satisfying about molding a simple lump of earth into a functional, beautiful object with your own two hands. Whether it’s the smooth feel of wet clay between your fingers or the thrill of seeing your creation take shape, pottery has a way of grounding you while letting your creativity flow.
Today, I’m excited to share some of my favorite clay bowl techniques that are perfect for beginners. From simple pinch pots to slightly more advanced slab and coil methods, you’ll be amazed at what you can create with just a few tools and a bit of practice. If you’re ready to start your clay journey, check out beginner-friendly pottery kits to get everything you need in one place.

Let’s Get Our Hands Dirty: Basic Clay Bowl Techniques
Contents
Pinch Pot Perfection
Remember making pinch pots as a kid? Well, it’s time to revisit this classic technique:
- Start with a ball of clay – Grab an air-dry clay ball about the size of an orange. This size is perfect for a small, manageable bowl.
- Create the center – Stick your thumb right in the middle, pushing about halfway through the clay. This forms the base of your bowl.
- Pinch and shape – Gently pinch the clay while turning it in your hand, working your way up the sides to form the walls of your bowl.
- Keep your fingers moist – Dipping your fingers in a little water as you go prevents cracks and keeps the clay smooth.
- Smooth the surface – Finish by smoothing the inside and outside with your fingers or a clay rib tool. Tools like this clay rib tool set make it easy to get a clean, professional-looking finish.
Pro tip: Don’t aim for perfection! The slight irregularities give your bowl character.

Mold Magic: Bowl Shaping Made Easy
Want a more uniform shape? Try this molding technique:
- Roll out your clay – Flatten your air-dry clay to about 1/4 inch thick. Use a rolling pin or a clay roller for even thickness.
- Cut a circle – Cut a circle slightly larger than your desired bowl size. This gives you extra clay to shape around your form.
- Drape over a form – Place the clay over an upside-down bowl or any rounded object to create the bowl shape.
- Press and smooth – Gently press and smooth the clay so it conforms to the contours of your chosen form.
- Trim the edges – Use a clay knife or cutting tool to trim any excess clay from the rim for a clean, polished finish. Tools like this clay cutting tool set make the process much easier and precise.
Bonus: Try scalloping or ruffling the rim for extra flair!
Texture Time: Adding Visual Interest
Let’s kick things up a notch with some texture:
- Before shaping, press lace, leaves, or textured objects into your rolled clay.
- Use rubber stamps for repeating patterns.
- Create your own texture tools from household objects (bottle caps, forks, etc.).
Remember: Textures look amazing when highlighted with paint later!

Shaping Up: Novelty Bowl Ideas
Who says bowls have to be round? Get creative with these shape ideas:
- Leaf-shaped bowls (perfect for fall decor)
- Hand-shaped trinket dishes
- Fruit slice bowls (watermelon, anyone?)
Dress It Up: Decorating Your Clay Bowls
Now comes the really fun part – making your bowls pop with color and style!
Paint Party
- Try ombre effects by blending paint colors.
- Create a marbled look with watered-down paints.
- Add metallic accents to rims or interiors for a touch of glamour.
Imprint Magic
- Press flowers, leaves, or small objects into wet clay for natural designs.
- Use letter stamps to add meaningful words or quotes.
Boho Vibes
- Poke evenly spaced holes around the rim.
- Thread colorful raffia or twine through the holes for a rustic touch.
Personal Touch
- Paint your initials or a special date inside the bowl.
- Create abstract designs or patterns that speak to you.

Inspiration Station: Bowl Styles to Try
Need some creative fuel? Here are some popular bowl styles to spark your imagination:
- Rustic, earthy bowls with visible textures
- Sleek, geometric shapes for a modern look
- Whimsical animal face bowls (kids love these!)
- Minimalist designs with speckled or monochrome finishes
Beyond Decoration: Functional Uses for Your Clay Bowls
Your handmade bowls aren’t just pretty – they’re useful too! Here are some ideas:
- Jewelry catchalls for your bedside table
- Trinket dishes to corral small items
- Mini planters for succulents or air plants
- Decorative candle holders (for battery-operated candles only!)
- Unique table centerpieces or party decor
Clay Bowl Pro Tips
- Keep your clay moist while working to prevent cracks.
- Remember, air-dry clay isn’t food-safe or waterproof.
- Use a little cornstarch to prevent sticking when rolling out clay.
- Let bowls dry on their molds for an even shape.
Safety First!
- Always supervise kids during clay projects.
- No special tools? No problem! Use household items like rolling pins and glasses.
- For younger children, stick to chunkier shapes and washable paints.
Whether you’re crafting a simple pinch pot or an elaborate fruit-themed bowl, these clay techniques are perfect for unleashing your creativity. The best part? You don’t need fancy equipment or years of experience – just dive in and have fun!
So, grab some air-dry clay, clear off your kitchen table, and let’s start creating some clay bowl magic. I can’t wait to see what you come up with!


")