This post may contain affiliate links. Please see my disclosure policy for details.
Unleash Your Creativity: 10 Exciting Pottery Texture Techniques You Can Try Today
Contents
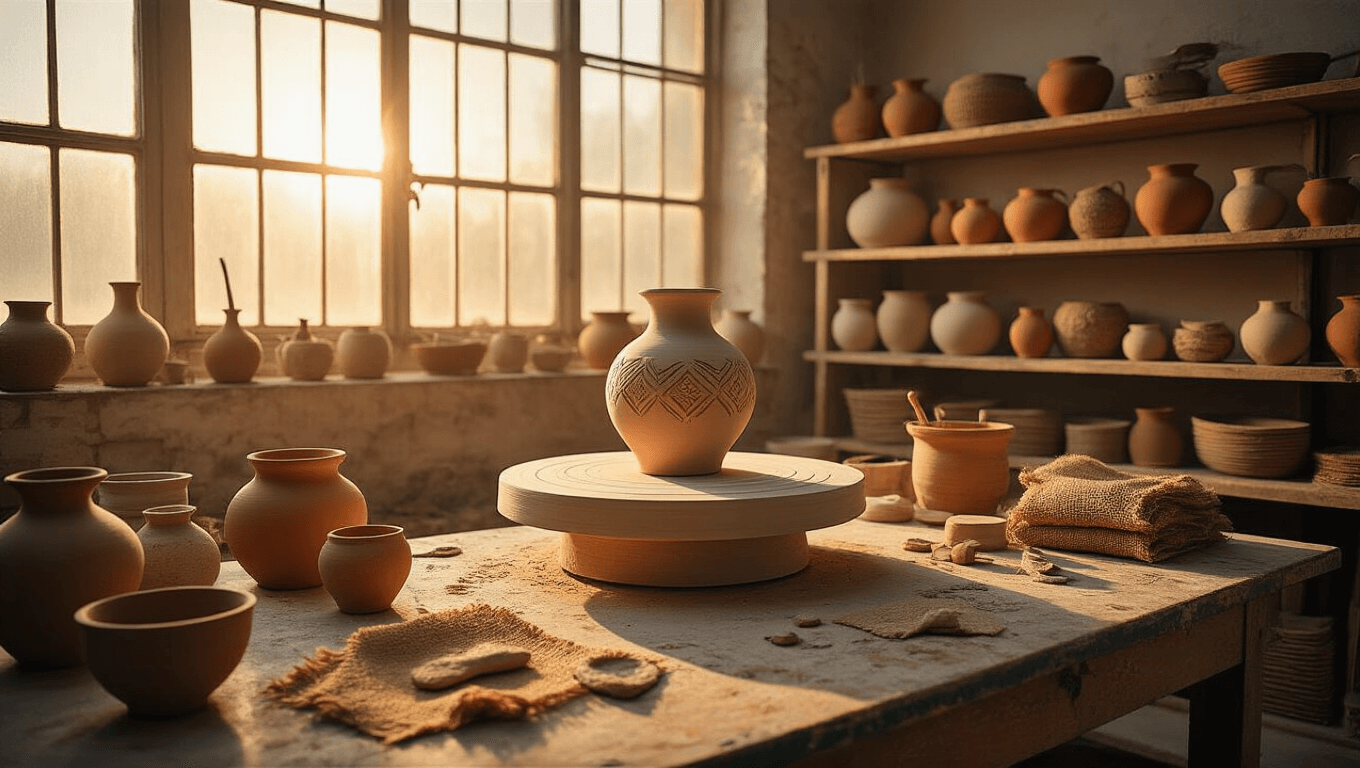
Hey there, fellow clay enthusiasts! Ready to take your pottery game to the next level? I’ve got some killer texture techniques that’ll make your pieces pop. Trust me, I’ve tried them all, and these are the real deal. Let’s dive in!
1. Get Groggy with It
Ever heard of grog? It’s not just a pirate’s favorite drink! In the pottery world, grog is tiny fired clay particles that give your clay a natural, rough texture. It’s perfect for sculpture and sturdy pieces that need a bit of grit.
I remember the first time I used grog-heavy clay. My hands felt like they’d been through a sandstorm, but boy, did that vase turn out amazing!

2. Carve It Up
Grab your loop tools, needle tools, or fluting tools and let’s get carving! This technique is all about creating intricate designs on leather-hard clay.
Pro tip: Try mimicking natural textures. I once carved mushroom gills onto a clay pendant, and it looked so real, my friend thought I’d glued an actual mushroom to my necklace!
3. Everyday Object Impressions
Time to raid your junk drawer! Rope, burlap, wire brushes, lace – you name it, you can press it into soft clay for unique imprints.
My favorite? Corn on the cob. It leaves the most incredible texture, and it’s a great excuse to have a BBQ while you’re at it!

4. Stamp It Out
Commercial stamps are great, but why not make your own? Cut shapes from foam or carve designs into erasers. Potato stamps work too – just like kindergarten, but way cooler.
5. Slip and Slide
Slip (liquid clay) is your new best friend. Brush it, pour it, trail it – the possibilities are endless.
Try this: Cut stencils from tar paper or Tyvek, apply slip over them, then peel them off. Voila! Instant low-relief patterns that’ll make your pottery professor proud.

6. Resist the Urge (or Don’t!)
Tape resist and paper stencil resist techniques are like magic tricks for clay. Pair them with slip, underglaze, or glaze decoration for mind-blowing results.
I once used tape to create a geometric pattern on a vase, filled it with bright blue slip, and peeled off the tape. The contrast was so striking, it became the centerpiece of my living room!
7. Paddle Your Way to Perfection
Building up texture by adding coils and paddling the surface? It’s like giving your pot a clay massage. Trust me, it’s as fun as it sounds.
8. Glaze Craze
Ever heard of “lava glaze”? It bubbles and craters during firing, creating a texture so wild, you’ll swear your pot grew on another planet.

9. Get Your Quilt On
Divide your pot’s surface, push in clay at the intersections, and bam! You’ve got a quilted effect that’s perfect for those cozy, homey pieces.
10. Mix and Match
Why settle for one texture when you can have them all? Carve, slip trail, impress, and stencil to your heart’s content. It’s like a texture party, and everyone’s invited!
Remember, folks:
- Always test your glaze interactions. Some textures pop, others fade.
- For deep textures, make sure your clay isn’t too wet or too dry.
- Most importantly, have fun! Pottery is all about experimenting and finding your unique style.
So there you have it – ten texture techniques that’ll transform your pottery from “meh” to “wow!” Now get out there and start creating some clay magic. Who knows? Your next piece might just be your masterpiece!


")