This post may contain affiliate links. Please see my disclosure policy for details.
Cardboard Cute Crafts: Adorable DIY Projects on a Budget
Contents
- Cardboard Cute Crafts: Adorable DIY Projects on a Budget
- Cardboard Shadow Boxes: Your Miniature World
- Piñata-Inspired Photo Frames: Fiesta on Your Wall
- Cardboard Slider Phones: Retro Cool for Kids
- DIY Cardboard Jellyfish: Ocean Vibes in Your Room
- Bulk Earrings: Cute Overload for Your Ears
- Matchbox Shrines: Tiny Treasures, Big Impact
- Goddess Headdresses: Channel Your Inner Deity
- Cute Storage Caddies: Organize in Style
- Mini Trash Bin or Trinket Box: Tiny but Mighty
- Essential Tools for Cardboard Cuteness
- Step-by-Step Spotlight: DIY Cardboard Jellyfish
Hey there, crafty friends! Ready to turn that boring old cardboard into something totally adorable? I’ve got a treasure trove of cute cardboard craft ideas that’ll make your heart skip a beat. Trust me, once you see how easy and fun these projects are, you’ll never look at a cereal box the same way again!
Let’s dive right in, shall we?

Cardboard Shadow Boxes: Your Miniature World
Ever wanted to create your own tiny universe? Cardboard shadow boxes are the answer! Here’s how to make one:
- Find a sturdy cardboard box
- Cut out the front, leaving a frame
- Paint or decorate the inside
- Add tiny figurines, paper cutouts, or treasured mementos
- Hang it up and voila! Your own little world on display
Pro tip: Use scrapbook paper as a backdrop for instant pizzazz!

Piñata-Inspired Photo Frames: Fiesta on Your Wall
Who says piñatas are just for bashing? Let’s turn that festive vibe into a funky photo frame:
- Cut a frame shape from cardboard
- Fringe colorful tissue paper
- Glue the fringe in layers around the frame
- Add a photo in the center
- Hang it up and let the fiesta begin!
Psst… Want to level up? Add some mini pom-poms for extra flair!
Cardboard Slider Phones: Retro Cool for Kids
Remember those satisfying slider phones? Let’s bring ’em back – cardboard style:
- Cut two rectangles of cardboard
- Make a slit in one for the “slider” mechanism
- Decorate with buttons, a screen, and cute stickers
- Slide away and pretend it’s 2005 again!
Kids’ll go nuts for these, I promise. It’s like catnip for the under-10 crowd!
DIY Cardboard Jellyfish: Ocean Vibes in Your Room
Ready to bring some undersea charm to your space? Check out these adorable jellyfish:
- Cut a jellyfish shape from cardboard
- Paint it in dreamy pastels
- Add googly eyes (because, duh, cuteness)
- Attach streamers or yarn for tentacles
- Hang from the ceiling and watch ’em sway!
These little guys are guaranteed to put a smile on your face. Plus, they’re a great excuse to use all those glittery paints you’ve been hoarding!

Bulk Earrings: Cute Overload for Your Ears
Got a thing for quirky earrings? Make a whole bunch with cardboard:
- Cut tiny shapes (hearts, stars, fruits – go wild!)
- Paint and decorate
- Attach earring hooks
- Wear a different pair every day of the week!
These make fantastic gifts too. Your friends will think you raided a boutique!
Matchbox Shrines: Tiny Treasures, Big Impact
Turn those little cardboard boxes into miniature works of art:
- Empty out a matchbox
- Paint the outside
- Line the inside with pretty paper
- Add tiny trinkets, photos, or figurines
- Close it up for a secret little world!
These are perfect for keeping special memories or creating a portable good luck charm.
Goddess Headdresses: Channel Your Inner Deity
Who says you can’t be a goddess on a budget? Craft a fabulous headdress:
- Cut a crown shape from cardboard
- Add embellishments like fake flowers or glitter
- Paint it gold (or any color fit for royalty)
- Attach an elastic band
- Strut your stuff like the deity you are!
Perfect for parties, playtime, or just feeling extra fabulous while doing the dishes.

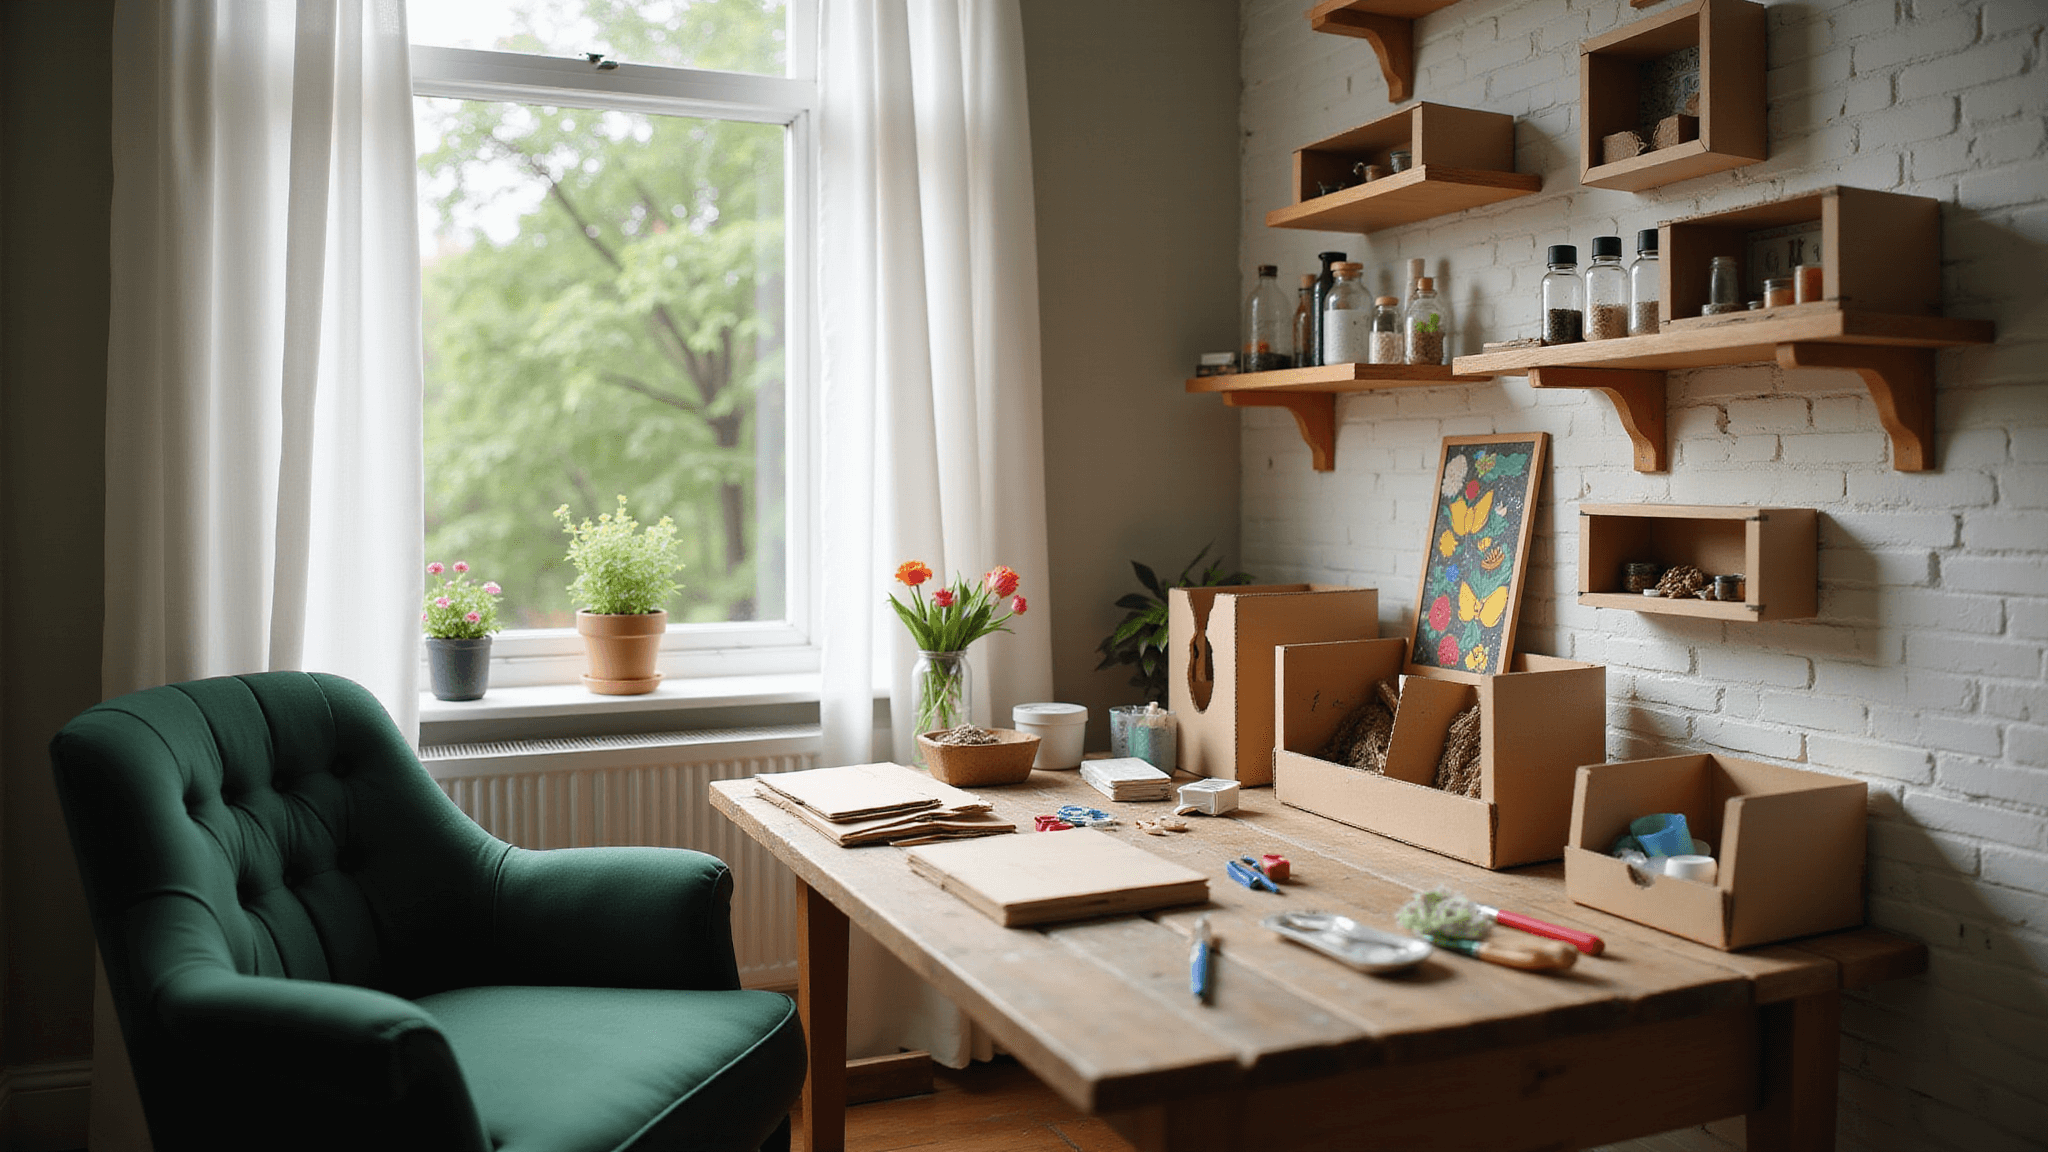
Cute Storage Caddies: Organize in Style
Tired of messy desks? Whip up some adorable organizers:
- Cut and fold cardboard into a box shape
- Cover with decorative paper or paint
- Add dividers for different sections
- Decorate with washi tape or stickers
- Fill with pens, crafting tools, or beauty supplies
Your workspace will thank you, and your eyes will too!
Mini Trash Bin or Trinket Box: Tiny but Mighty
Sometimes the cutest things come in small packages:
- Find a small cardboard box
- Paint it a fun color
- Add a cute face or decorative details
- Use as a desk trash bin or secret treasure box
It’s amazing how something so small can bring so much joy to your space.
Essential Tools for Cardboard Cuteness
Before we dive deeper, let’s make sure you’ve got the basics:
- Cardboard (obvs) – raid those recycling bins!
- Scissors or craft knife (careful, they’re sharp!)
- Glue or tape (the stickier, the better)
- Paints, markers, or colored pencils
- Fun extras like stickers, washi tape, or glitter
- String or ribbon for hanging your masterpieces
Remember, safety first! Always supervise kiddos with sharp tools.
Step-by-Step Spotlight: DIY Cardboard Jellyfish
Let’s break down one of my faves – the jellyfish!
You’ll need:
- Cardboard
- Scissors
- Pastel paints
- Yarn or crepe paper
- Glue
- String for hanging
Here’s how:
- Cut out a cute jellyfish shape (about the size of a dinner plate)
- Paint it in dreamy pastels – think cotton candy clouds!
- Once dry


