This post may contain affiliate links. Please see my disclosure policy for details.
Christmas Wood Crafts: Easy DIY Ideas for Festive Decor
Contents
- Christmas Wood Crafts: Easy DIY Ideas for Festive Decor
- Scrap Wood Ornaments: Trash to Treasure
- Mini Wooden Nativity Stable: A Pocket-Sized Christmas Story
- Wood Slice Ornaments: Nature’s Canvas
- Pallet Wood Christmas Trees: Upcycling at Its Finest
- Wooden Reindeer & Snowmen: Block Party
- DIY Wooden Advent Calendars: Countdown in Style
- Painted Wooden Signs: Say It with Style
- Safety First, Santa’s Helpers!
- Personalize It!
- From Beginner to Pro
- Show Off Your Creations
Hey there, fellow craft enthusiasts!
Are you ready to dive into the world of Christmas wood crafts? Trust me, you’re in for a treat. These projects are a blast to make, easy on the wallet, and add that cozy, rustic charm to your holiday decor.
Let’s roll up our sleeves and get crafting!
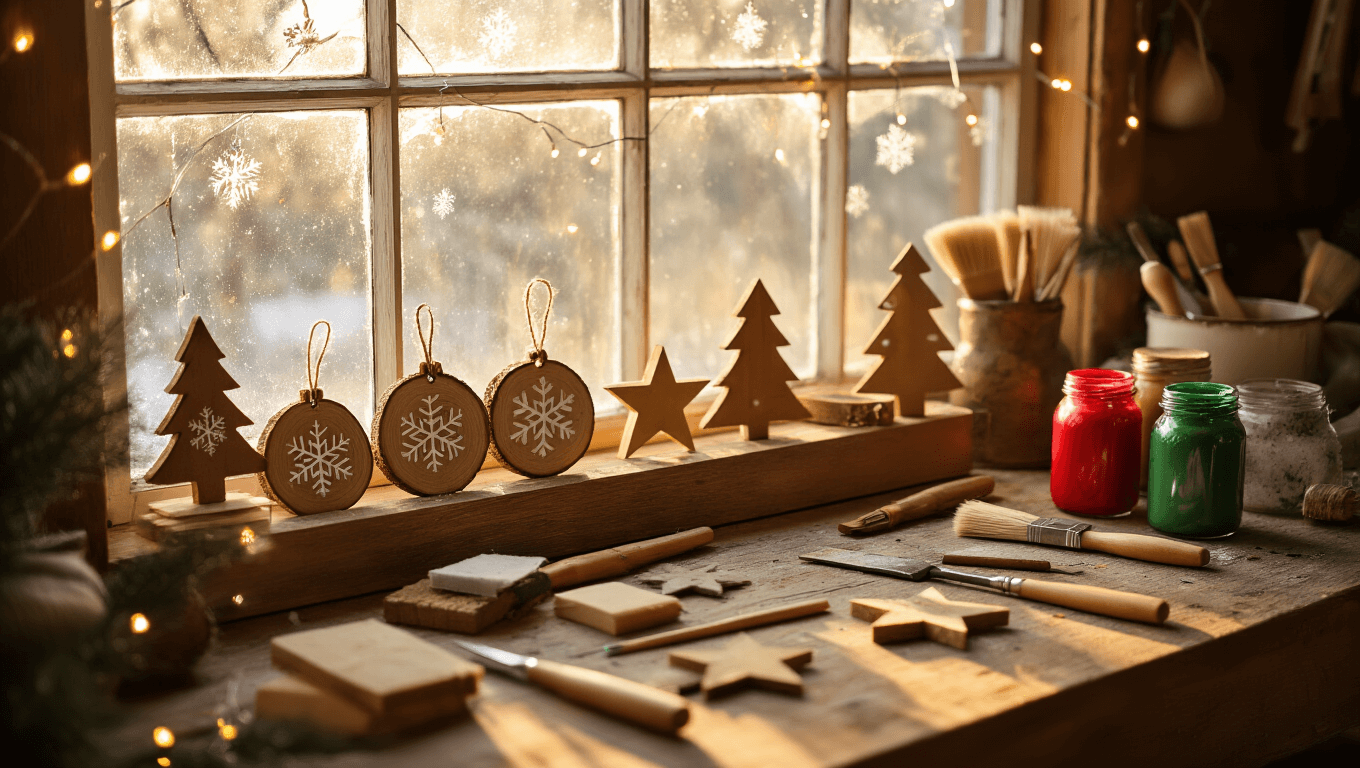
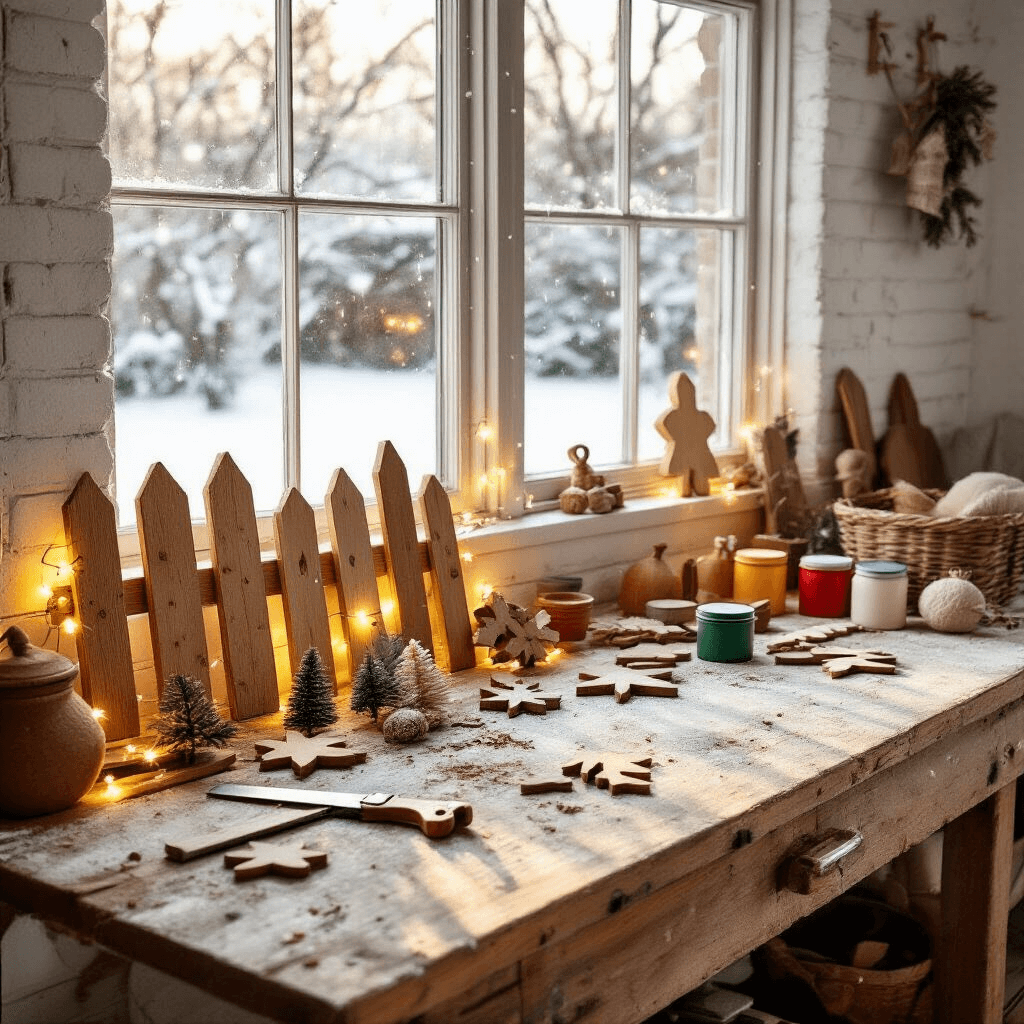
Scrap Wood Ornaments: Trash to Treasure
You know that pile of scrap wood in your garage? It’s time to give it a festive makeover!
Here’s what you’ll need:
- Cedar fence pickets or pallet wood
- Saw (or pre-cut shapes if you’re saw-shy)
- Sandpaper
- Paint and brushes
- Ribbon or twine
First things first, cut your wood into fun shapes. Think trees, stars, or even quirky abstract forms. No saw? No problem! Grab some pre-cut shapes from your local craft store.
Now, sand those edges smooth. Safety first, folks!
Time to unleash your inner Picasso. Paint, stencil, or even try your hand at wood burning if you’re feeling fancy.
Add a ribbon, and voila! You’ve got yourself a charming ornament that’s both personal and eco-friendly.
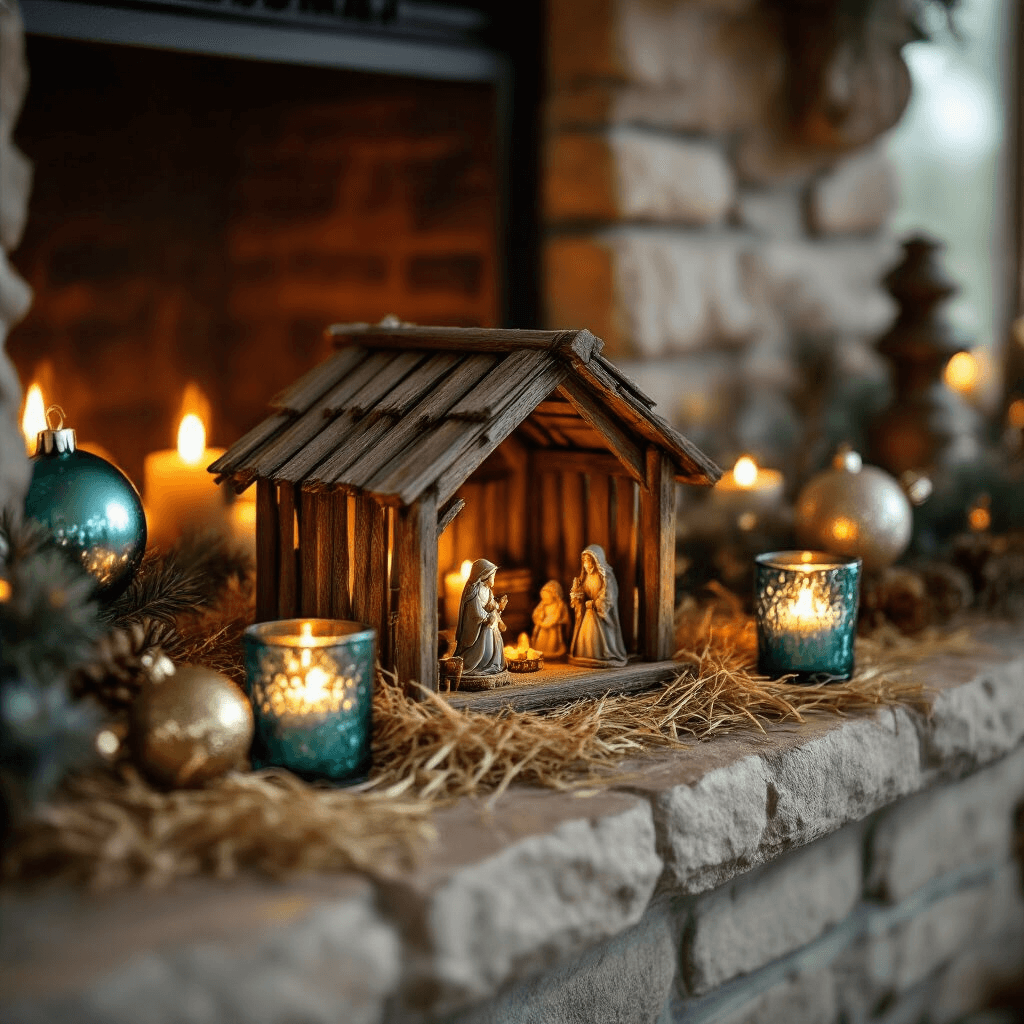
Mini Wooden Nativity Stable: A Pocket-Sized Christmas Story
Who says you need a massive nativity scene? Let’s build a cute little stable that’ll fit right on your mantle.
Here’s your shopping list:
- Fence picket offcuts
- Wood glue or small nails
- Faux hay
- Miniature figures
Start by assembling your stable. It’s like a tiny house for Baby Jesus!
Add a dollop of glue or a few careful hammer taps, and you’re in business.
Toss in some faux hay for that authentic stable vibe.
Now, arrange your figures. Mary, Joseph, and the gang are ready for their close-up!
Want to get fancy? Stain or paint your stable for extra pizzazz.
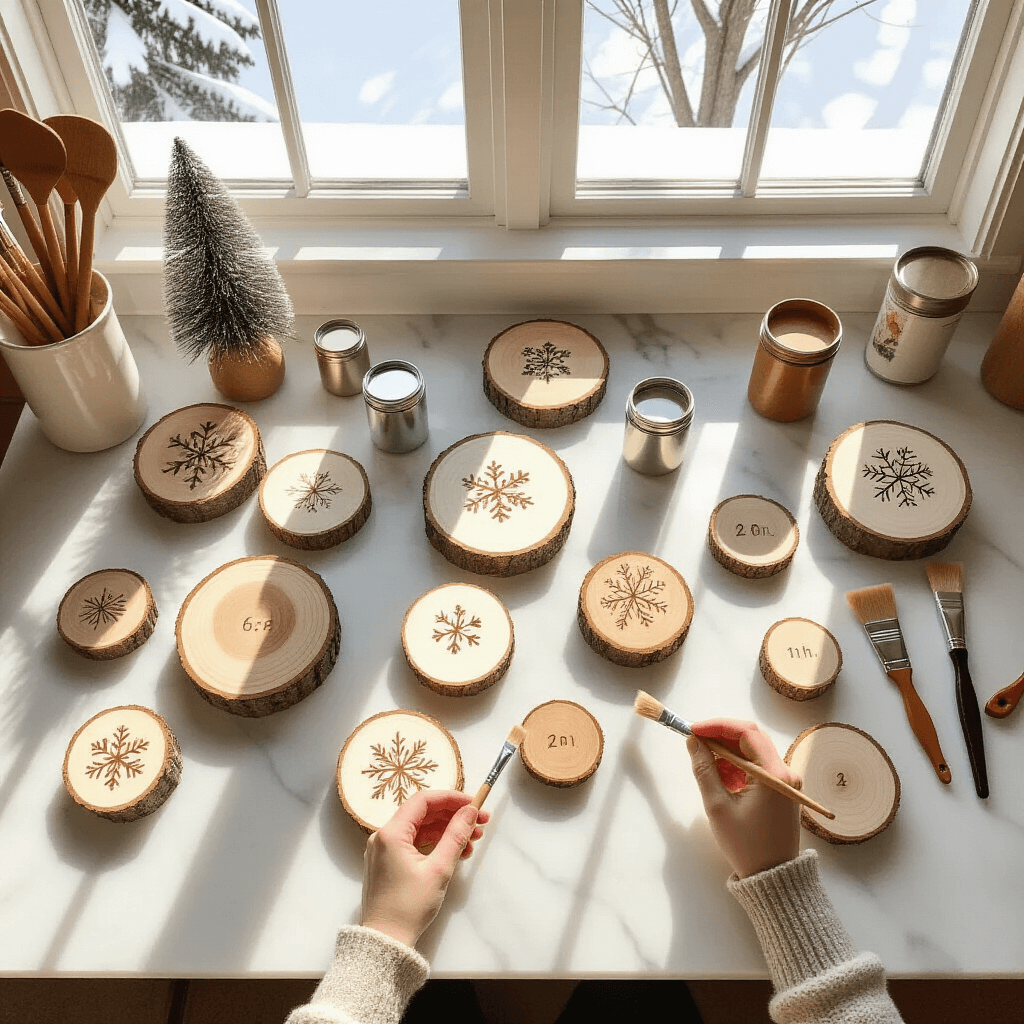
Wood Slice Ornaments: Nature’s Canvas
Got a fallen branch in your backyard? Time to turn it into festive art!
Your toolkit:
- Wood slices (store-bought or homemade)
- Paint or wood-burning tool
- Twine
- Your imagination!
If you’re slicing your own wood, aim for about 1/4 inch thick. Safety goggles on, people!
Now, let your creativity run wild. Paint snowflakes, wood-burn names, or go abstract with splashes of color.
Thread some twine through a small hole, and bam! You’ve got a one-of-a-kind ornament.
Pro tip: Add the year to make it a dated keepsake. Future you will thank present you!
Pallet Wood Christmas Trees: Upcycling at Its Finest
Pallets aren’t just for hipster coffee tables anymore. Let’s turn them into trees!
Gather ’round:
- Pallet wood
- Saw
- Paint or stain
- Decorative bits and bobs
Cut your pallet wood into a tree shape. Think triangle, but with personality!
Sand those edges. Splinters are not on anyone’s Christmas list.
Now for the fun part – decorating! Paint it green, white, or go wild with patterns.
Add some mini ornaments, a star on top, or even wrap it in fairy lights.
Wooden Reindeer & Snowmen: Block Party
Time to play with blocks! No, not the kid’s toys – we’re talking wood blocks.
Your block party checklist:
- Scrap wood blocks
- Dowels
- Paint
- Accessories (buttons, twigs, ribbon)
Stack your blocks to form a snowman or arrange them for a reindeer shape.
Use dowels for arms or antlers. Get creative!
Paint on those adorable faces. Don’t worry, perfection is overrated.
Add some flair with a twig nose, button eyes, or a jaunty scarf.
DIY Wooden Advent Calendars: Countdown in Style
Why buy a boring cardboard advent calendar when you can make your own?
Here’s what you need:
- Wood board
- Small boxes or drawers
- Paint and numbers
- Treats to hide inside
Arrange your boxes on the board. Think of it as a game of Tetris, but festive.
Paint and number each box. 1 to 24, folks – don’t lose count!
Fill each box with treats. Chocolates, small toys, or even heartfelt notes.
Painted Wooden Signs: Say It with Style
Nothing says “welcome to our home” like a hand-painted sign.
Grab these:
- Sanded wood board
- Stencils or freehand courage
- Paint
- Decorative elements
Choose your message. “Merry Christmas” is classic, but “Bah Humbug” works too if that’s your vibe.
Stencil or freehand your text. Deep breaths, you’ve got this!
Add some holly, fake snow, or glitter for that extra festive touch.
Safety First, Santa’s Helpers!
- Always sand those edges. Smooth wood = happy crafters.
- No saw? No problem. Pre-cut shapes are your friend.
- Ventilation is key when painting. Your nose will thank you.
Personalize It!
- Add names or special dates to ornaments.
- Mix and match colors to fit your decor.
- Experiment with different woods for unique textures.
From Beginner to Pro
- Just starting? Stick to painted ornaments and simple signs.
- Feeling confident? Try your hand at a pallet tree or mini stable.
- Ready for a challenge? Carve a 3D nativity scene or build a complex advent calendar.
Show Off Your Creations
- Hang ornaments proudly on your tree.
- Use signs as festive wall art.
- Give personalized gifts that’ll be cherished for years.
- Feeling entrepreneurial? Sell your crafts at

