This post may contain affiliate links. Please see my disclosure policy for details.
How to Make a Homemade Birthday Card That’ll Knock Their Socks Off
Contents
Ever stared at those boring store-bought cards and thought, “I can do better than that!”? Well, you’re right! Let’s dive into the world of DIY birthday cards that’ll make your loved ones feel extra special.

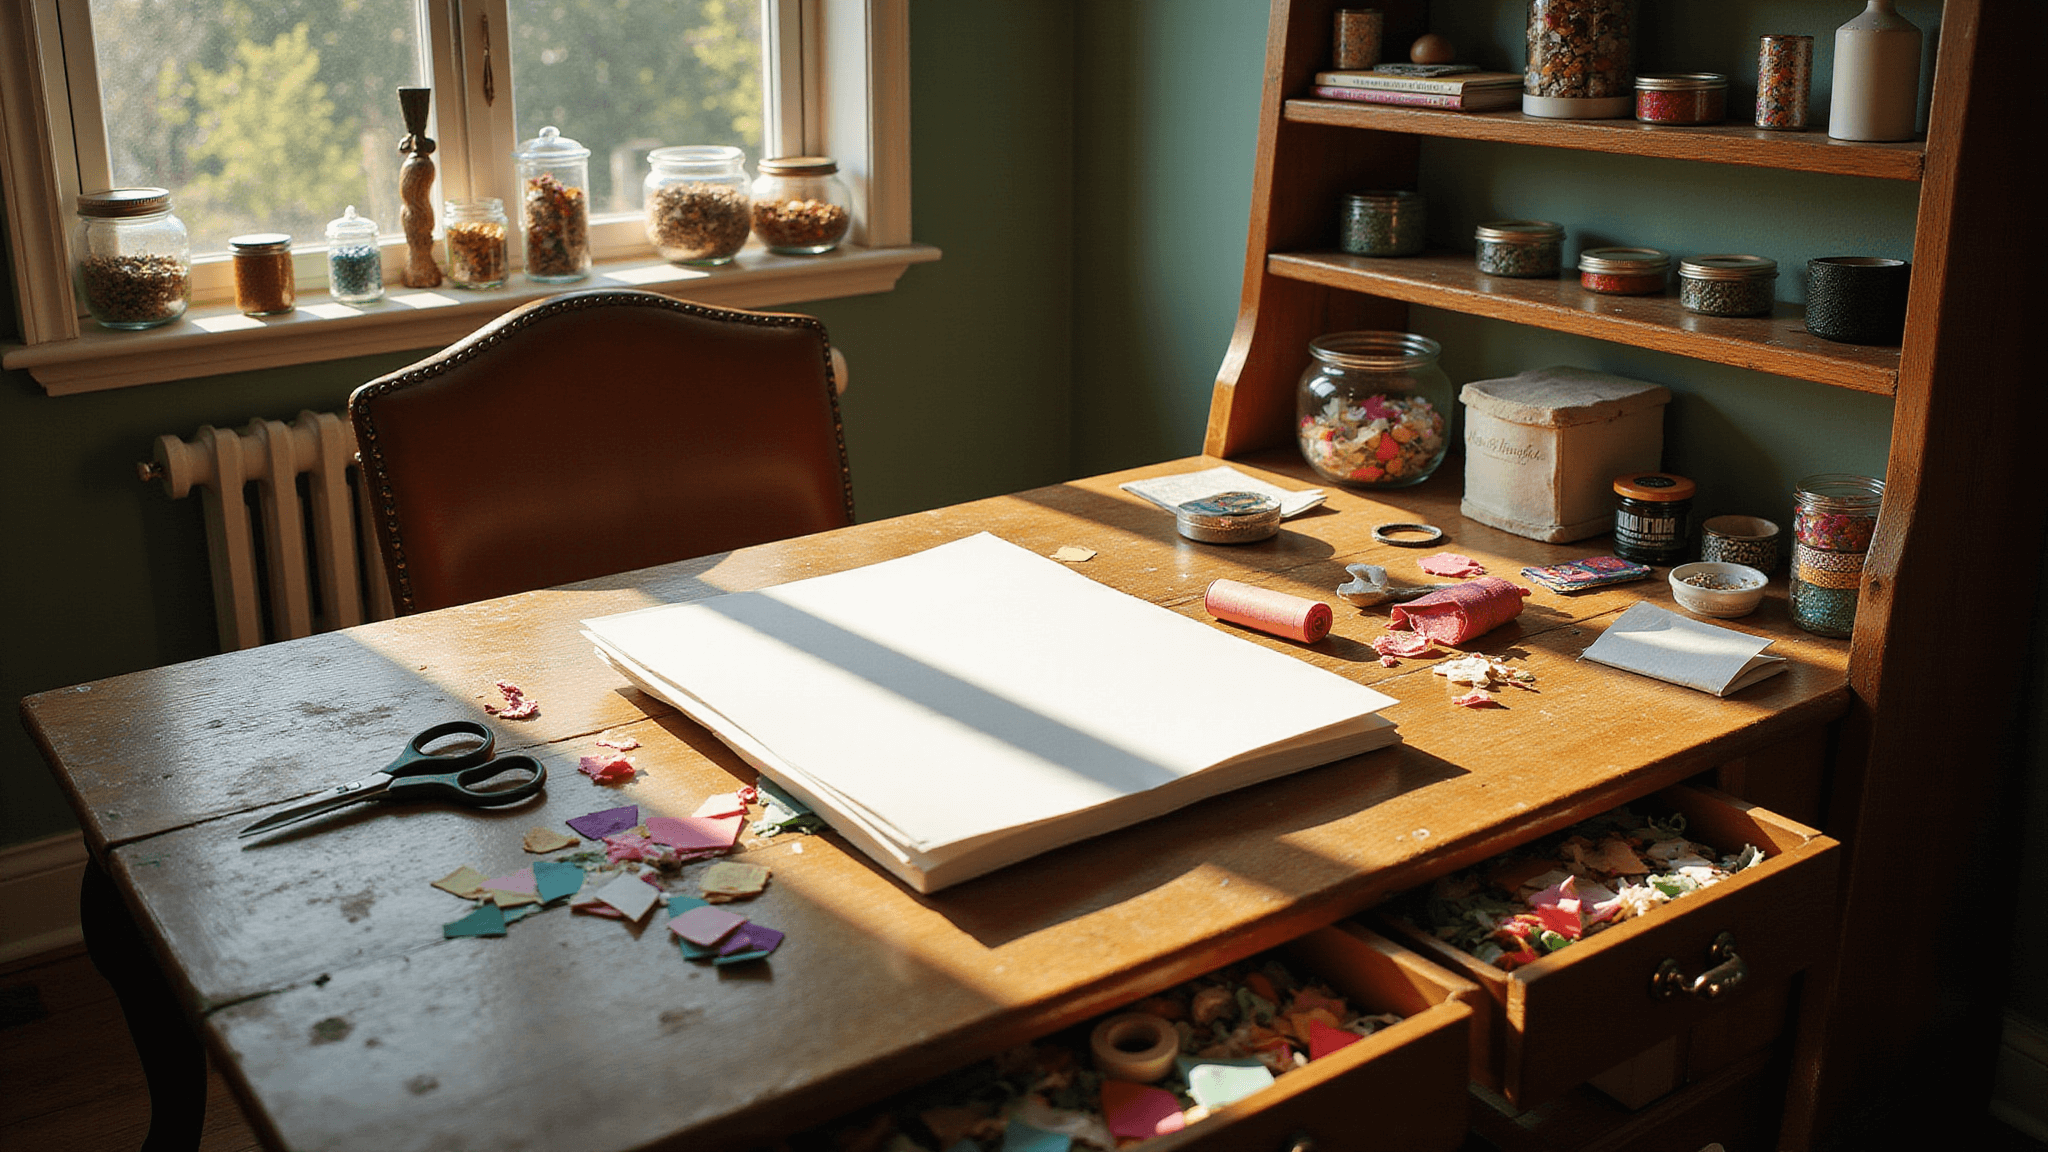
Gather Your Goodies
First things first, let’s round up our supplies:
- White cardstock (A5 size is perfect)
- Colorful paper scraps (the more vibrant, the better!)
- Markers or pens (go wild with colors)
- Scissors (the sharper, the easier)
- Glue stick (no mess, no stress)
- Optional jazz: stickers, washi tape, glitter, ribbons (anything that screams “party”)
Time to Make Magic (In About 30 Minutes)
Step 1: Fold That Base (1 minute)
Take your A5 cardstock and fold it in half. Boom! You’ve got your card base.
Step 2: Get Creative on the Front (5 minutes)
Now’s your chance to channel your inner Picasso! Draw a birthday cake, balloons, or go crazy with confetti. Can’t draw? No worries! Big, bold letters saying “HAPPY BIRTHDAY!” work like a charm.
Pro tip: Sketch in pencil first if you’re nervous. It’s not cheating, it’s smart!

Step 3: Pop It Up (Optional, 10 minutes)
Feeling fancy? Let’s add some 3D pizzazz! Cut out shapes from your colorful paper – think cake layers or candles – and glue them on for a pop-up effect.
Psst… Want to really impress? Try a pull-tab feature. YouTube’s got tons of easy tutorials.
Step 4: Bedazzle That Baby (5 minutes)
Time to go wild with decorations! Slap on some stickers, wrap it in washi tape, or sprinkle some glitter (if you’re brave enough to deal with the aftermath).
Mix and match patterns for a fun, eclectic look. Stripes with polka dots? Why not!

Step 5: Write from the Heart (2 minutes)
Open up that card and pour out your feelings. Keep it short and sweet or write a novel – it’s your call!
Bonus: Doodle some tiny party hats or confetti inside for extra cheer.
Step 6: Final Once-Over (2 minutes)
Give your masterpiece a quick check. No glue blobs? Markers all dry? Perfect!

Genius Ideas to Make Your Card Stand Out
- Broke? Use old magazines or gift wrap for decorations. It’s not cheap, it’s vintage!
- Match the card to the season. Pastels for spring, warm tones for fall – you get the idea.
- Make it personal. Love puns? Go for it. Know their favorite hobby? Work it in!
Rookie Mistakes to Dodge
- Don’t go overboard with decorations. You want a card, not a 3D sculpture.
- Easy on the glue. Unless you’re going for the “warped and wrinkled” look.
- Avoid color overload. Unless you’re aiming for a tie-dye effect (which could be cool, actually).
There you have it, folks! A homemade birthday card that’ll make them wonder if you’ve secretly become a professional cardmaker. It’s personal, it’s fun, and it shows you care enough to spend 30 minutes covered in glitter.
Now go forth and create! And remember, even if it’s not perfect, it’s the thought that counts. Plus, imperfections just prove it’s handmade, right?


