This post may contain affiliate links. Please see my disclosure policy for details.
Thankful Thanksgiving Crafts: Heartwarming DIY Ideas to Spark Gratitude
Contents
Hey there, fellow crafters! It’s that time of year again when we dust off our glue guns and break out the construction paper. That’s right, Thanksgiving is just around the corner, and I’ve got some seriously awesome craft ideas to help you and your loved ones get into the spirit of gratitude.
Trust me, I’ve been there – trying to wrangle a bunch of hyper kids (or, let’s face it, adults) into doing something meaningful during the holidays can be like herding cats. But these crafts? They’re the secret sauce to making Thanksgiving about more than just stuffing your face with turkey.
Let’s dive in, shall we?

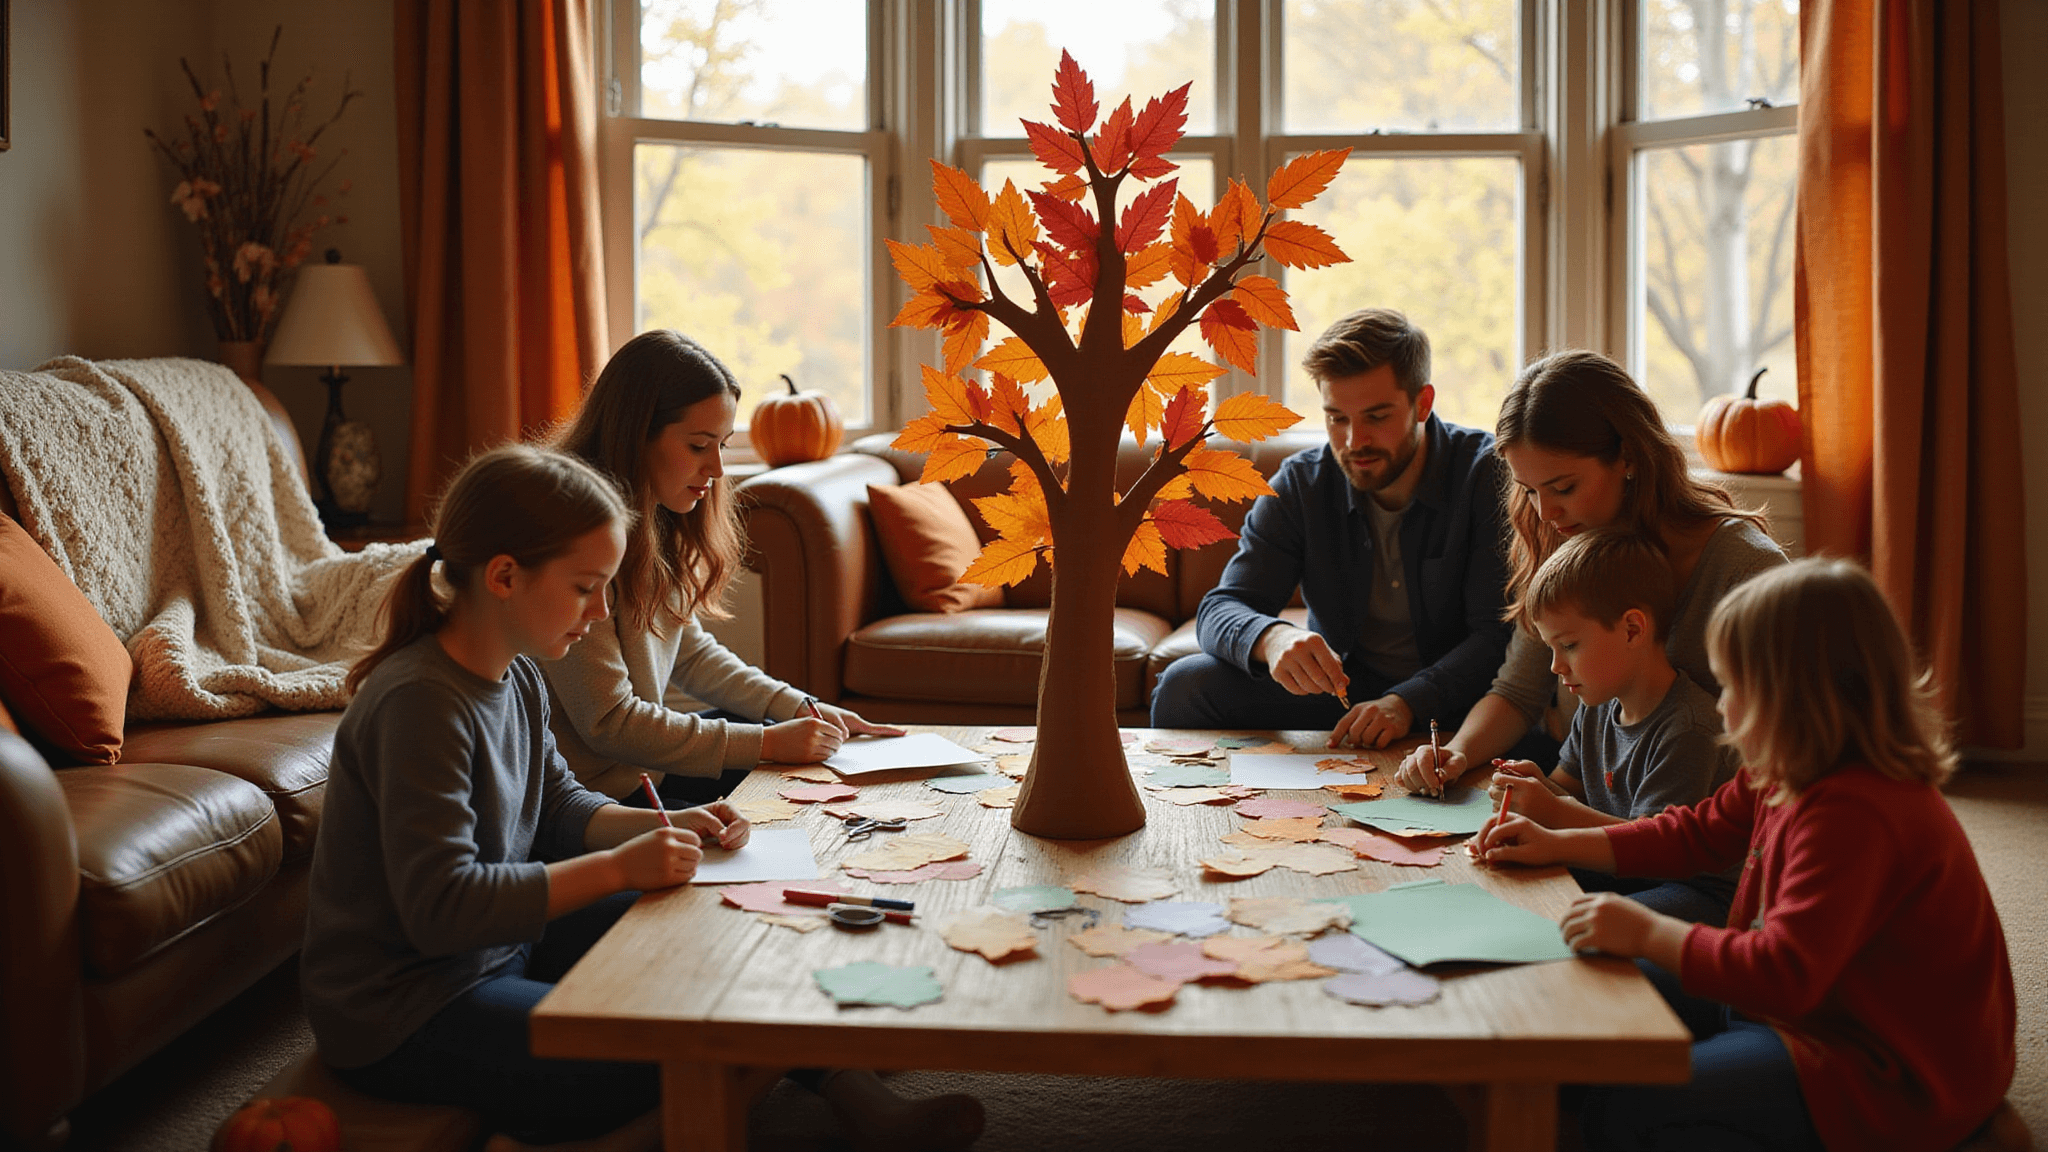
The Mighty Thankful Tree
Picture this: a tree that grows gratitude instead of apples. Sounds magical, right? Well, grab some construction paper and let’s make it happen!
Here’s what you’ll need:
- Brown construction paper for the trunk and branches
- Colorful paper for the leaves
- Scissors
- Glue or tape
- Markers
How to make it:
- Cut out a tree trunk and branches from the brown paper
- Stick it on a wall or make it free-standing
- Cut leaf shapes from the colorful paper
- Have everyone write something they’re thankful for on a leaf
- Attach the leaves to the tree
Pro tip: Keep the tree up all month and add leaves whenever the mood strikes. By Thanksgiving Day, you’ll have a forest of gratitude!

The Family Thankful Jar
Okay, this one’s a crowd-pleaser and couldn’t be easier. It’s like a gratitude piggy bank, but instead of coins, you’re collecting warm fuzzies.
You’ll need:
- A large jar or container
- Decorating supplies (paint, stickers, ribbon – go wild!)
- Small slips of paper
- Pens or markers
How to do it:
- Decorate your jar together (teamwork makes the dream work, folks)
- Cut paper into small strips
- Throughout the month, have everyone jot down things they’re grateful for
- Pop the notes in the jar
- On Thanksgiving, read them aloud (prepare for some laughs and maybe a few happy tears)

The “I Am Thankful For” Spinner
This is like Wheel of Fortune, but instead of winning cash, you’re winning perspective. Plus, it’s way more fun at the dinner table than arguing about politics.
What you’ll need:
- Cardboard or thick paper
- A brad fastener
- Markers
- Scissors
How to create it:
- Cut a large circle from your cardboard
- Divide it into sections (like a pie chart)
- In each section, write something you’re thankful for
- Cut a small arrow from leftover cardboard
- Attach the arrow to the center with the brad fastener
Spin it before meals or whenever you need a gratitude boost!

Thankful Turkey Craft
Who says turkeys are just for eating? This craft turns our feathered friend into a beacon of appreciation.
Gather these:
- Paper plate
- Colored paper or feathers
- Googly eyes (because why not?)
- Glue
- Scissors
- Markers
Let’s make it:
- Paint or color the paper plate brown for the turkey body
- Cut feather shapes from colored paper (or use real feathers if you’re fancy)
- On each feather, write something you’re thankful for
- Glue the feathers to the back of the plate, fanning them out
- Add googly eyes and a beak to the front of the plate
Voila! A turkey that’s too cute to eat.
Gratitude Painted Rocks
These are like worry stones, but instead of stress, they radiate thankfulness. Plus, you get to play with paint!
You’ll need:
- Smooth rocks (store-bought or found outside)
- Acrylic paint
- Paint brushes
- Markers (optional for details)
How to rock it:
- Clean your rocks (nobody wants a muddy masterpiece)
- Paint your base colors and let dry
- Add words or pictures representing things you’re grateful for
- Display in a bowl or hide them around the house for surprise reminders
Grateful Garland
This craft is like bunting, but with 100% more feelings. It’s perfect for draping across mantles, windows, or anywhere that needs a dose of thankfulness.
Grab these:
- Colored paper or felt
- String or ribbon
- Scissors
- Markers
- Hole punch
Let’s string it together:
- Cut leaf, pumpkin, or acorn shapes from your paper or felt
- On each shape, write something you’re thankful for
- Punch a hole in each piece
- String them together on your ribbon
- Hang and admire your handiwork!
Thankful Placemats
These aren’t your grandma’s placemats (unless your grandma is super cool). They’re conversation starters and memory-makers all in one.
You’ll need:
- Large sheets of paper or blank cloth placemats
- Markers, crayons, or fabric paint
- Stickers or stamps (optional)
- Laminator (if you want to use them year after year)


