This post may contain affiliate links. Please see my disclosure policy for details.
Why Wrapper Quality Matters
Contents
Let’s get real. A poorly wrapped chocolate bar looks sad and unprofessional.
What makes a great chocolate bar wrapper?
- Clean, crisp edges
- No visible wrinkles
- Perfectly sealed package
- Reflects your personal style or brand
Essential Materials You’ll Need
Before diving in, gather these must-have supplies:
🍫 Chocolate Bar Wrapping Kit
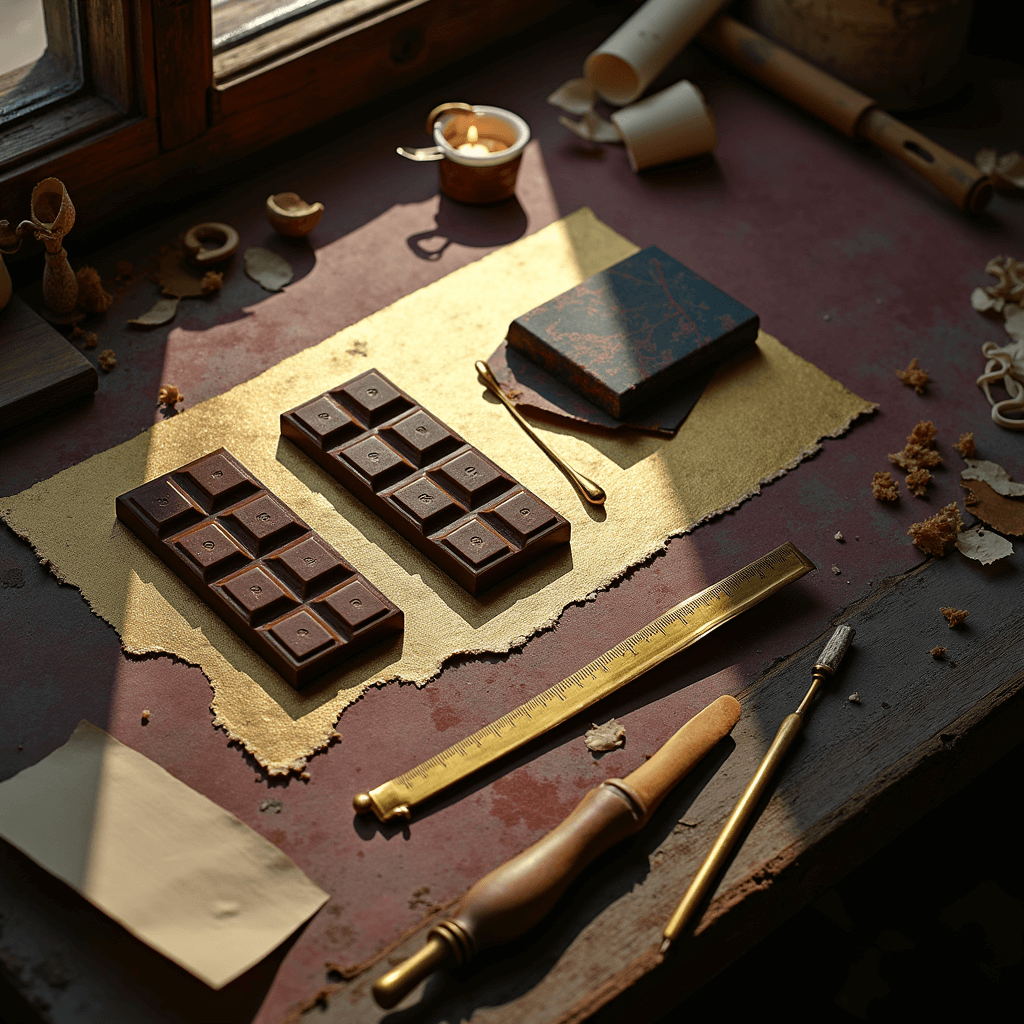
- Aluminum foil (preferably food-grade)
- Decorative paper or cardstock
- Sharp scissors
- Glue stick or double-sided tape
- Ruler
- Optional: Hole punch for decorative touches
The Perfect Envelope Fold: Step-by-Step
Pro Technique Alert: This method separates amateur wrappers from professionals.
Foil Inner Wrap Process
- Lay foil shiny side down
- Center chocolate bar
- Fold bottom edge up tightly
- Fold sides inward, creating crisp triangular points
- Roll and seal top edge
Insider Tip: Practice makes perfect. Don’t get frustrated if your first attempts look messy.
Outer Decorative Wrap Magic
Want to elevate your chocolate presentation? Here’s how:
Paper Wrapper Techniques
- Choose thick cardstock for durability
- Match paper to occasion (wedding, birthday, holiday)
- Measure precisely for clean edges
- Use minimal glue to prevent messy residue
Freshness Preservation Hacks
Wrapping isn’t just about looks – it’s about keeping your chocolate delicious.
Chocolate Freshness Checklist:
- Use foil to create initial moisture barrier
- Add outer paper for protection
- Store in cool, dry place
- Avoid direct sunlight
- Seal edges completely
Common Mistakes to Avoid
🚫 Wrapper Fail Warning:
- Stretching foil too tight
- Using low-quality materials
- Ignoring temperature considerations
- Skipping precise measurements
Pro Tips from a Chocolate Wrapping Veteran
- Always work on a clean, flat surface
- Use a bone folder for crisp creases
- Keep hands clean to prevent chocolate smudges
- Practice consistent folding techniques
Troubleshooting Quick Guide
Wrapper Looking Wonky?
- Wrinkles: Restart with fresh materials
- Loose edges: Reapply with more tension
- Torn foil: Cut new piece carefully
Final Thoughts
Chocolate bar wrapping is part technique, part art form. With practice, you’ll create wrappers that are almost too beautiful to unwrap.
Pro Challenge: Set a goal to wrap 10 chocolate bars perfectly. Track your improvement and have fun!


