This post may contain affiliate links. Please see my disclosure policy for details.
Let’s be real – boring jack-o’-lanterns are SO last year.
Contents
I’m about to show you how to transform your pumpkin from basic to bone-chillingly awesome using one killer technique: teeth carving.
Why Teeth Make Pumpkins Epic
Teeth aren’t just for biting – they’re a game-changer in Halloween decor.
Why teeth rock in pumpkin carving:
- Creates instant character
- Adds unexpected horror
- Makes people do a double-take
- Works for scary AND funny designs
Getting Started: What You’ll Need
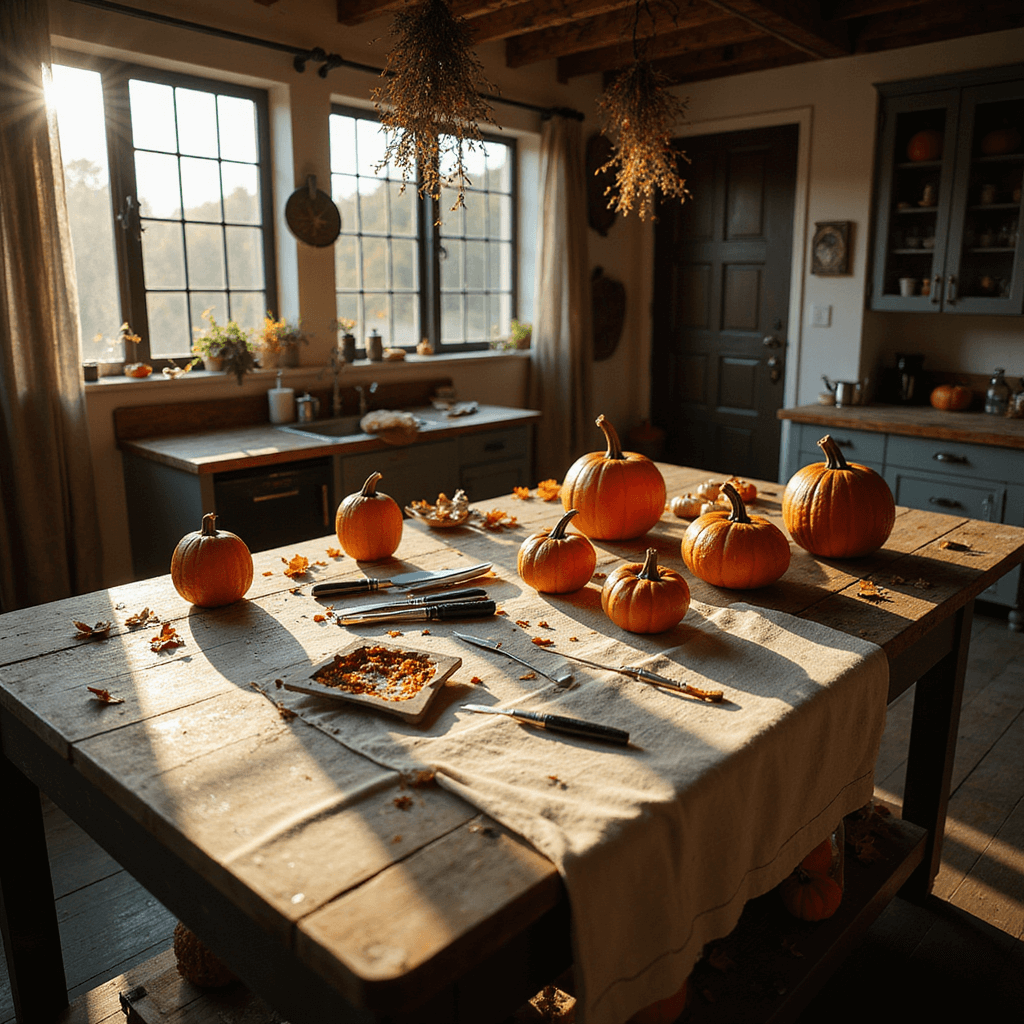
Pumpkin Carving Toolkit:
- Sharp serrated knife
- Small precision carving tools
- Dry-erase marker
- Toothpicks (optional)
- Sturdy spoon for gutting
- Protective gloves
- Patience and creativity
5 Mind-Blowing Tooth Carving Techniques
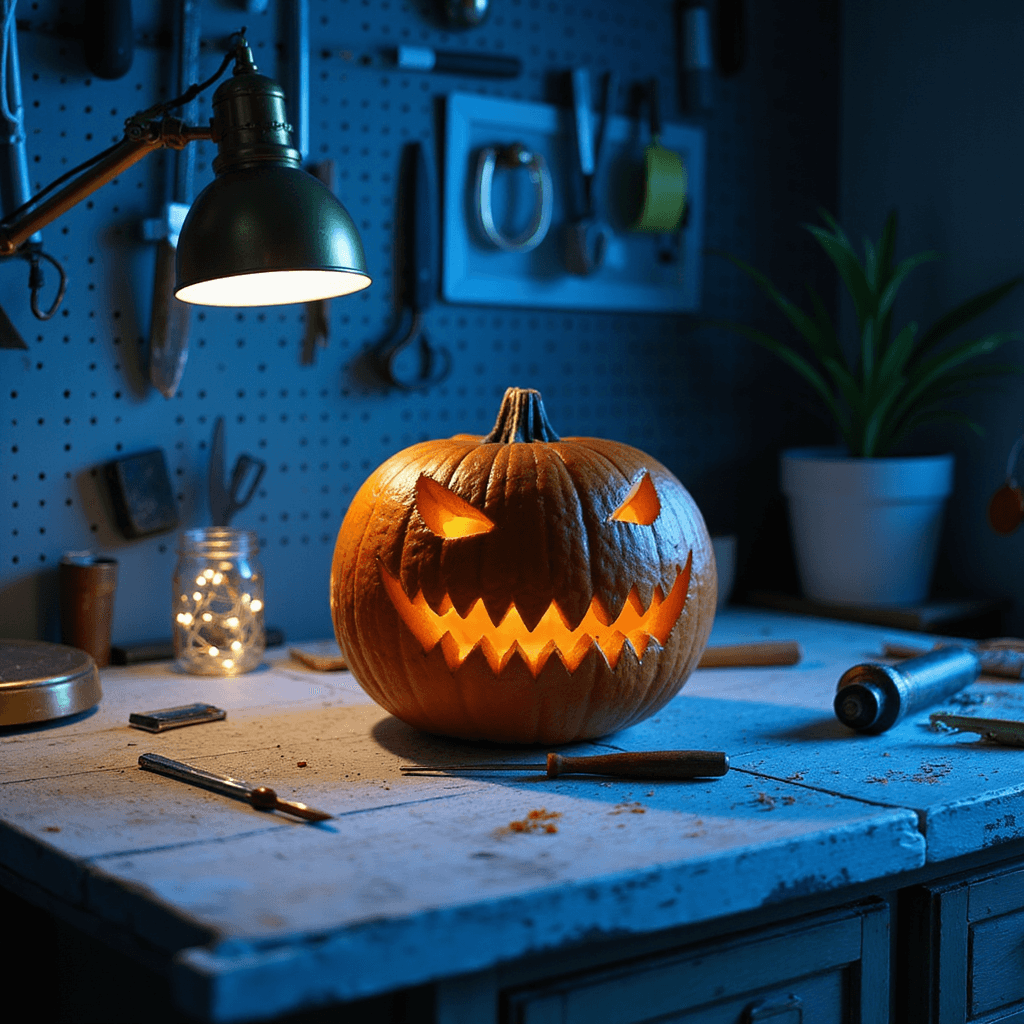
1. Classic Sharp Teeth Approach
- Sketch triangular tooth shapes
- Cut carefully between each “tooth”
- Leave thin connections for stability
- Vary tooth sizes for natural look
2. The Toothpick Fang Method
- Use toothpicks to create extra-sharp points
- Embed toothpicks for 3D fang effect
- Great for vampire or monster vibes
3. White Tooth Illusion
- Scrape outer pumpkin layer
- Expose lighter inner flesh
- Creates “white tooth” appearance
- Super realistic technique
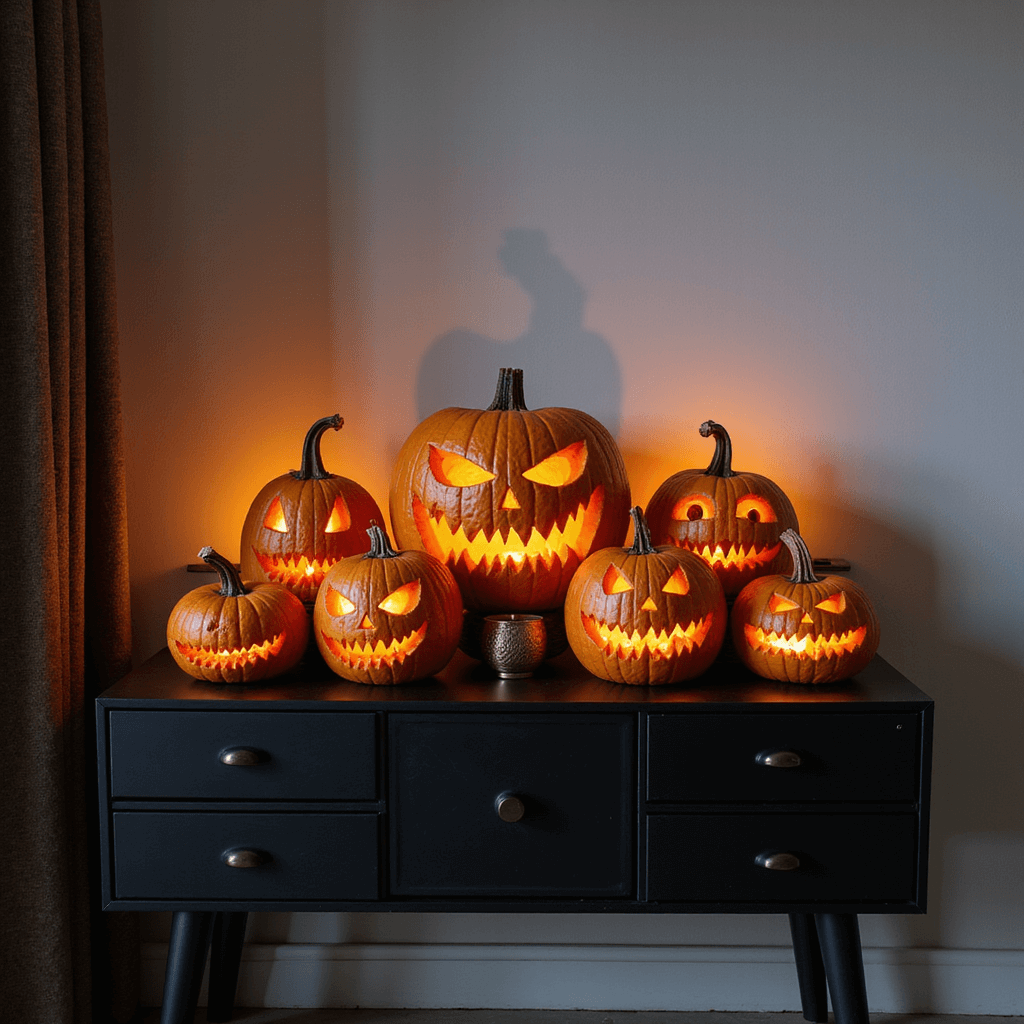
4. Oversized Mouth Design
- Carve massive, exaggerated mouth
- Make teeth proportionally huge
- Add dramatic shadows inside
5. Multi-Layered Tooth Design
- Create depth by carving different layers
- Some teeth fully cut through
- Some partially scraped
- Adds incredible visual complexity
Pro Tips for Killer Results
Insider Secrets:
- Work slowly and carefully
- Use stencils for complex designs
- Practice on smaller pumpkins first
- Keep design balanced
- Clean cuts make best impressions
Common Mistakes to Avoid
- ❌ Don’t rush the carving process
- ❌ Avoid using dull knives
- ❌ Don’t press too hard
- ❌ Never carve without a plan
Lighting Tricks
Want maximum horror? Try these:
- LED candles for consistent glow
- Colored lights for weird effects
- Strategic shadows enhance teeth
Maintenance and Preservation
Keep Your Toothy Pumpkin Looking Fresh:
- Refrigerate when not displayed
- Spray with bleach solution
- Apply petroleum jelly to cut edges
- Keep away from direct sunlight
Final Thoughts
Pumpkin carving with teeth isn’t just a technique – it’s an art form.
Each carved tooth tells a story. Your pumpkin becomes a character, not just a decoration.
Pro Tip: Document your creation! Share on social media and inspire other Halloween enthusiasts.
Remember: There are no strict rules in pumpkin carving. Let your imagination run wild, have fun, and create something uniquely terrifying.
Happy carving, Halloween lovers! 🎃👻


