This post may contain affiliate links. Please see my disclosure policy for details.
Kawaii Air Dry Clay Ideas: Adorable DIY Projects for Crafty Cuties
Contents
- Kawaii Air Dry Clay Ideas: Adorable DIY Projects for Crafty Cuties
- Kawaii Characters: Bring Your Imagination to Life
- Miniature Food Madness: Teeny Tiny Treats
- Precious Trinket Dishes: Cute and Practical
- Charming Charms and Keychains: Kawaii On-the-Go
- Essential Tools for Kawaii Clay Success
- Kawaii Clay Tips and Tricks
- Where to Find Kawaii Clay Inspiration
- Final Thoughts: Embracing the Kawaii Clay Life
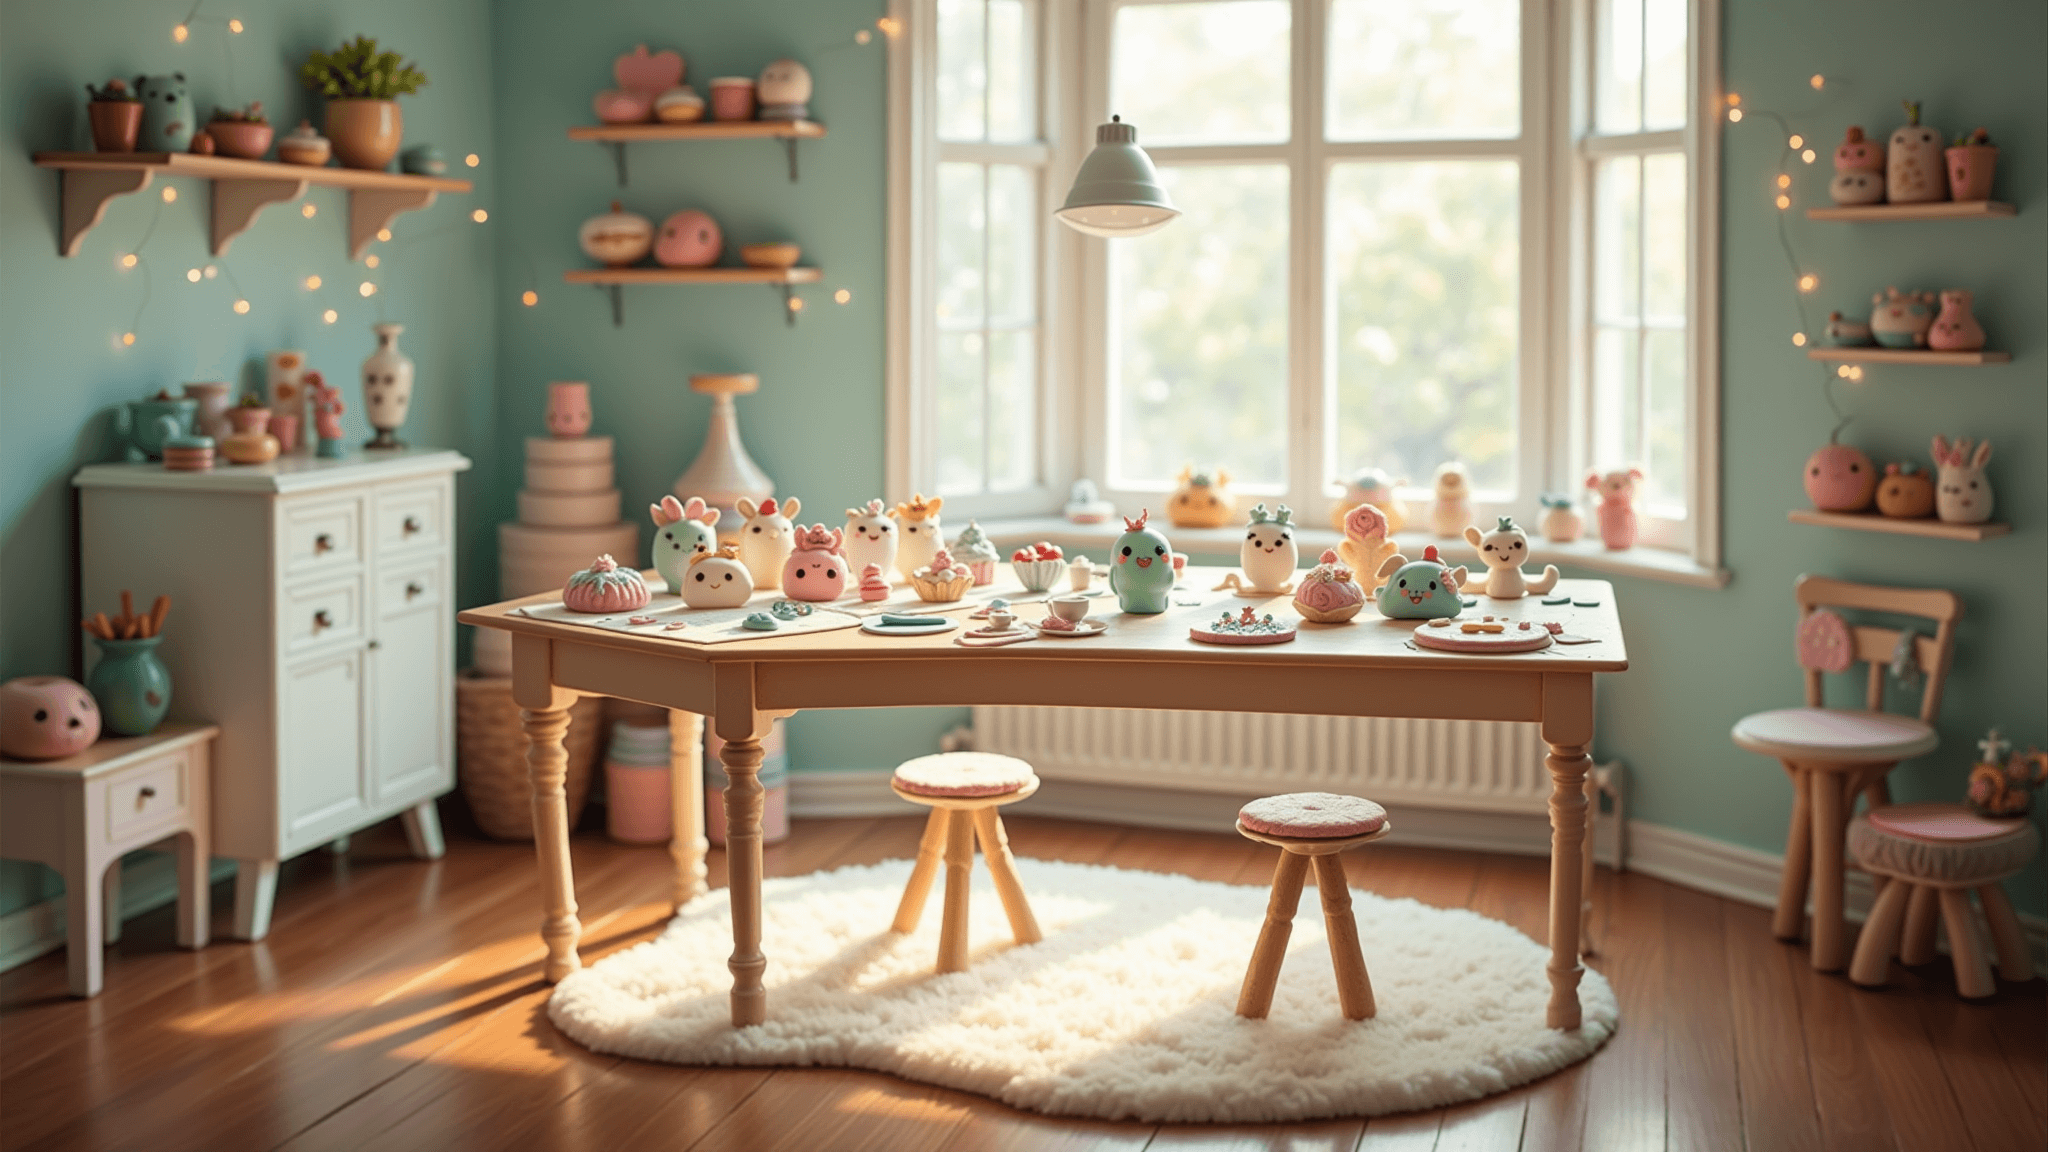
Oh my goodness, get ready to squeal with delight! I’m about to unleash a flood of the most adorable kawaii air dry clay ideas you’ve ever seen. Trust me, these projects are so cute you might just melt into a puddle of pastel goo. Let’s dive into this world of tiny, squishy cuteness together!

Kawaii Characters: Bring Your Imagination to Life
Who doesn’t love a chubby-cheeked animal friend? Here’s how to create your own kawaii menagerie:
- Start with a ball of clay for the body
- Add smaller balls for heads, ears, or paws
- Use a toothpick to gently create big, round eyes
- Don’t forget a tiny smile or surprised “o” mouth
- Roll out thin coils for whiskers or tails
Pro tip: Keep your characters simple. The charm is in their basic shapes and expressions!
Miniature Food Madness: Teeny Tiny Treats
Okay, prepare yourself for the tiniest, most delicious-looking snacks ever:
- Roll out flat circles for pizza or cookies
- Shape cylinders into sushi rolls or baguettes
- Create fruit by combining different colored clays
- Add faces to make your food extra kawaii
- Use texture tools to add realistic details
Remember: The key to kawaii food is making it look just a bit cartoonish and exaggerated!

Precious Trinket Dishes: Cute and Practical
Let’s make something both adorable AND useful:
- Roll out a flat circle of clay
- Gently lift the edges to create a shallow dish
- Smooth out any cracks or bumps
- Add kawaii faces, hearts, or star shapes to the bottom
- Paint with pastel colors once dry
Handy hint: These make perfect gifts for friends or family. Who doesn’t need a place to stash their rings?

Charming Charms and Keychains: Kawaii On-the-Go
Take your cuteness wherever you roam:
- Make tiny versions of your favorite characters or foods
- Create simple shapes like hearts, stars, or clouds
- Add eye pins before the clay dries
- Attach to keychains or charm bracelets once finished
- Don’t forget to seal for durability!
Quick tip: Group similar charms together for a themed set – like a bunch of fruits or sea creatures!

Essential Tools for Kawaii Clay Success
Before we jump in, let’s make sure you’re equipped:
- Air dry clay in various colors (pastels are a must!)
- Basic clay tools (roller, knife, needle tool)
- Acrylic paints and tiny brushes
- Clear sealer or varnish
- Findings for jewelry or keychains
Remember: You don’t need fancy tools. Toothpicks, bottle caps, and even drinking straws can work wonders!
Kawaii Clay Tips and Tricks
Let’s level up your clay game:
- Blend colors gently for soft, dreamy gradients
- Use a damp finger to smooth out imperfections
- Create texture with lace, fabric, or even sandpaper
- Always let pieces dry completely before painting
- Seal finished projects for shine and protection
Pro move: Practice making basic shapes until they become second nature. Soon you’ll be a kawaii clay machine!
Where to Find Kawaii Clay Inspiration
When you’re stuck, turn to these sources:
- Pinterest boards bursting with kawaii clay ideas
- YouTube channels like “5 Star Creative Corner” for step-by-step tutorials
- TikTok’s endless scroll of #kawaiiclay and #cuteclayideas
- Instagram accounts dedicated to miniature clay art
My secret weapon: Children’s books! Their simple, cute illustrations are perfect for kawaii clay inspiration.
Final Thoughts: Embracing the Kawaii Clay Life
Listen, my clay-loving friend. The world of kawaii air dry clay is a joyful, colorful place where imperfection is celebrated. Don’t stress about getting things exactly right – that slightly wonky smile or lopsided cupcake? That’s what gives your creations character!
So grab that clay, channel your inner child, and start squishing your way to kawaii cuteness. Before you know it, you’ll be surrounded by an army of adorable clay creations, each one cuter than the last.
Now go forth and create! And don’t forget to share your kawaii clay adventures with the world. We could all use a little more cuteness in our lives, don’t you think?


