This post may contain affiliate links. Please see my disclosure policy for details.
DIY Christmas Village: A Magical Winter Wonderland in Your Home
Contents
Hey there, fellow crafters and holiday enthusiasts!
Ready to create a Christmas village that’ll make Santa himself want to move in?
I’ve got you covered with some seriously cool ideas that’ll turn your home into a miniature winter wonderland.
Let’s dive in and get our hands festively dirty!

Paper Mâché Magic: Houses That Pop
First up, we’re talking paper mâché houses.
Trust me, these little beauties are a game-changer.
Here’s what you’ll need:
- Paper mâché or wood houses (small sets work great)
- Wood or paper cones for trees
- Acrylic paint (don’t forget the white!)
- Mod Podge Gloss (this stuff is liquid gold)
- Snow paste or faux snow
- Scrapbook paper for trees or backgrounds
- Paintbrushes, adhesive stencils, scissors, and a foam spouncer
Now, let’s get crafting:
- Slap on that basecoat. Give those houses and trees a good paint job and let ’em dry. (Pro tip: This’ll take about 15 minutes to prep and 6 hours to dry completely.)
- Time for some snow! Grab your snow paste and go to town on those roofs. Make it look like a blizzard hit!
- Stencil time! Use your spouncer to add some cute details. Think windows, doors, maybe even some tiny wreaths.
- Paper power! Use Mod Podge to stick some scrapbook paper elements onto your shadow box houses. Get creative here!
- Final touches. Paint on any extra seasonal details your heart desires.

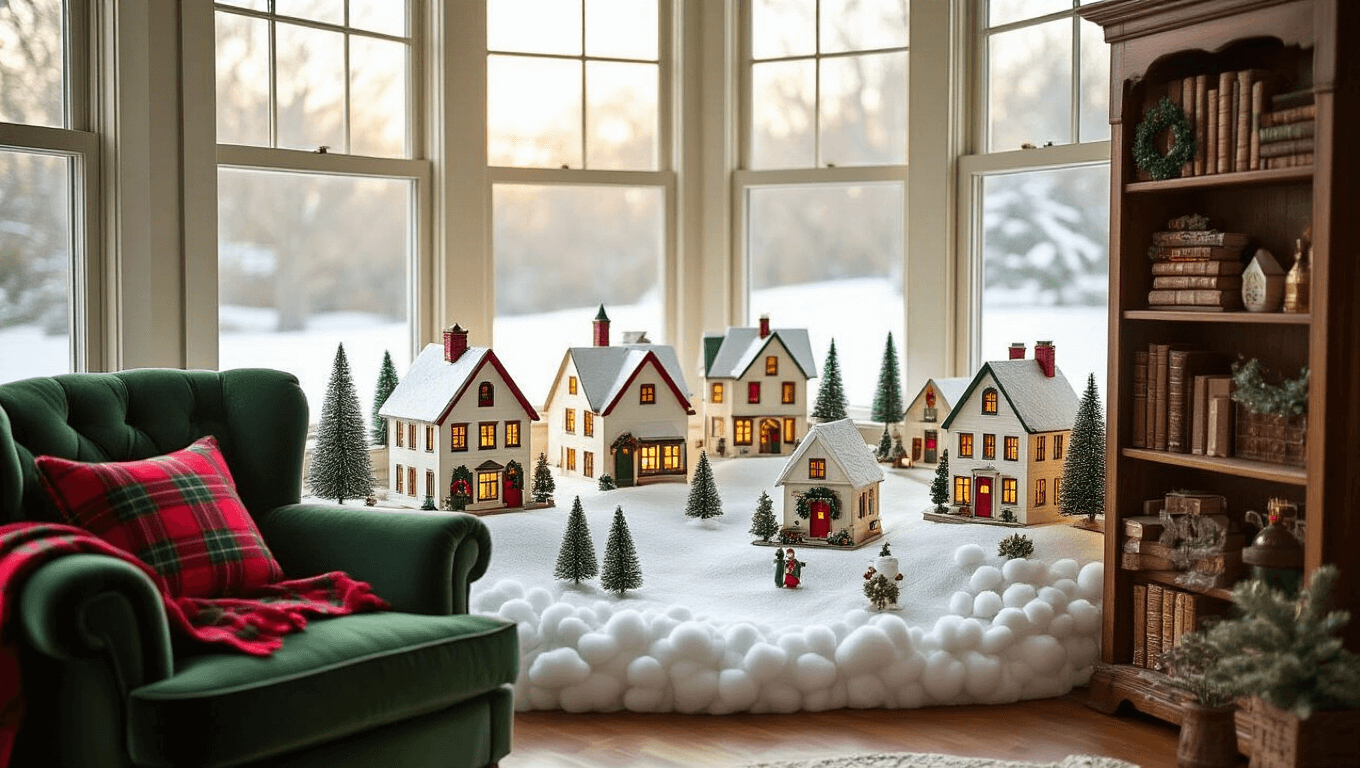
Shelf It Up: Display Tricks That’ll Wow
Now, let’s talk about showing off your masterpiece.
Tiered shelving is your best friend here.
No fancy shelves? No problem!
Stack some books to create different heights.
It’s all about making sure every little house and tree gets its moment in the spotlight.
Here’s a pro tip: Use two layers of faux snow to hide any pesky cords or stands.
It’s like magic – poof! – they’re gone.
Theme It Out: Color Palettes That Pop
Choosing a theme is where you can really let your personality shine.
Here are some ideas to get your creative juices flowing:
- Classic nostalgia: Go for red and green. It’s timeless for a reason!
- Rustic charm: Think wooden houses, faux pine, and handmade angels. So cozy!
- Storybook scene: Create frosty streets with a mix of baking soda and shaving cream. Dickens would be proud!
- Modern twist: Try a monochrome look or go bold with jewel tones.

Quick Tricks for Extra Magic
Want to take your village from great to out-of-this-world amazing?
Try these quick tricks:
- Hang icy garlands and wreaths around your display.
- Add tiny figurines like snowmen or carolers. The more, the merrier!
- String up some fairy lights. It’s instant enchantment.
- Create a hilly landscape by staggering houses on different levels. Books under the snow blanket work wonders here.
Personalize It: Make It Yours
This is where you can really have fun.
Got some old boxes lying around?
Turn them into unique village structures.
That tin can? It’s now a tiny water tower.
Scrap wood becomes charming cabins or a quaint church steeple.
Add tiny signs, homemade street lamps, or hand-lettered banners.
This is your village – make it tell your story!

Avoid These Oopsies
A few things to watch out for:
- Don’t overcrowd! Give your little buildings room to breathe.
- Stick to a color scheme. Too many colors and it’ll look like a crayon box exploded.
- Hide those cords and keep the lighting soft. We’re going for cozy, not interrogation room.
Kid-Friendly Version
Got little helpers?
Swap out paper houses for cookie-cutter molds or foam pre-cut buildings.
Use battery-operated tea lights instead of plug-ins for safety.
It’s a great way to get the whole family involved!
There you have it, folks!
Your very own DIY Christmas village that’ll make your home feel like the North Pole (minus the elves and reindeer, of course).
Remember, the best part about this project is making it your own.
So get creative, have fun, and let your imagination run wild!
Who knows?
You might just create a new holiday tradition that’ll last for years to come.
Now, if you’ll excuse me, I’ve got some tiny snowmen to paint.
Happy crafting!


