This post may contain affiliate links. Please see my disclosure policy for details.
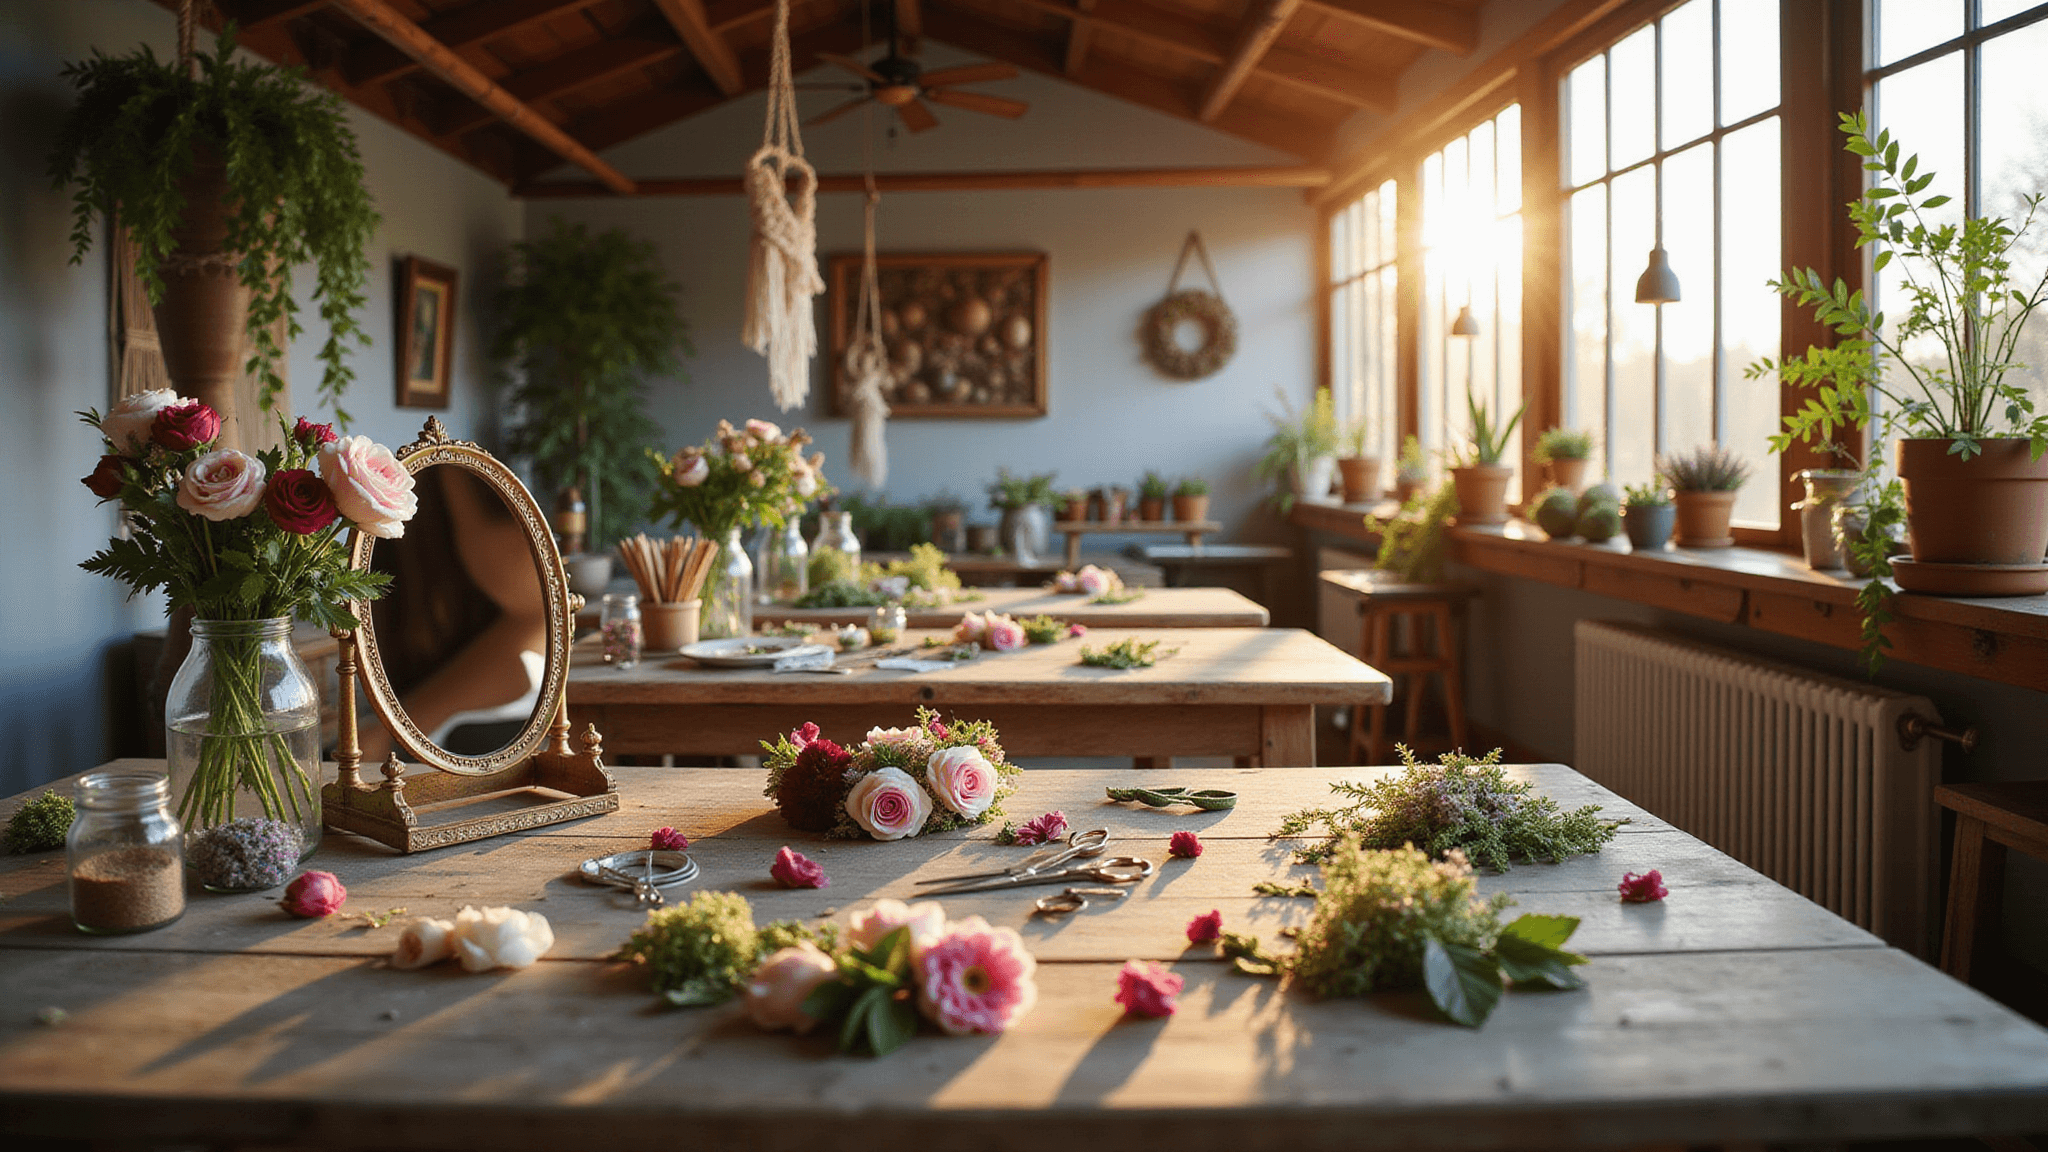
Hey there, flower power enthusiasts! Ready to turn your head into a walking garden? Let’s dive into the world of DIY flower crowns—perfect for festivals, weddings, or just feeling like a woodland fairy on a Tuesday. With a few simple supplies and some creativity, you can craft crowns that are as unique as you are.
Get started with a flower crown making kit that has everything you need for gorgeous, ready-to-wear crowns.
Materials: Your Floral Arsenal
Contents
- Materials: Your Floral Arsenal
- Step 1: Prepare Your Royal Base (5-10 minutes)
- Step 2: Prep Your Floral Subjects (5-10 minutes)
- Step 3: Build Your Blooming Empire (15-30 minutes)
- Step 4: Secure and Polish (5 minutes)
- Tips & Tricks: Crown Wisdom
- Common Mistakes: Crown Catastrophes to Avoid
- Safety First, Flower Child
- The Grand Finale: Your Blooming Masterpiece
- Mix It Up: Crown Variations
First things first, let’s gather our flowery weapons:
- Floral wire – The backbone of your crown. Get sturdy, bendable wire like floral wire rolls.
- Floral tape or raffia – Keeps everything securely together. Check out floral tape & raffia sets.
- Scissors – Regular or floral scissors work; either will get the job done. Browse floral scissors for precision cutting.
- Wire cutters – Helpful for snipping thick stems or wire, but optional. Try wire cutters if you want extra ease.
- Fresh or dried flowers – Go for hardy blooms like spray roses, chrysanthemums, or carnations. Check out flower bundles.
- Greenery – Every queen needs her leafy subjects. Grab assorted greenery stems for volume and texture.
- Ribbon (optional) – Adds extra oomph and elegance. Browse decorative ribbons for finishing touches.
Time to Create: 30-60 minutes (depending on how much you chat while crafting)

Step 1: Prepare Your Royal Base (5-10 minutes)
Alright, let’s get this crown started!
- Form the wire base – Grab your floral wire and wrap it around your head. Add a couple extra inches so it’s not too tight—this isn’t a flower crown choker!
- Create a loop – At one end of the wire, make a small loop and wrap the extra wire around it to secure the shape.
- Optional finishing touch – Feeling fancy? Wrap the entire wire in floral tape or raffia. This not only makes the base more comfortable but also helps it blend seamlessly with your flowers. Check out floral tape & raffia sets to get started.
Step 2: Prep Your Floral Subjects (5-10 minutes)
Time to play flower surgeon:
- Trim those stems down to about 1-2 inches.
- Strip off extra leaves – we want sleek, not bushy.

Step 3: Build Your Blooming Empire (15-30 minutes)
Now for the fun part – let’s make this crown bloom!
- Start with a bit of greenery, laying it parallel to the wire.
- Secure it with floral tape or raffia. Wrap it tight – we don’t want any leafy escapees.
- Add your first star flower, laying it in the same direction.
- Keep alternating between greenery and flowers, overlapping slightly.
- For a full crown, work all the way around. Want a minimalist look? Just deck out the front or side.
Step 4: Secure and Polish (5 minutes)
Almost there, Your Flowery Highness!
- Loop the remaining wire through your initial loop to close the circle.
- Adjust for fit – we want comfy, not cranium-squeezing.
- Add ribbon or a bow if you’re feeling extra.
- Gently tweak flower placement for that perfect, “I woke up like this” look.
Tips & Tricks: Crown Wisdom
- Choose hardy flowers – wilting isn’t a good look.
- Mix it up with small and big blooms for texture.
- Dried flowers last longer, but handle with care – they’re the drama queens of the flower world.
- Leave one end as a hook or use ribbon for easy adjustments.

Common Mistakes: Crown Catastrophes to Avoid
- Using flowers with heads bigger than yours – they’ll droop faster than your energy after a festival.
- Loose tape wrapping – nobody wants a flower shower.
- Visible mechanics – keep that wire undercover!
Safety First, Flower Child
- Kids and wire cutters? Keep an eye out.
- Watch those sharp wire ends – nobody wants a crown of thorns.
The Grand Finale: Your Blooming Masterpiece
Voila! You’ve now got a crown fit for a flower fairy (or just a really cool human). Wear it with flowing locks for boho vibes, add ribbons for whimsy, or match your blooms to the season. Fresh crowns last a few hours, but dried ones can be your forever flower friends.
Mix It Up: Crown Variations
- No floral wire? A sturdy twist-tie or flexible branch works too.
- For the little ones, try gluing flowers on cardboard strips.
- Combine fresh and dried flowers for a textured masterpiece.
- Herbs in your crown? Now you’re a walking aromatherapy session!
There you have it, my budding artists! Your DIY flower crown is complete, and now it’s time to crown yourself with glory—floral glory, that is. Whether you’re rocking it at a festival, wedding, or just for fun, these crowns are guaranteed to turn heads. Who knows? You might just start a full-blown flower power revolution.
If you want to stock up on extra supplies for future crowns or gifts, check out complete flower crown kits to make crafting even easier.
Peace, love, and petals to you all! 🌸

