This post may contain affiliate links. Please see my disclosure policy for details.
DIY Teacher Appreciation Cards: Heartfelt Crafts to Show Your Gratitude
Contents
I’ve always believed that a handmade card speaks volumes more than anything store-bought.
When it comes to showing appreciation for the incredible teachers in our lives, nothing beats the personal touch of a DIY card.
Let’s dive into some creative, easy-to-make cards that’ll make your favorite educators feel truly special.

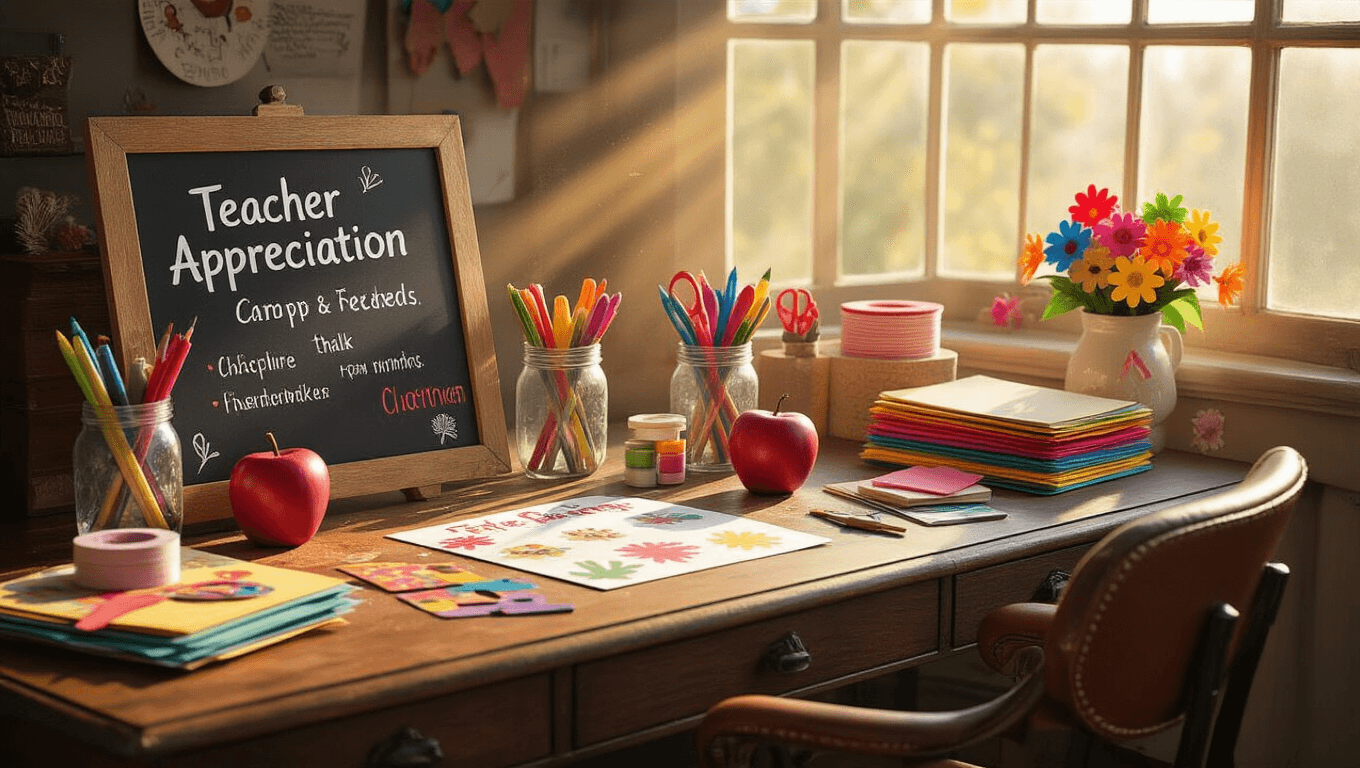
1. The Classic Chalkboard Message
Remember those satisfying swooshes of chalk across a blackboard? Let’s bring that nostalgia to life!
You’ll need:
- Black cardstock
- Brown or gold markers
- White chalk marker (or actual chalk if you’re feeling adventurous!)
- Optional: A tiny piece of chalk or eraser for a 3D effect
Here’s how to make it:
- Cut your black cardstock to size – I usually go for a 5×7 inch card.
- Use your brown or gold marker to draw a “wooden” frame around the edge.
- Now for the fun part! Write your message with the chalk marker. Something like “Thanks for writing my future!” works great.
- Want to go the extra mile? Glue on that tiny chalk or eraser.
Pro tip: Get the kids involved! Their handwriting or even fingerprints can add an adorable personal touch.

2. An Apple for the Teacher
This classic symbol of education gets a paper craft makeover!
Grab these supplies:
- Red cardstock
- Green and brown paper scraps
- Scissors and glue
- Optional: A sponge and paint for texture
Let’s craft:
- Cut a big apple shape from the red cardstock.
- Add a green leaf and brown stem from your paper scraps.
- Glue it all onto a folded card base.
- Inside, write something cute like “You’re the core of our learning!”
- Feeling fancy? Sponge on some paint for a textured look.
Insider trick: Layer different shades of red paper for a 3D effect that really pops!

3. Blooming Handprint Bouquet
This one’s a winner with younger kids – they love seeing their handprints turned into art!
You’ll want:
- Colorful construction paper
- Scissors and glue
- Markers
- A bit of ribbon (optional, but fancy!)
Here’s the plan:
- Trace and cut out several handprints in different colors.
- Arrange them in a fan shape and glue onto your card.
- Use markers to draw stems and a bow.
- For extra flair, tie on a real ribbon.
Make it special: Let each kid choose their favorite color for their handprint “flower.”

4. 3D Pencil Pop-Up Surprise
This card adds some serious wow factor when it’s opened!
Gather up:
- Colored paper (yellow, pink, and tan work great for a pencil look)
- Glue and scissors
- Pencil, ruler, and if you’re feeling fancy, a heart-shaped paper punch
Let’s get popping:
- Fold your card base – make it sturdy!
- Cut and fold your pencil design (there are great video tutorials for this part).
- Carefully glue your pencil pieces so they pop up when the card opens.
- Decorate with heart cutouts or other school-themed designs.
Secret weapon: Bright, contrasting colors make this card really stand out.
Remember, the most important ingredient in any of these cards is the heartfelt message you put inside.
Teachers pour their hearts into their work, so don’t be shy about expressing your genuine appreciation!
A few final tips for DIY card success:
- Always supervise kids around scissors and glue.
- Stick to non-toxic materials, especially with younger crafters.
- These designs are easily adaptable for different skill levels or physical abilities.
- Consider pairing your card with a small gift or popping it in a decorated envelope for extra impact.
Now get crafting! Your teachers deserve to feel like the superstars they are.


