This post may contain affiliate links. Please see my disclosure policy for details.
Crafting Your Perfect DIY Invitation: A Step-by-Step Guide
I’ve been designing invitations for years, and let me tell you, there’s nothing quite like the thrill of creating something truly unique. Whether you’re planning a wedding, birthday bash, or just a casual get-together, homemade invitations add that special touch that store-bought ones just can’t match. So, let’s roll up our sleeves and dive into the wonderful world of DIY invites!

First Things First: Choosing Your Style
Before you even pick up a pair of scissors, take a moment to consider your event’s vibe. Are we talking elegant soirée or backyard barbecue? Trust me, this decision will guide everything that follows.
- For formal affairs: Think classic materials like ivory cardstock or vellum
- Casual gatherings: Get creative with colorful paper or even unconventional materials like fabric
Pro tip: Always buy more supplies than you think you’ll need. Nothing’s worse than running out of paper halfway through!
Getting Down to Business: The Basics
Alright, let’s start with the backbone of your invitation:
- Choose your base paper or card
- Decide on your text (don’t forget the important details!)
- Pick a font that matches your style
Now here’s where the magic happens – it’s time to make it your own!

Adding That Personal Touch
This is where you can really let your creativity shine. Here are some of my favorite techniques:
- Embossing: It adds a subtle, elegant texture
- Watercolor washes: Perfect for a soft, romantic look
- Pressed flowers: Ideal for spring or garden-themed events
- Washi tape borders: Quick, easy, and oh-so-cute
Remember, less is often more. You don’t want your invitation looking like a craft store exploded on it!
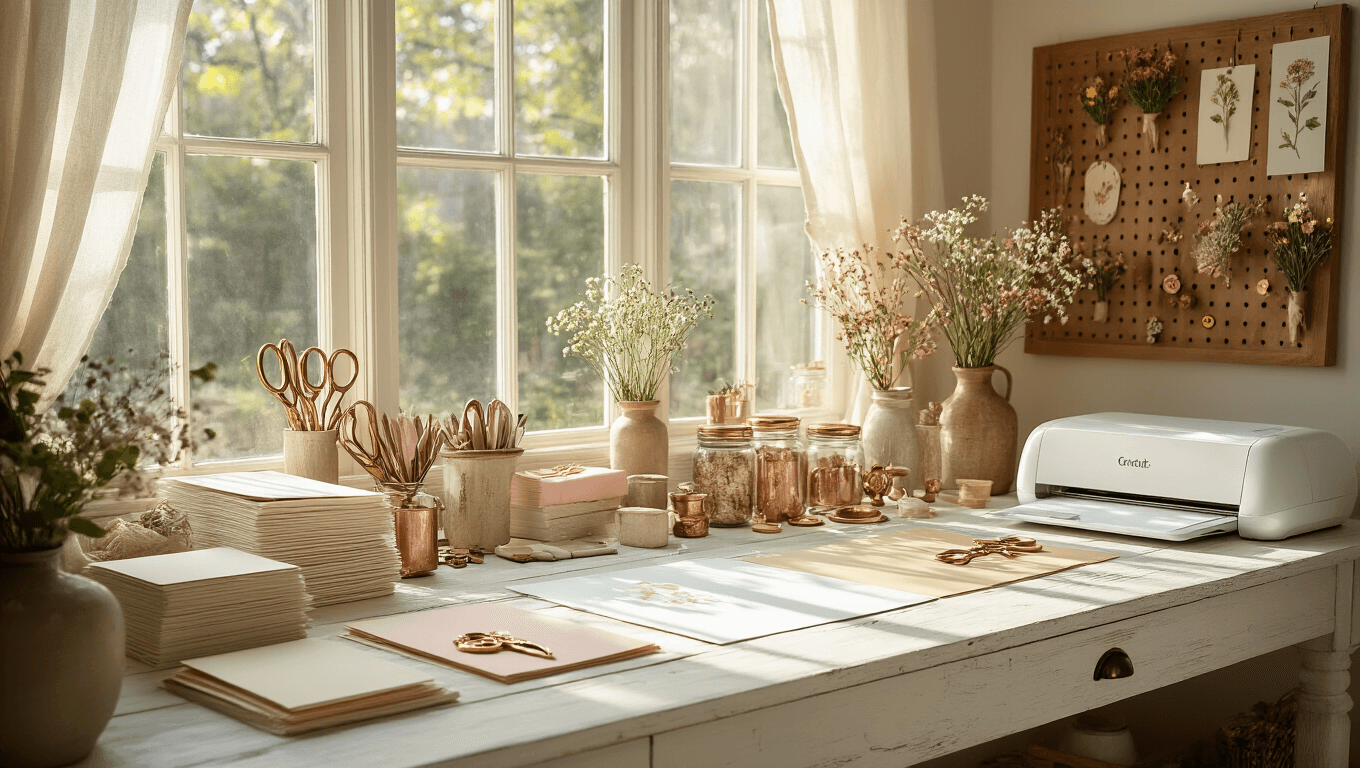
Tech to the Rescue: Digital Tools
Don’t worry if you’re not a natural-born artist – technology’s got your back:
- Canva: A lifesaver for creating professional-looking designs
- Cricut machines: For precision cutting that’ll make your crafty friends jealous
- Printable templates: A great starting point if you’re feeling overwhelmed

The Devil’s in the Details
Once you’ve got your basic design down, it’s time to kick it up a notch:
- Envelope liners: They’re like a surprise party for your envelope!
- Custom stamps: Perfect for adding that final personalized touch
- Wax seals: Nothing says “fancy” quite like a wax seal
Troubleshooting Common DIY Disasters
Let’s be real – we’ve all been there. Here are some quick fixes for common problems:
- Smudged ink? Let it dry completely before handling
- Crooked cuts? Invest in a good paper trimmer
- Glue showing through? Use acid-free glue sticks for a cleaner look

The Final Countdown: Assembly and Mailing
You’re in the home stretch! Here’s how to bring it all together:
- Set up an assembly line system
- Double-check all details before sealing envelopes
- Consider hand-delivering special invitations for an extra personal touch
Remember to weigh a completed invitation at the post office to ensure proper postage!
Wrapping It Up
Creating your own invitations might seem daunting at first, but trust me, the satisfaction of seeing your vision come to life is worth every paper cut and glue-gunned finger. Plus, your guests will feel extra special knowing you put so much thought into every detail.
So go ahead, unleash your inner artist, and create invitations that’ll have everyone talking long after the party’s over. And hey, if all else fails, there’s always the trusty e-vite option. But where’s the fun in that?


