This post may contain affiliate links. Please see my disclosure policy for details.
Transforming Your Kitchen: A Complete Guide to Painting Cabinets Like a Pro
Contents
- Transforming Your Kitchen: A Complete Guide to Painting Cabinets Like a Pro
- Why Paint Your Kitchen Cabinets?
- Before You Start: What You Need to Know
- Step-by-Step Cabinet Painting Process
- Pro Color Selection Tips
- Recommended Paint Brands
- Common Mistakes to Avoid
- Final Touches
- Cost Breakdown
- Pro Photographer’s Tip
Hey there, kitchen makeover enthusiast! Ready to give your space a jaw-dropping transformation without breaking the bank? Painting kitchen cabinets is your secret weapon to a stunning kitchen renovation.

🖼 Steal This Look
- Paint Color: Sherwin-Williams Alabaster SW 7008
- Furniture: farmhouse-style solid wood dining table with turned legs
- Lighting: Matte black pendant lights with seeded glass shades over the island
- Materials: brushed brass hardware, white oak floating shelves, honed Carrara marble countertops, woven jute runner
Your kitchen is where morning coffee rituals and midnight snack raids happen—it’s the heartbeat of your home, and fresh cabinets make every moment feel intentionally designed rather than inherited.
Why Paint Your Kitchen Cabinets?
Listen up – a fresh coat of paint can totally revolutionize your kitchen for a fraction of a full remodel cost. Imagine walking into a space that feels brand new, without emptying your savings account.
What You’ll Achieve:
- Instant Room Refresh: Complete makeover in days
- Cost-Effective: Spend $100-$300 instead of $10,000+
- Personalized Style: Choose ANY color that speaks to you

🖼 Steal This Look
- Paint Color: Benjamin Moore Chantilly Lace OC-65
- Furniture: IKEA SEKTION base cabinets with Kungsbacka matte black fronts
- Lighting: Schoolhouse Electric Satellite 3 Semi-Flush Mount in brass
- Materials: Brushed brass hardware, white oak floating shelves, handmade zellige tile backsplash
I’ve watched too many homeowners rush this project and regret the shortcuts two years later when the chipping starts—take the weekend to do it right, and you’ll thank yourself every morning when you reach for your coffee mug.
Before You Start: What You Need to Know
Pro Tip: This isn’t a quick afternoon project. Plan for 3-5 days of dedicated work.
Your Essential Toolkit:
- TSP cleaner
- Sandpaper
- High-quality primer
- Cabinet-specific paint
- Foam rollers
- Quality brushes
- Painter’s tape
- Drop cloths

🌟 Steal This Look
- Paint Color: Farrow & Ball Off-Black No. 57
- Furniture: unpainted solid wood base cabinets with Shaker-style doors for testing your technique
- Lighting: adjustable LED task lamp with daylight color temperature for inspecting brush marks
- Materials: tack cloth, wood filler, deglosser liquid, painter’s pyramids for elevating doors
Kitchen cabinet painting is where patience separates weekend warriors from lasting results—I’ve seen too many beautiful color choices ruined by rushed prep.
🔔 Get The Look
Step-by-Step Cabinet Painting Process
1. Prep Like a Boss
- Remove ALL hardware
- Clean surfaces thoroughly with TSP
- Label doors/drawers so reassembly is a breeze
2. Sanding: The Foundation of a Flawless Finish
- Lightly sand ALL surfaces
- Create a smooth “tooth” for paint adhesion
- Don’t skip this – it’s crucial!

3. Prime Time
- Use a bonding primer for best results
- Apply thin, even coats
- Let each coat dry completely
- Sand lightly between coats
4. Paint Like a Professional
Painting Techniques:
- Use foam rollers for large, flat surfaces
- Grab an angled brush for edges and details
- Apply 2-3 thin coats
- Allow 4-5 hours drying time between coats

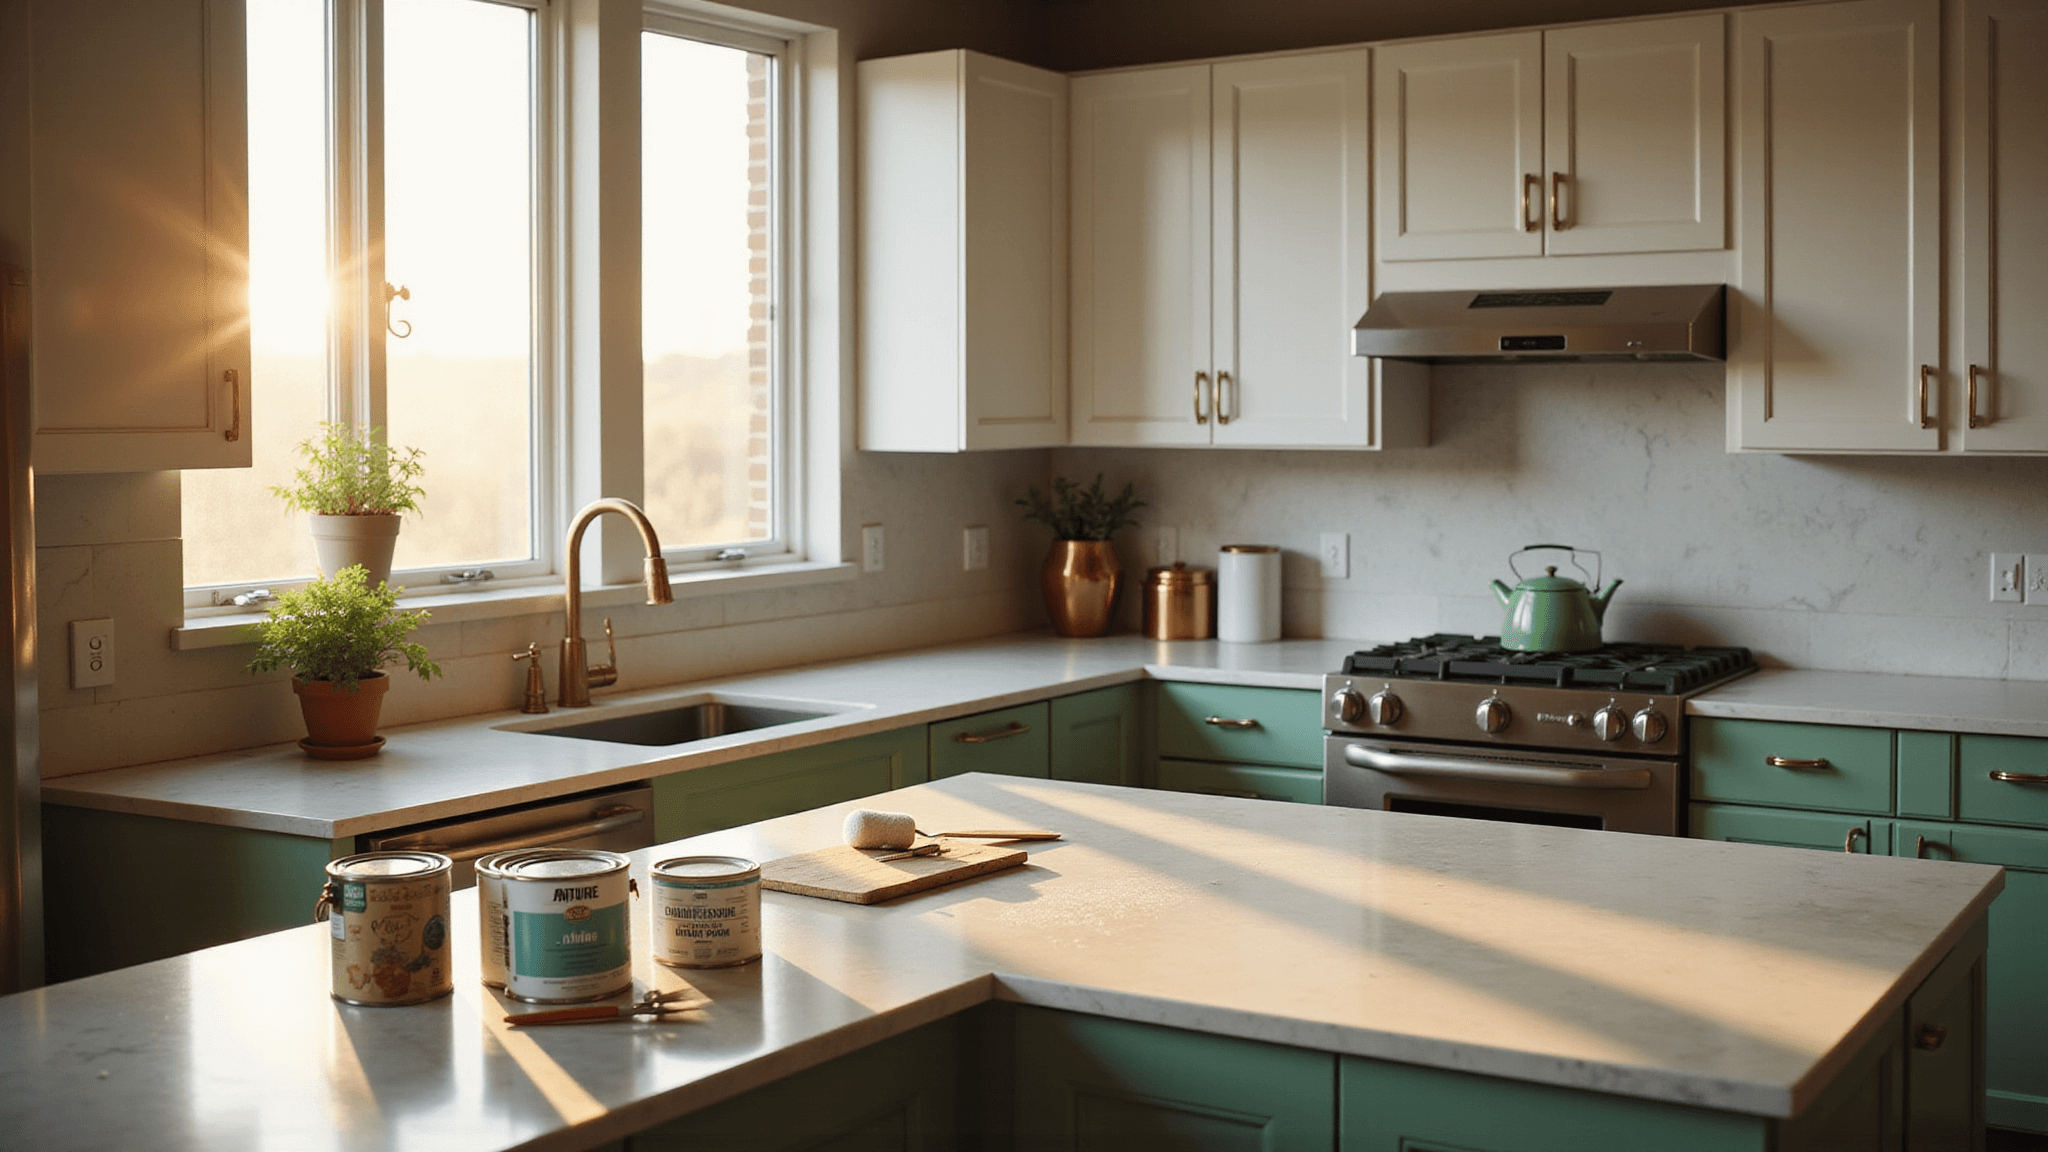
🎨 Steal This Look
- Paint Color: use Behr brand. Match the ACTUAL wall color in the image. Format: Behr ColorName CODE
- Furniture: specific furniture for this room
- Lighting: specific lighting fixture
- Materials: key textures and materials
There’s something deeply satisfying about opening a freshly painted cabinet door months later and still admiring that glass-smooth finish you created—this is the project where patience literally pays off every single day you cook.
Pro Color Selection Tips
Foolproof Color Strategies:
- White: Timeless and bright
- Gray: Modern and sophisticated
- Navy: Bold and dramatic
- Sage Green: Trendy and calming
Hack: Use peel-and-stick samples to test colors in YOUR space!

🌟 Steal This Look
- Paint Color: use Valspar brand. Match the ACTUAL wall color in the image. Format: Valspar ColorName CODE
- Furniture: Shaker-style base cabinets with soft-close drawers and a matching kitchen island with butcher block top
- Lighting: pendant lights with brushed brass finish and seeded glass shades
- Materials: matte painted cabinet surfaces, natural oak open shelving, and honed marble-look quartz countertops
Your kitchen cabinets are the single largest visual surface in the room, so this decision feels weighty—but remember, paint is one of the few design choices you can redo without gutting the space if your taste evolves.
Recommended Paint Brands
- Sherwin-Williams Emerald Urethane Trim Enamel
- BEHR Premium Cabinet & Trim Enamel
- Rust-Oleum Cabinet Transformations Kit
Common Mistakes to Avoid
- Rushing the process
- Skipping primer
- Painting without proper surface preparation
- Reinstalling hardware before complete drying

🌟 Steal This Look
- Paint Color: use Dunn-Edwards Whisper White DEW 340 for a clean, forgiving cabinet finish that hides minor imperfections
- Furniture: refinished vintage hutch with glass-front upper cabinets to display dishware
- Lighting: schoolhouse pendant lights with milk glass shades over the kitchen island
- Materials: satin-finish cabinet paint, high-bond oil-based primer, 220-grit sanding sponges, tack cloths, foam cabinet rollers
Kitchen cabinets endure daily abuse from grease, steam, and grubby hands—this is the one room where cutting corners on prep time always comes back to haunt you, usually within the first year.
Final Touches
Hardware Upgrade Options:
- Matte black handles
- Brushed nickel pulls
- Vintage brass knobs
Cost Breakdown
- Paint & Primer: $50-$150
- Tools: $50-$100
- Hardware (optional): $50-$200
- Total Investment: $100-$300 🎉
Pro Photographer’s Tip
Capture your transformation! Use natural mid-morning or late afternoon light for the most stunning before-and-after shots.
Remember: A killer cabinet paint job is 70% preparation, 30% painting.
Go forth and transform your kitchen! You’ve got this. 💪🏼🎨