This post may contain affiliate links. Please see my disclosure policy for details.
Transforming your kitchen doesn’t require a full renovation, just a fresh coat of paint can breathe new life into your space.

Why Paint Your Kitchen Cabinets?
Contents
Kitchen cabinet painting is the ultimate budget-friendly makeover trick. Instead of spending thousands on new cabinetry, you can dramatically change your kitchen’s look for under $200.
Preparation: The Key to a Flawless Finish
Gather Your Supplies
Before diving in, make sure you have:
- Screwdriver
- Painter’s tape
- Drop cloths
- Cleaning solution
- Sandpaper (220-grit)
- Primer
- Quality cabinet paint
- Brushes and rollers

Step-by-Step Cabinet Painting Process
1. Remove Everything
- Take off cabinet doors
- Remove all hardware (knobs, hinges)
- Label each piece to ensure easy reassembly
2. Deep Clean Surfaces
- Use a strong degreaser
- Wipe down all surfaces thoroughly
- Let surfaces dry completely
3. Sanding Matters
- Lightly sand entire surface
- Create a slightly rough texture for paint adhesion
- Wipe away all dust with a tack cloth

🖼 Steal This Look
- Paint Color: Benjamin Moore Simply White OC-117
- Furniture: adjustable sawhorse work table for cabinet door painting
- Lighting: portable LED shop light with stand for detailed prep work visibility
- Materials: tack cloth, painter’s pyramids for elevating doors, foam sanding blocks, microfiber cleaning cloths
Kitchen cabinets endure years of grease, steam, and fingerprints—taking an extra hour to degrease properly now saves you from the heartbreak of paint peeling six months later when you’re finally enjoying your morning coffee in a space that feels truly yours.
Priming and Painting Techniques
Choose the Right Products
- Select a high-quality bonding primer
- Use cabinet-specific enamel paint
- Opt for urethane-based paints for durability
Painting Pro Tips
- Apply thin, even coats
- Use foam rollers for smooth surfaces
- Brush edges and detailed areas
- Allow 24 hours between coats

🌟 Steal This Look
- Paint Color: Farrow & Ball All White 2005
- Furniture: Shaker-style maple base cabinets with brushed brass cup pulls
- Lighting: Schoolhouse Electric Isaac Pendant in aged brass
- Materials: Brushed brass hardware, honed Carrara marble countertops, matte ceramic subway tile backsplash
There’s something deeply satisfying about opening a freshly painted cabinet door and seeing that flawless, factory-smooth finish you created yourself—it’s the moment amateur DIY transforms into genuine craft.
Common Pitfalls to Avoid
Don’t:
- Rush the process
- Skip cleaning or sanding
- Use cheap brushes
- Paint in humid conditions
- Overload your brush
Professional Finishing Touches
Final Recommendations
- Let paint cure for 2-3 days
- Reinstall hardware carefully
- Consider new handles for extra refresh
Cost and Time Investment
- Total Cost: $150-$300
- Time Required: 2-3 days
- Skill Level: Intermediate DIY

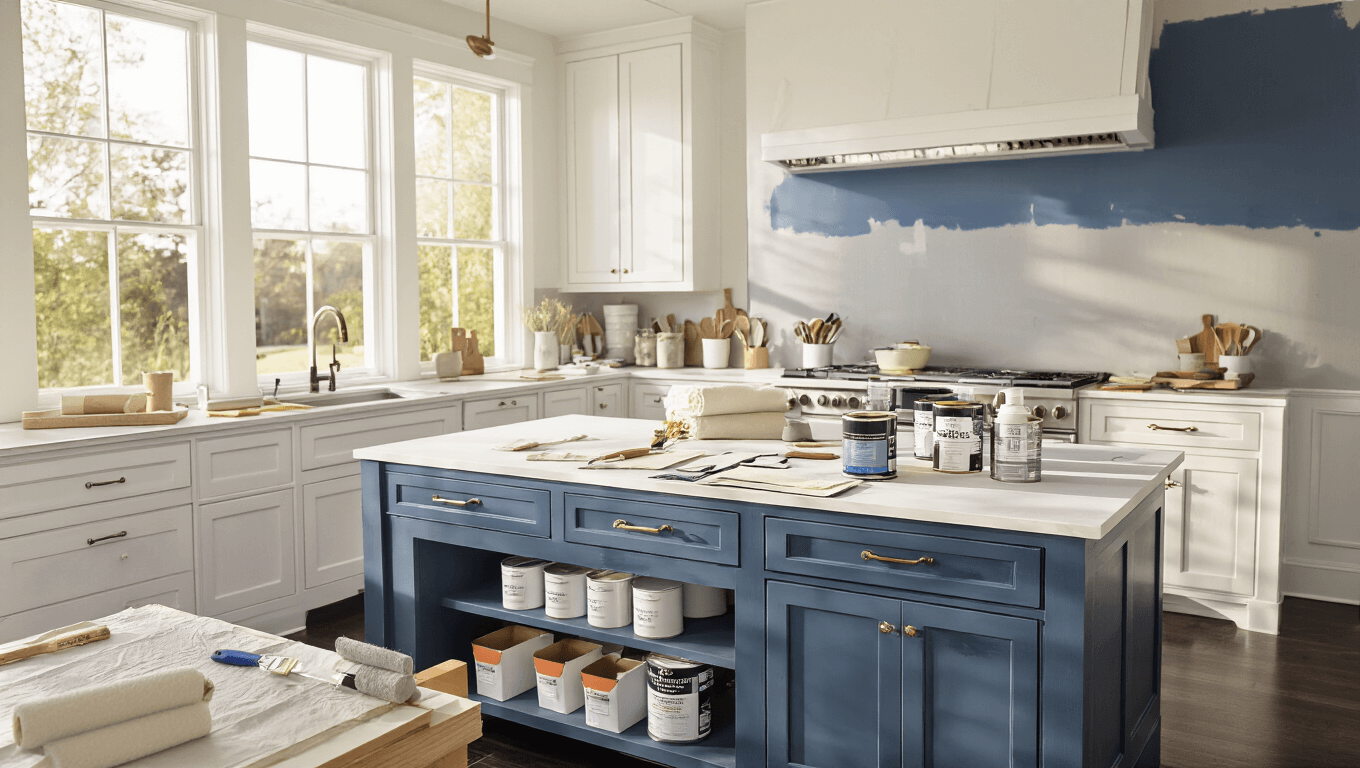
🎨 Steal This Look
- Paint Color: use PPG brand. Match the ACTUAL wall color in the image. Format: PPG ColorName CODE
- Furniture: pull-out cabinet organizers and soft-close drawer inserts to maximize functionality in newly painted cabinets
- Lighting: under-cabinet LED strip lighting to highlight fresh paint finish and improve task visibility
- Materials: high-gloss acrylic cabinet paint, 220-grit sanding sponge, tack cloth, foam roller covers, painter’s pyramids for drying
Kitchen cabinets endure the most abuse of any painted surface in your home—grease, steam, and daily handling—so this investment rewards patience with years of daily satisfaction.
When to Call a Professional
Consider hiring a pro if:
- Cabinets have extensive damage
- You lack time or confidence
- Your kitchen has complex cabinetry
Maintenance After Painting
Keep Your New Cabinets Looking Fresh:
- Clean gently with mild soap
- Avoid abrasive cleaners
- Touch up small chips promptly

My Personal Experience
I’ve painted my own kitchen cabinets twice. The first time was a disaster—uneven coats, missed spots. The second time, following these exact steps, I created a showstopper kitchen that looked professionally done.
🏠 Steal This Look
- Paint Color: use Clare Paint brand. Match the ACTUAL wall color in the image. Format: Clare Paint ColorName CODE
- Furniture: soft-touch microfiber cleaning caddy with dedicated cabinet cloths stored under sink
- Lighting: under-cabinet LED strip lighting to illuminate surface imperfections and highlight finish quality
- Materials: matte ceramic soap dispensers, natural sea sponges for gentle cleaning, felt cabinet door bumpers
Your kitchen cabinets take more daily abuse than almost any surface in your home—grease, steam, fingerprints, splatters—so a five-minute weekly wipe-down prevents the grimy buildup that eventually requires aggressive cleaning that damages your finish.
Final Thoughts
Painting kitchen cabinets is more than a weekend project—it’s a strategic home improvement that adds significant value and style to your space.
Ready to transform your kitchen? Grab your supplies and let’s get painting!