This post may contain affiliate links. Please see my disclosure policy for details.
How to Paint Kitchen Cabinets Like a Pro: A Complete DIY Guide
Contents
Transforming your kitchen doesn’t require a massive renovation. With the right approach, painting kitchen cabinets can breathe new life into your space without breaking the bank.

Why Paint Your Kitchen Cabinets?
Kitchen cabinet painting is a game-changer for homeowners looking to:
- Refresh outdated kitchen aesthetics
- Save thousands compared to full cabinet replacement
- Customize your kitchen’s look without major construction
- Increase home value with a fresh, modern appearance
🎨 Steal This Look
- Paint Color: Sherwin-Williams Pure White SW 7005
- Furniture: Shaker-style base cabinets with soft-close drawers, open shelving flanking range hood
- Lighting: Schoolhouse glass pendant lights over island, under-cabinet LED strip lighting
- Materials: Brushed brass hardware, Carrara marble-look quartz countertops, natural oak floating shelves
Kitchens are where morning coffee rituals and midnight snack raids happen—your cabinets should feel like they can handle real life, not just look pretty for photos.
The Ultimate Step-by-Step Cabinet Painting Process
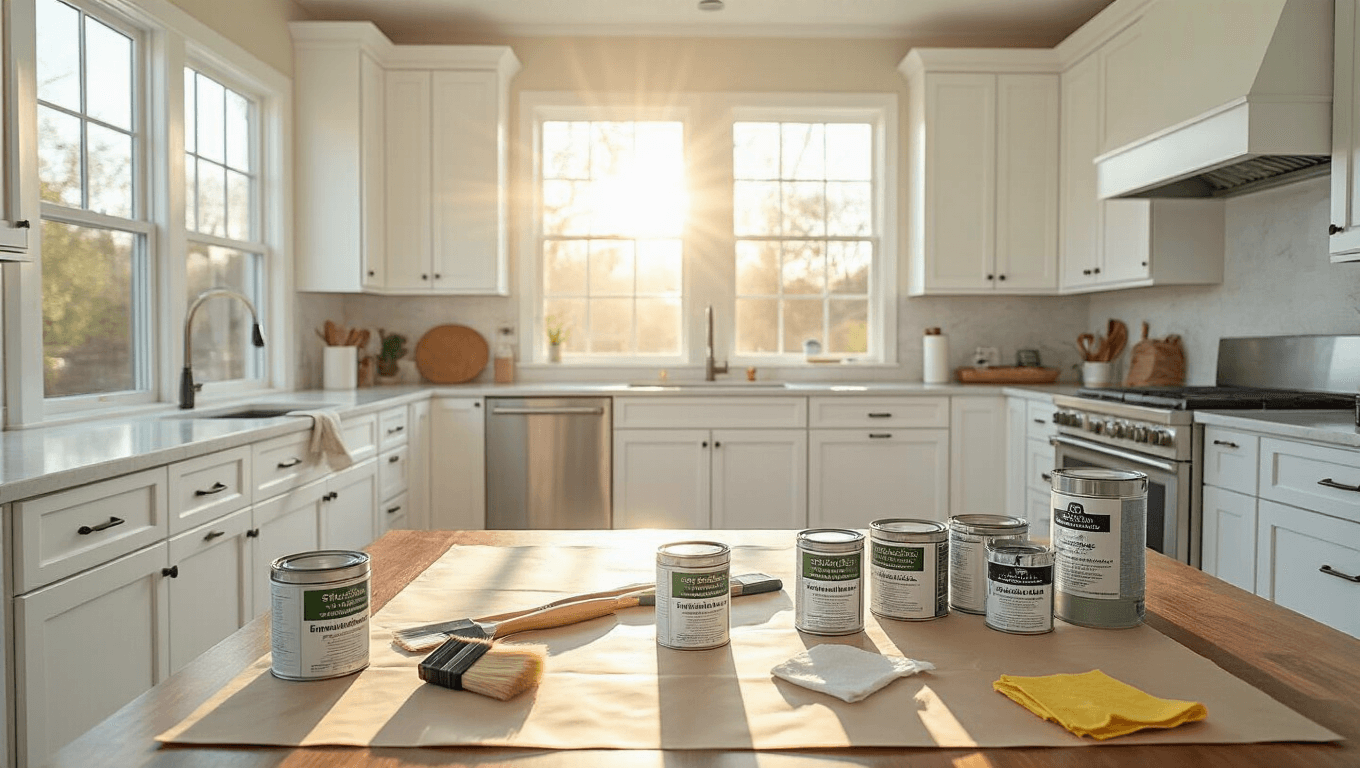
1. Prep Work: The Foundation of a Flawless Finish
What You’ll Need:
- Screwdriver
- Degreaser
- Drop cloths
- Sandpaper (220-grit)
- Painter’s tape
- Cleaning rags
Key Preparation Steps:
- Remove All Hardware: Take off handles, hinges, and doors
- Deep Clean Surfaces: Use a strong degreaser to eliminate years of cooking residue
- Protect Your Space: Cover countertops and floors completely

2. Sanding: Creating the Perfect Paint Surface
Pro Tip: Light sanding creates microscopic grooves that help paint adhere better.
Sanding Techniques:
- Use 220-grit sandpaper for gentle surface roughening
- Sand in the direction of the wood grain
- Wipe away dust with a tack cloth after sanding
3. Priming: The Secret to Long-Lasting Color
Top Primer Recommendations:
- Sherwin-Williams Extreme Bond Primer
- 100% Acrylic Latex Primers
- Oil-Based Bonding Primers
Application Tips:
- Apply thin, even coats
- Allow complete drying between coats
- Sand lightly after primer for ultra-smooth surface

4. Choosing the Perfect Cabinet Paint
Best Cabinet Paint Brands:
- Sherwin-Williams Emerald Urethane Trim Enamel
- Exceptional durability
- Chip-resistant
- Professional-grade finish
- Benjamin Moore Advance Waterborne Alkyd
- Low VOC
- Smooth, factory-like finish
- Easy water cleanup
- General Finishes Milk Paint
- DIY-friendly
- Minimal preparation required
- Great for quick makeovers

5. Painting Technique: Achieving a Flawless Finish
Application Strategy:
- Use high-quality nylon/polyester brushes
- Apply thin, even coats
- Use foam rollers for large, flat surfaces
- Allow 24-48 hours between coats
Common Painting Mistakes to Avoid:
- Thick paint application
- Rushing between coats
- Inadequate surface preparation
- Skipping primer

6. Curing and Finishing
Curing Timeline:
- Dry to touch: 24 hours
- Light use: 48-72 hours
- Full cure: 2-3 weeks
Pro Hack: Use painters’ pyramids to elevate doors for perfect edge painting.
🏠 Steal This Look
- Paint Color: use Benjamin Moore brand. Match the ACTUAL wall color in the image. Format: Benjamin Moore ColorName CODE
- Furniture: cabinet-grade pull-out shelving system with soft-close glides
- Lighting: under-cabinet LED strip lighting with 3000K warm white temperature
- Materials: oil-based bonding primer, 100% acrylic semi-gloss enamel, microfiber foam rollers, synthetic bristle angled brushes
This is where weekend warriors either become kitchen heroes or call in professionals six months later—take the extra day for prep and you’ll walk past your cabinets smiling for years, not cringing at brush marks and chips.
No-Sanding Alternative Methods
Some specialty paints allow skipping sanding:
- Use liquid deglosser
- Choose self-bonding primers
- Select specially formulated cabinet paints

🏠 Steal This Look
- Paint Color: use Farrow & Ball brand. Match the ACTUAL wall color in the image. Format: Farrow & Ball ColorName CODE
- Furniture: vintage butcher block kitchen island with turned legs
- Lighting: schoolhouse pendant lights in aged brass finish
- Materials: matte chalk-finish cabinet surfaces, raw brass hardware, reclaimed wood open shelving
Kitchen cabinet painting intimidates most homeowners because of the sanding step, but these no-sand methods genuinely work when you respect the chemistry—think of it as trading elbow grease for patience and precision.
Budget and Time Considerations
Estimated Costs:
- Paint: $50-$200
- Supplies: $50-$100
- Total Project: $100-$300
Time Investment:
- Preparation: 1-2 days
- Painting: 2-3 days
- Curing: 1-2 weeks

🎨 Steal This Look
- Paint Color: use Behr brand. Match the ACTUAL wall color in the image. Format: Behr ColorName CODE
- Furniture: specific furniture for this room
- Lighting: specific lighting fixture
- Materials: key textures and materials
Kitchen cabinet painting is where most DIYers discover their patience threshold—it’s tedious, messy work that happens in the heart of your home, but the transformation from dated wood to fresh, cohesive color makes every hour worth it when you finally pour that first morning coffee in your ‘new’ kitchen.
🛒 Get The Look
Final Thoughts
Painting kitchen cabinets is an achievable DIY project that