This post may contain affiliate links. Please see my disclosure policy for details.
How to Paint Kitchen Cabinets Like a Pro: A Complete DIY Makeover Guide
Contents
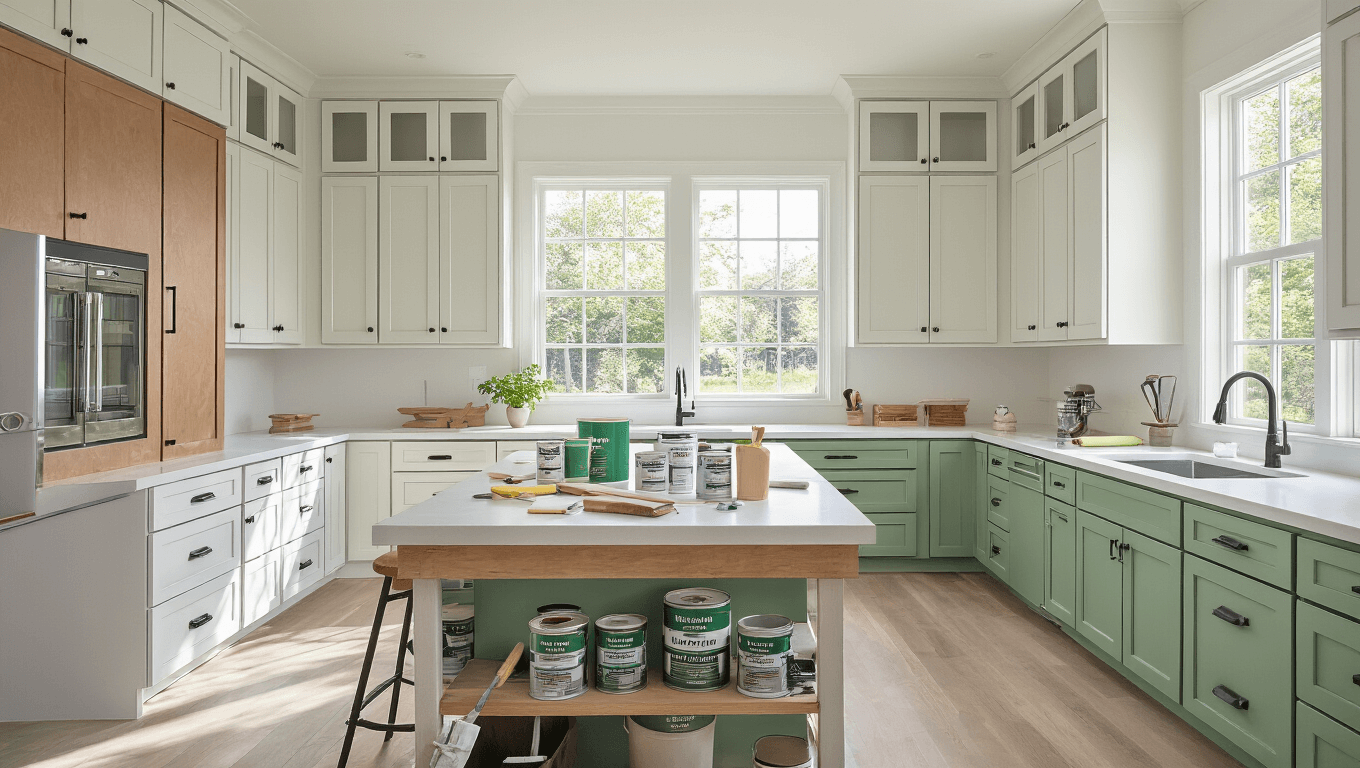
Kitchen cabinet painting can transform your entire space without breaking the bank. This comprehensive guide will walk you through every single step to achieve a professional-looking finish that’ll make your friends think you hired an expensive contractor.
Why Paint Your Kitchen Cabinets?
Let’s be real. Kitchen renovations are crazy expensive. A full cabinet replacement can cost anywhere from $5,000 to $25,000. But painting? You’re looking at just $200-$300 and some serious elbow grease.

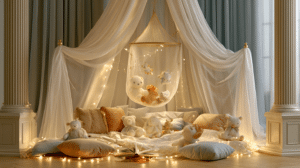
✎ Steal This Look
- Paint Color: Benjamin Moore Simply White OC-117
- Furniture: open shelving with reclaimed wood brackets to replace upper cabinets
- Lighting: schoolhouse pendant lights in aged brass over the island
- Materials: matte painted cabinet fronts, butcher block countertops, unlacquered brass hardware, subway tile backsplash
This is the project that hooked me on DIY—watching my dated oak kitchen transform over a single weekend felt like cheating the system, and five years later, those cabinets still look crisp.
What You’ll Need: The Ultimate Supply Checklist
Tools and Materials
- 220-grit sandpaper
- Degreaser
- Quality primer
- Cabinet paint
- Foam rollers
- Angled brushes
- Drop cloths
- Painter’s tape
- Wood filler
- Screwdriver
- Labels/masking tape

🎨 Steal This Look
- Paint Color: use Farrow & Ball brand. Match the ACTUAL wall color in the image. Format: Farrow & Ball ColorName CODE
- Furniture: specific furniture for this room
- Lighting: specific lighting fixture
- Materials: key textures and materials
Kitchen cabinet painting is one of the most satisfying DIY transformations, but the prep work separates weekend warriors from lasting results—this checklist protects your investment of time and energy.
The Step-by-Step Process
1. Prep Like a Professional
Preparation is everything. Don’t rush this stage.
- Remove ALL hardware
- Label each cabinet door and drawer
- Clean surfaces thoroughly with heavy-duty degreaser
- Repair any dings or scratches with wood filler
- Sand everything smooth
2. Priming: The Secret Weapon
Pro Tip: A great primer means a flawless finish.
- Choose a bonding primer specific to your cabinet material
- Apply thin, even coats
- Let each coat dry completely
- Sand lightly between primer layers

3. Painting Techniques
Paint Selection Matters
Best Cabinet Paint Options:
- Sherwin-Williams Emerald Urethane
- Benjamin Moore Advance
- BEHR Premium Cabinet & Trim Enamel
Recommended Finishes:
- Satin
- Semi-gloss
- Easier to clean
- More durable
Application Techniques
- Use foam rollers for large flat surfaces
- Utilize angled brushes for detailed areas
- Apply 2-3 thin coats
- Allow complete drying between coats

🌟 Steal This Look
- Paint Color: Behr Premium Plus Ultra Pure White 1850
- Furniture: adjustable sawhorse work table for cabinet door painting station
- Lighting: LED shop light with 5000K daylight bulbs for accurate color matching
- Materials: tack cloth, 220-grit sanding sponge, foam pro high-density roller covers, blue painter’s tape, plastic sheeting
Kitchen cabinet painting is one of those projects where the prep work feels endless but the actual painting flies by—trust the process and resist the urge to cut corners when you’re three hours in and just want to see color on the cabinets.
Common Mistakes to Dodge
❌ DON’T:
- Skip cleaning and sanding
- Use cheap paint
- Apply thick coats
- Rush the process
- Forget proper ventilation

🏠 Steal This Look
- Paint Color: use Valspar brand. Match the ACTUAL wall color in the image. Format: Valspar ColorName CODE
- Furniture: specific furniture for this room
- Lighting: specific lighting fixture
- Materials: key textures and materials
Kitchen cabinet painting is where patience truly pays off—rushing through prep work is the difference between a finish that looks professionally done versus one that screams DIY regret every time you reach for a coffee mug.
Pro Tips from the Trenches
- Work in natural daylight
- Keep room temperature consistent
- Use drop cloths everywhere
- Wear a respirator during sanding
- Be patient between coats
Estimated Timeline
- Prep work: 1 day
- Priming: 1 day
- Painting: 2 days
- Drying/curing: 2-3 days

✎ Steal This Look
- Paint Color: use Dunn-Edwards brand. Match the ACTUAL wall color in the image. Format: Dunn-Edwards Swiss Coffee DEW341
- Furniture: adjustable-height work tables with drop cloth protection for cabinet door painting stations
- Lighting: portable LED task lights with daylight color temperature (5000K) for evening priming and paint touch-ups
- Materials: disposable paint pyramids, tack cloths, 220-grit sanding sponges, and quick-dry oil-based primer
This timeline assumes you’re working methodically, not frantically—most kitchen cabinet DIYers underestimate the drying windows between coats, and giving yourself permission to pause actually delivers the factory-smooth finish you’re picturing.
Budget Breakdown
- Paint: $50-$100
- Primer: $20-$40
- Supplies: $50-$100
- Total: $120-$240

★ Steal This Look
- Paint Color: use Clare Paint brand. Match the ACTUAL wall color in the image. Format: Clare Paint ColorName CODE
- Furniture: IKEA SEKTION base cabinets with BODBYN off-white doors for a seamless painted look
- Lighting: Rejuvenation Haleigh Wire Dome Pendant in aged brass
- Materials: bristle brush marks, satin enamel finish, wood grain texture showing through, cabinet-grade plywood
I’ve walked too many friends through the regret of a rushed cabinet job—this budget range is honest, and spending at the higher end on primer pays for itself in longevity.
Final Thoughts
Painting kitchen cabinets isn’t rocket science. It’s about patience, preparation, and technique. Anyone can do this with the right approach.
Your kitchen will look like a million bucks, and you’ll save thousands in the process. Who said home improvement has to be complicated?
Pro Insider Secret: The difference between an amateur and professional job? Preparation and technique. Master those, and you’re golden.