This post may contain affiliate links. Please see my disclosure policy for details.
Hoo’s Ready for Some Owl-mazing Crafts?
Contents
Let’s dive into the wonderful world of owl crafts, my fellow night owls!
I’ve been crafting with kids for years, and I can tell you, there’s something magical about those big-eyed birds that just captures everyone’s imagination.
Whether you’re a teacher looking for classroom activities, a parent searching for a rainy day project, or just someone who thinks owls are a hoot, I’ve got you covered.

Owl Tell You a Secret: These Crafts Are Easy!
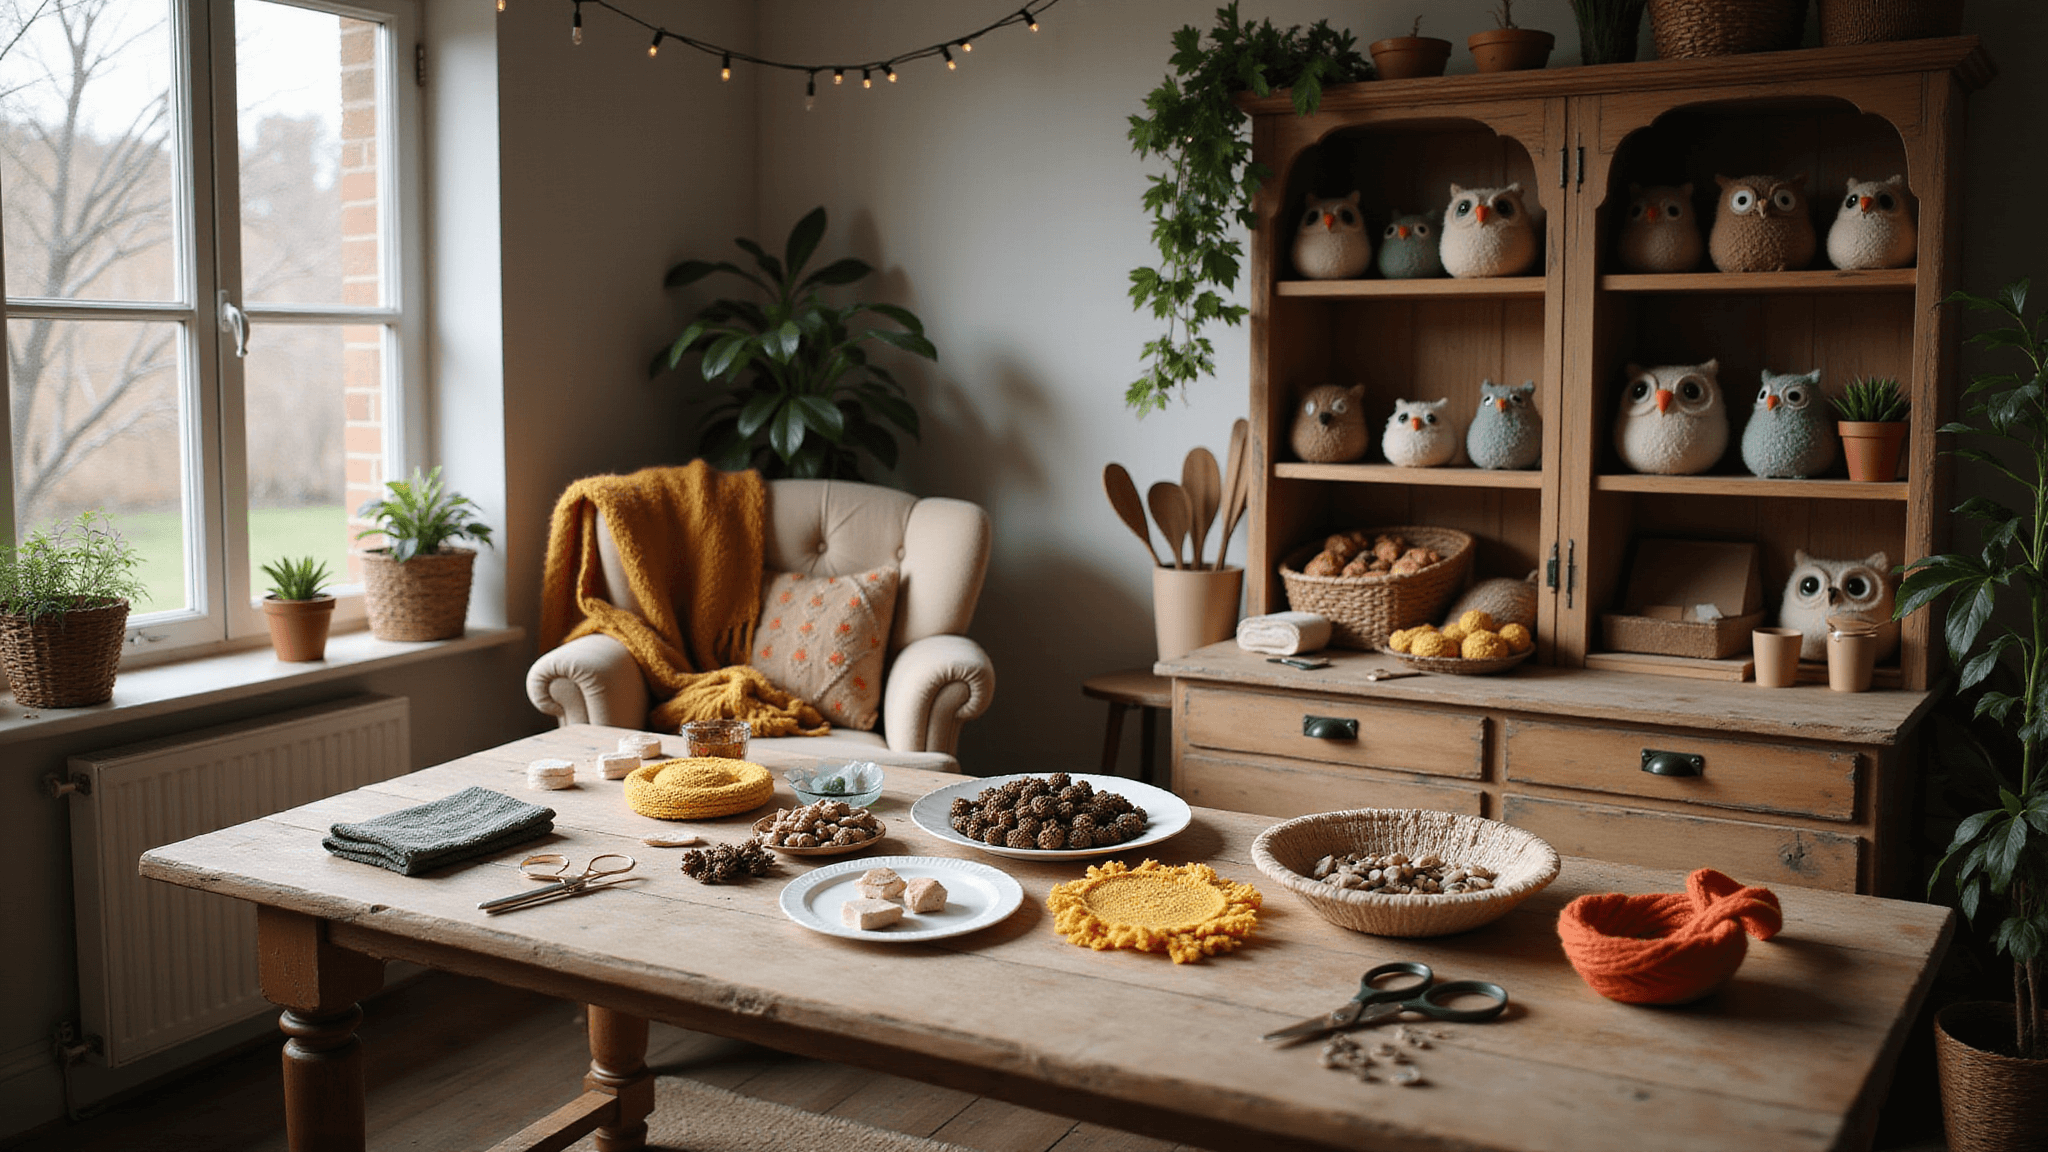
First things first, let’s talk materials. You don’t need to raid an art supply store to make these owl crafts.
Most of what you need is probably already lurking in your junk drawer or recycling bin:
- Paper plates
- Toilet paper rolls
- Pine cones
- Yarn
- Construction paper
See? Nothing fancy required. Now, let’s get crafty!
💡 Steal This Look
- Paint Color: Sherwin-Williams Accessible Beige SW 7036
- Furniture: large farmhouse-style craft table with built-in storage bins for organizing supplies
- Lighting: adjustable-arm architect’s desk lamp with daylight LED bulb for detailed work
- Materials: unfinished birch plywood for project surfaces, galvanized metal buckets for supply sorting, cork board wall panels for displaying finished pieces
I’ve watched my own kids spend entire afternoons hunched over paper plate owls at our kitchen table, and having a dedicated space where mess is expected—not feared—frees everyone to actually enjoy the process rather than stress about the cleanup.
Paper Plate Perfection: The Classic Owl Craft
Remember when you were a kid and everything was a potential craft material? Well, paper plates are still the MVP of the craft world. Here’s how to turn them into adorable owls:
- Grab a paper plate and some brown paint
- Paint that plate like you mean it!
- While it’s drying, cut out some big owl eyes from white paper
- Add some yellow circles for the iris (that’s the colorful part of the eye, in case you forgot your 3rd-grade biology)
- Cut a small triangle for the beak
- Once the plate is dry, glue on the eyes and beak
- For extra flair, cut some feather shapes from colored paper and glue them around the edges
Voila! You’ve got yourself a wise old owl friend.

✎ Steal This Look
- Paint Color: Benjamin Moore Copley Gray HC-104
- Furniture: A sturdy wooden farmhouse table with bench seating for messy craft sessions
- Lighting: Adjustable-arm brass desk lamp with warm LED bulb for detailed work
- Materials: Kraft paper table covering, mason jar supply holders, galvanized metal caddies for paint brushes
There’s something deeply satisfying about watching little hands transform the humblest materials into creatures with personality—this is the room where memories get made, one googly eye at a time.
Toilet Paper Roll Owls: Because Every Roll Deserves a Second Life
Don’t throw away those cardboard tubes! They’re just begging to be turned into owls. Here’s how:
- Stand the tube upright and squish the top to make ear shapes
- Paint it whatever color tickles your fancy (brown, grey, white – go wild!)
- Cut out and glue on some big round eyes
- Add a beak (a small triangle of orange paper works great)
- If you’re feeling fancy, glue on some feathers or cut fringes in the bottom of the tube for a fluffier look
Pine Cone Owls: Bringing Nature Indoors
Next time you’re out for a walk, grab some pine cones. They’re nature’s ready-made owl bodies! Here’s what to do:
- Clean your pine cone (a quick rinse and dry should do it)
- Cut out some owl eyes and a beak from felt or paper
- Glue these onto one end of the pine cone
- If you want, add some little feet at the bottom (popsicle sticks work well)
- For extra cuteness, tie a little scarf around its “neck” with some yarn or ribbon

🌟 Steal This Look
- Paint Color: use Behr brand. Match the ACTUAL wall color in the image. Format: Behr ColorName CODE
- Furniture: specific furniture for this room
- Lighting: specific lighting fixture
- Materials: key textures and materials
There’s something deeply satisfying about bringing a found object from your own neighborhood into your home—pine cone crafts connect you to the specific trees and seasons of your landscape in a way store-bought decor never can.
Yarn Owls: Soft, Cuddly, and Oh-So-Cute
If you’ve got some yarn lying around, you’re in for a treat. These yarn owls are addictively fun to make:
- Cut a piece of cardboard into an oval shape
- Wrap yarn around it until it’s nice and thick
- Carefully slip the yarn off the cardboard
- Tie a piece of yarn tightly around the middle to create the owl’s “waist”
- Fluff out the top and bottom to create the head and body
- Glue on some eyes and a beak
- If you’re feeling extra, add some wings by gluing on smaller yarn pom-poms

Why Owl Crafts Are a Hoot for Kids
Now, you might be wondering, “Why all this fuss about owl crafts?” Well, let me tell you, these projects are more than just cute:
- They help develop fine motor skills (all that cutting and gluing is great for little hands)
- Kids learn about different materials and textures
- It’s a sneaky way to teach them about wildlife and nocturnal animals
- Crafting boosts creativity and problem-solving skills
- It’s a great opportunity for quality time together (and who doesn’t need more of that?)
Safety First, Crafting Second
Before we get too carried away with our owl-making frenzy, let’s talk safety:
- Always supervise kids when using scissors or glue
- For really little ones, pre-cut some of the trickier shapes
- If you’re using natural materials like pine cones, give them a good clean first
- Avoid small parts for toddlers who might still be in the “everything goes in the mouth” phase
Owl-ways Remember: It’s About the Process, Not Perfection
Here’s the thing about crafting with kids: it can get messy. It can get frustrating. Your owl might end up looking more like a confused pigeon. And that’s okay!
The joy is in the doing, not in creating a museum-worthy piece of art. So laugh at the lopsided eyes, celebrate the creative color choices, and remember that every wonky owl is a memory in the making.
So there you have it, folks! A whole parliament of owl crafts to keep you and your little ones entertained. Whether you’re looking for a quick afternoon project or a more involved crafting session, these owl ideas are sure to be a hoot.
Now go forth and craft! And remember, in the immortal words of… well, probably not an actual owl, but let’s pretend: “Owl you need is love… and maybe some glue.”
🏠 Steal This Look
- Paint Color: Valspar Cozy White 7006-16
- Furniture: white spindle-back rocking chair with natural wood seat for storytime crafting sessions
- Lighting: rattan mushroom-shaped table lamp with warm LED bulb
- Materials: chunky merino wool yarn, unfinished birch plywood, organic cotton canvas, raw wool roving
There’s something deeply satisfying about watching a child’s face light up when they recognize their own creation on display—this corner becomes a quiet celebration of their growing capabilities.


