This post may contain affiliate links. Please see my disclosure policy for details.
Transforming Your Kitchen: A Complete Guide to Painting Cabinets Like a Pro
Contents
- Transforming Your Kitchen: A Complete Guide to Painting Cabinets Like a Pro
- Why Paint Your Kitchen Cabinets?
- Before You Start: What You Need to Know
- Step-by-Step Cabinet Painting Process
- Pro Color Selection Tips
- Recommended Paint Brands
- Common Mistakes to Avoid
- Final Touches
- Cost Breakdown
- Pro Photographer’s Tip
Hey there, kitchen makeover enthusiast! Ready to give your space a jaw-dropping transformation without breaking the bank? Painting kitchen cabinets is your secret weapon to a stunning kitchen renovation.

Why Paint Your Kitchen Cabinets?
Listen up – a fresh coat of paint can totally revolutionize your kitchen for a fraction of a full remodel cost. Imagine walking into a space that feels brand new, without emptying your savings account.
What You’ll Achieve:
- Instant Room Refresh: Complete makeover in days
- Cost-Effective: Spend $100-$300 instead of $10,000+
- Personalized Style: Choose ANY color that speaks to you

Before You Start: What You Need to Know
Pro Tip: This isn’t a quick afternoon project. Plan for 3-5 days of dedicated work.
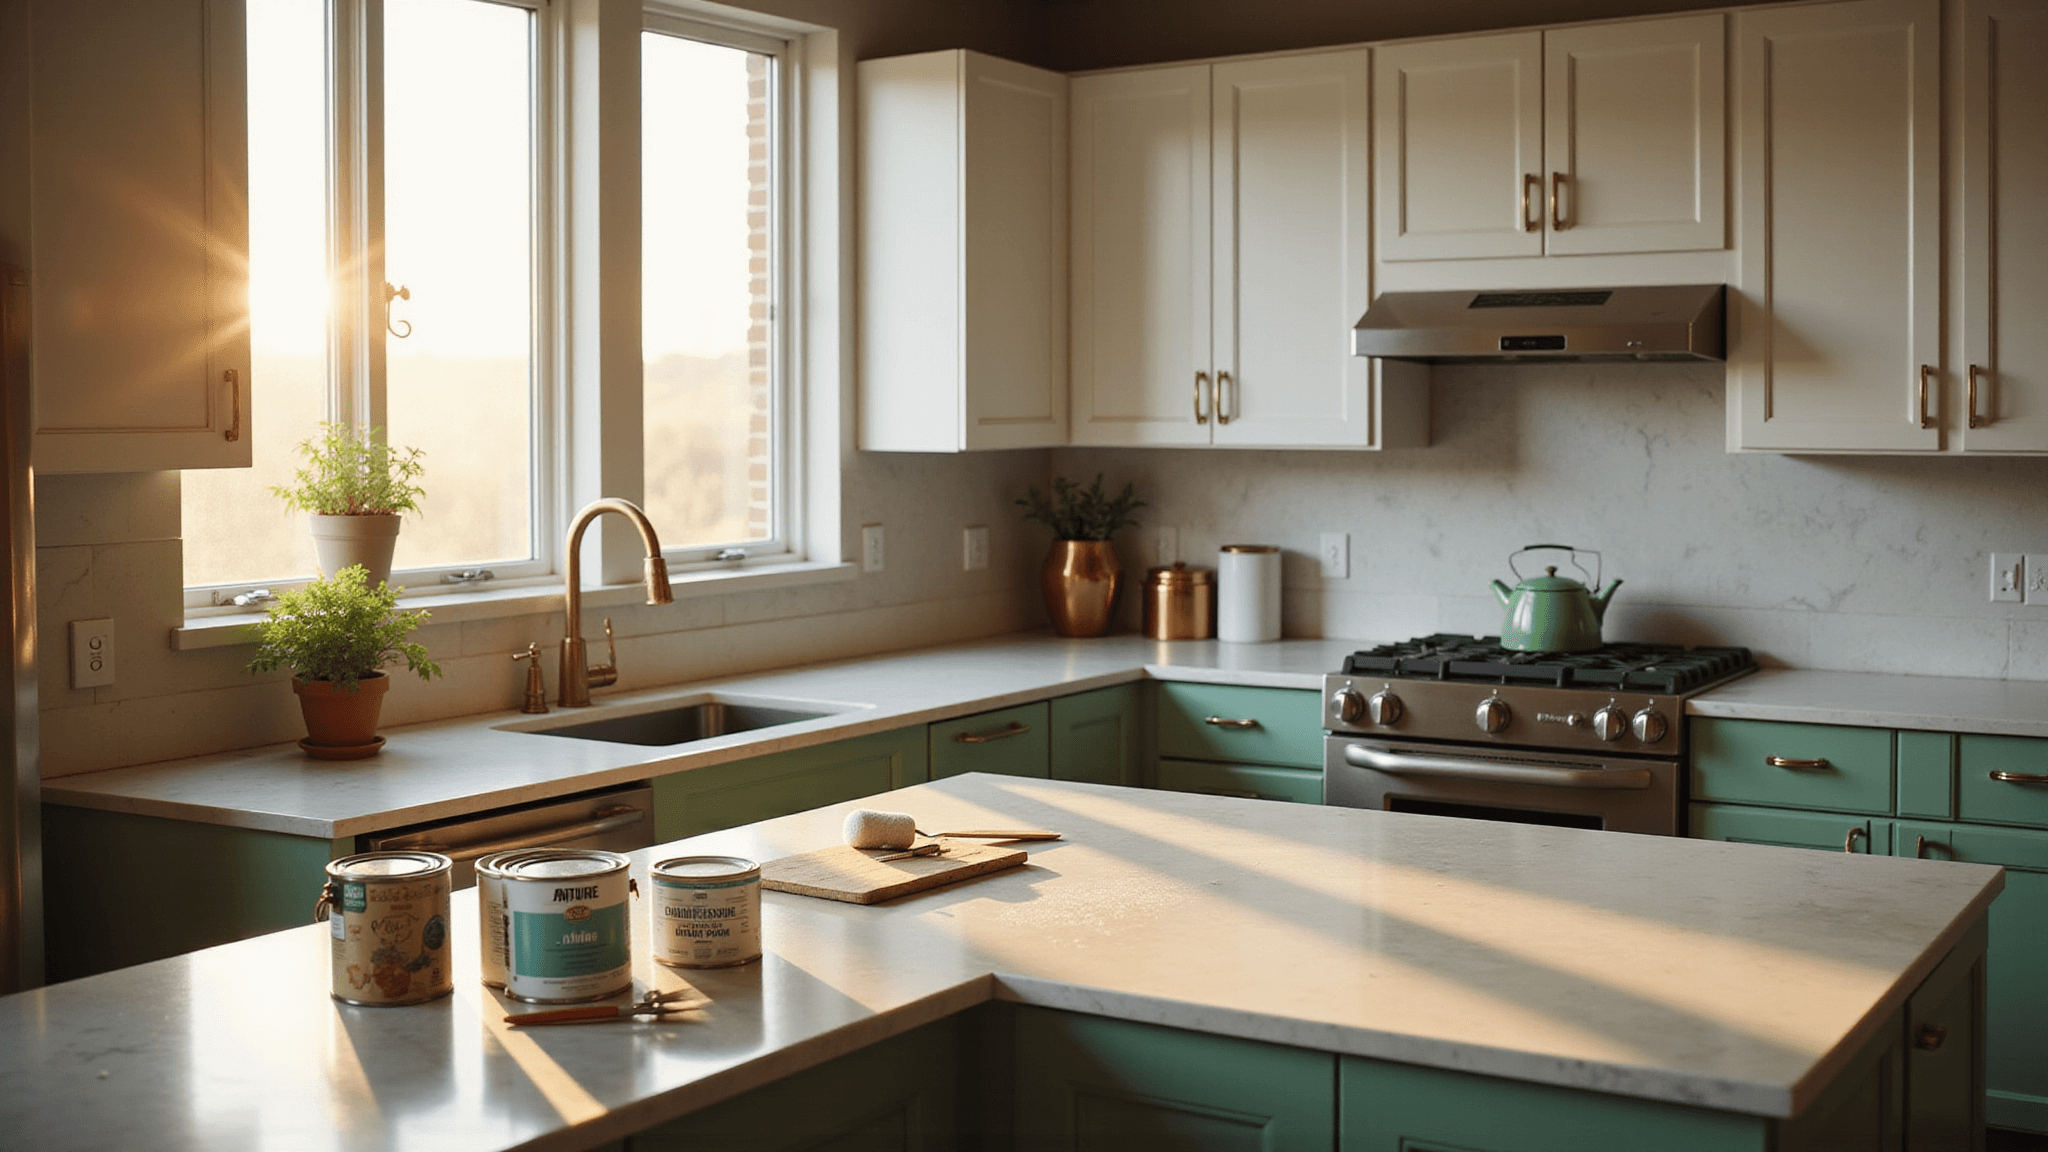
Your Essential Toolkit:
- TSP cleaner
- Sandpaper
- High-quality primer
- Cabinet-specific paint
- Foam rollers
- Quality brushes
- Painter’s tape
- Drop cloths

Step-by-Step Cabinet Painting Process
1. Prep Like a Boss
- Remove ALL hardware
- Clean surfaces thoroughly with TSP
- Label doors/drawers so reassembly is a breeze
2. Sanding: The Foundation of a Flawless Finish
- Lightly sand ALL surfaces
- Create a smooth “tooth” for paint adhesion
- Don’t skip this – it’s crucial!

3. Prime Time
- Use a bonding primer for best results
- Apply thin, even coats
- Let each coat dry completely
- Sand lightly between coats
4. Paint Like a Professional
Painting Techniques:
- Use foam rollers for large, flat surfaces
- Grab an angled brush for edges and details
- Apply 2-3 thin coats
- Allow 4-5 hours drying time between coats

Pro Color Selection Tips
Foolproof Color Strategies:
- White: Timeless and bright
- Gray: Modern and sophisticated
- Navy: Bold and dramatic
- Sage Green: Trendy and calming
Hack: Use peel-and-stick samples to test colors in YOUR space!

Recommended Paint Brands
- Sherwin-Williams Emerald Urethane Trim Enamel
- BEHR Premium Cabinet & Trim Enamel
- Rust-Oleum Cabinet Transformations Kit
Common Mistakes to Avoid
- Rushing the process
- Skipping primer
- Painting without proper surface preparation
- Reinstalling hardware before complete drying

Final Touches
Hardware Upgrade Options:
- Matte black handles
- Brushed nickel pulls
- Vintage brass knobs
Cost Breakdown
- Paint & Primer: $50-$150
- Tools: $50-$100
- Hardware (optional): $50-$200
- Total Investment: $100-$300 🎉
Pro Photographer’s Tip
Capture your transformation! Use natural mid-morning or late afternoon light for the most stunning before-and-after shots.
Remember: A killer cabinet paint job is 70% preparation, 30% painting.
Go forth and transform your kitchen! You’ve got this. 💪🏼🎨


