This post may contain affiliate links. Please see my disclosure policy for details.
How to Paint Kitchen Cabinets Like a Pro: A Complete DIY Guide
Contents
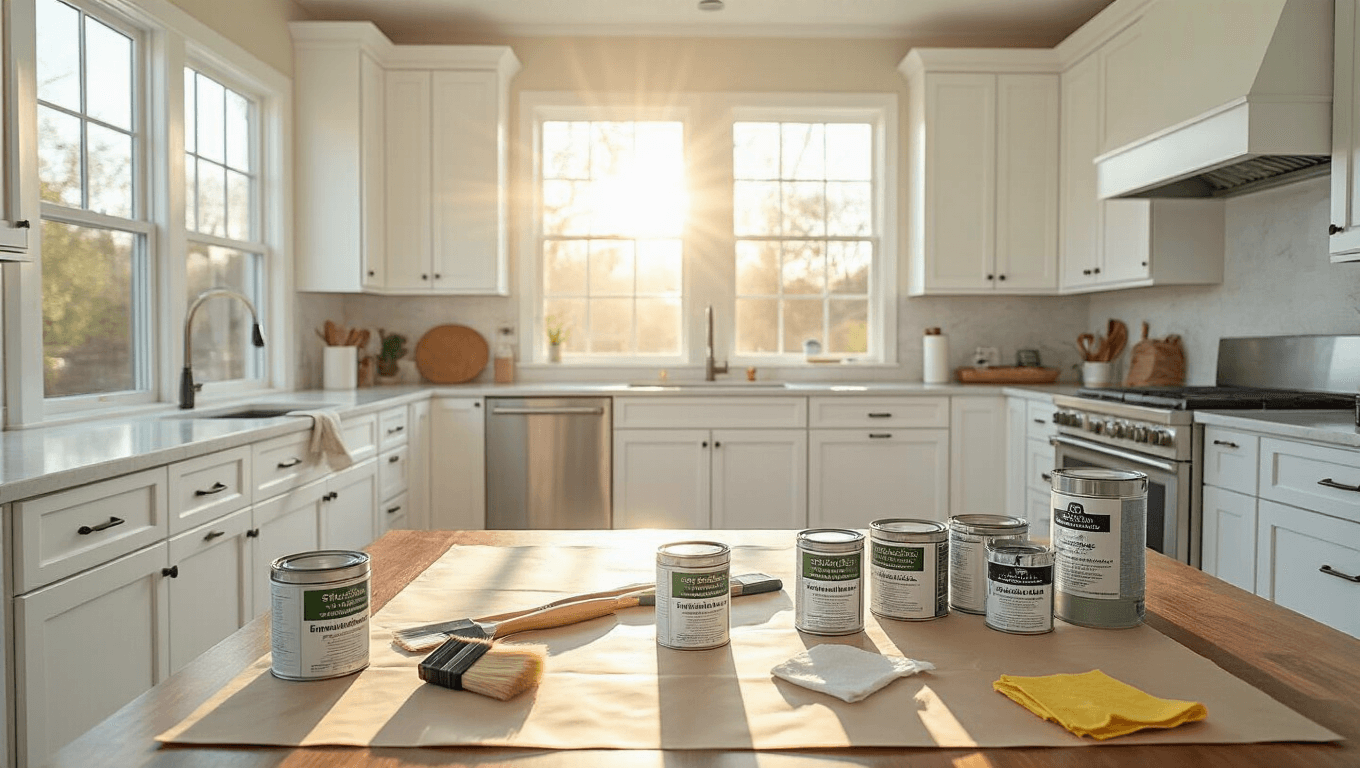
Transforming your kitchen doesn’t require a massive renovation. With the right approach, painting kitchen cabinets can breathe new life into your space without breaking the bank.

Why Paint Your Kitchen Cabinets?
Kitchen cabinet painting is a game-changer for homeowners looking to:
- Refresh outdated kitchen aesthetics
- Save thousands compared to full cabinet replacement
- Customize your kitchen’s look without major construction
- Increase home value with a fresh, modern appearance
The Ultimate Step-by-Step Cabinet Painting Process
1. Prep Work: The Foundation of a Flawless Finish
What You’ll Need:
- Screwdriver
- Degreaser
- Drop cloths
- Sandpaper (220-grit)
- Painter’s tape
- Cleaning rags
Key Preparation Steps:
- Remove All Hardware: Take off handles, hinges, and doors
- Deep Clean Surfaces: Use a strong degreaser to eliminate years of cooking residue
- Protect Your Space: Cover countertops and floors completely

2. Sanding: Creating the Perfect Paint Surface
Pro Tip: Light sanding creates microscopic grooves that help paint adhere better.
Sanding Techniques:
- Use 220-grit sandpaper for gentle surface roughening
- Sand in the direction of the wood grain
- Wipe away dust with a tack cloth after sanding
3. Priming: The Secret to Long-Lasting Color
Top Primer Recommendations:
- Sherwin-Williams Extreme Bond Primer
- 100% Acrylic Latex Primers
- Oil-Based Bonding Primers
Application Tips:
- Apply thin, even coats
- Allow complete drying between coats
- Sand lightly after primer for ultra-smooth surface

4. Choosing the Perfect Cabinet Paint
Best Cabinet Paint Brands:
- Sherwin-Williams Emerald Urethane Trim Enamel
- Exceptional durability
- Chip-resistant
- Professional-grade finish
- Benjamin Moore Advance Waterborne Alkyd
- Low VOC
- Smooth, factory-like finish
- Easy water cleanup
- General Finishes Milk Paint
- DIY-friendly
- Minimal preparation required
- Great for quick makeovers

5. Painting Technique: Achieving a Flawless Finish
Application Strategy:
- Use high-quality nylon/polyester brushes
- Apply thin, even coats
- Use foam rollers for large, flat surfaces
- Allow 24-48 hours between coats
Common Painting Mistakes to Avoid:
- Thick paint application
- Rushing between coats
- Inadequate surface preparation
- Skipping primer

6. Curing and Finishing
Curing Timeline:
- Dry to touch: 24 hours
- Light use: 48-72 hours
- Full cure: 2-3 weeks
Pro Hack: Use painters’ pyramids to elevate doors for perfect edge painting.
No-Sanding Alternative Methods
Some specialty paints allow skipping sanding:
- Use liquid deglosser
- Choose self-bonding primers
- Select specially formulated cabinet paints

Budget and Time Considerations
Estimated Costs:
- Paint: $50-$200
- Supplies: $50-$100
- Total Project: $100-$300
Time Investment:
- Preparation: 1-2 days
- Painting: 2-3 days
- Curing: 1-2 weeks

Final Thoughts
Painting kitchen cabinets is an achievable DIY project that


