
This post may contain affiliate links. Please see my disclosure policy for details.
Hey there, fellow crafters!
Ready to dive into the world of air dry clay earrings? Trust me, it’s a game-changer. No fancy tools, no oven required – just you, some clay, and a whole lot of creativity.
I’ve been there, staring at a lump of clay wondering, “What the heck do I do now?” But fear not! I’m about to spill all my secrets on how to turn that blob into beautiful, lightweight earrings that’ll make your friends go “Wait, you made those?!”
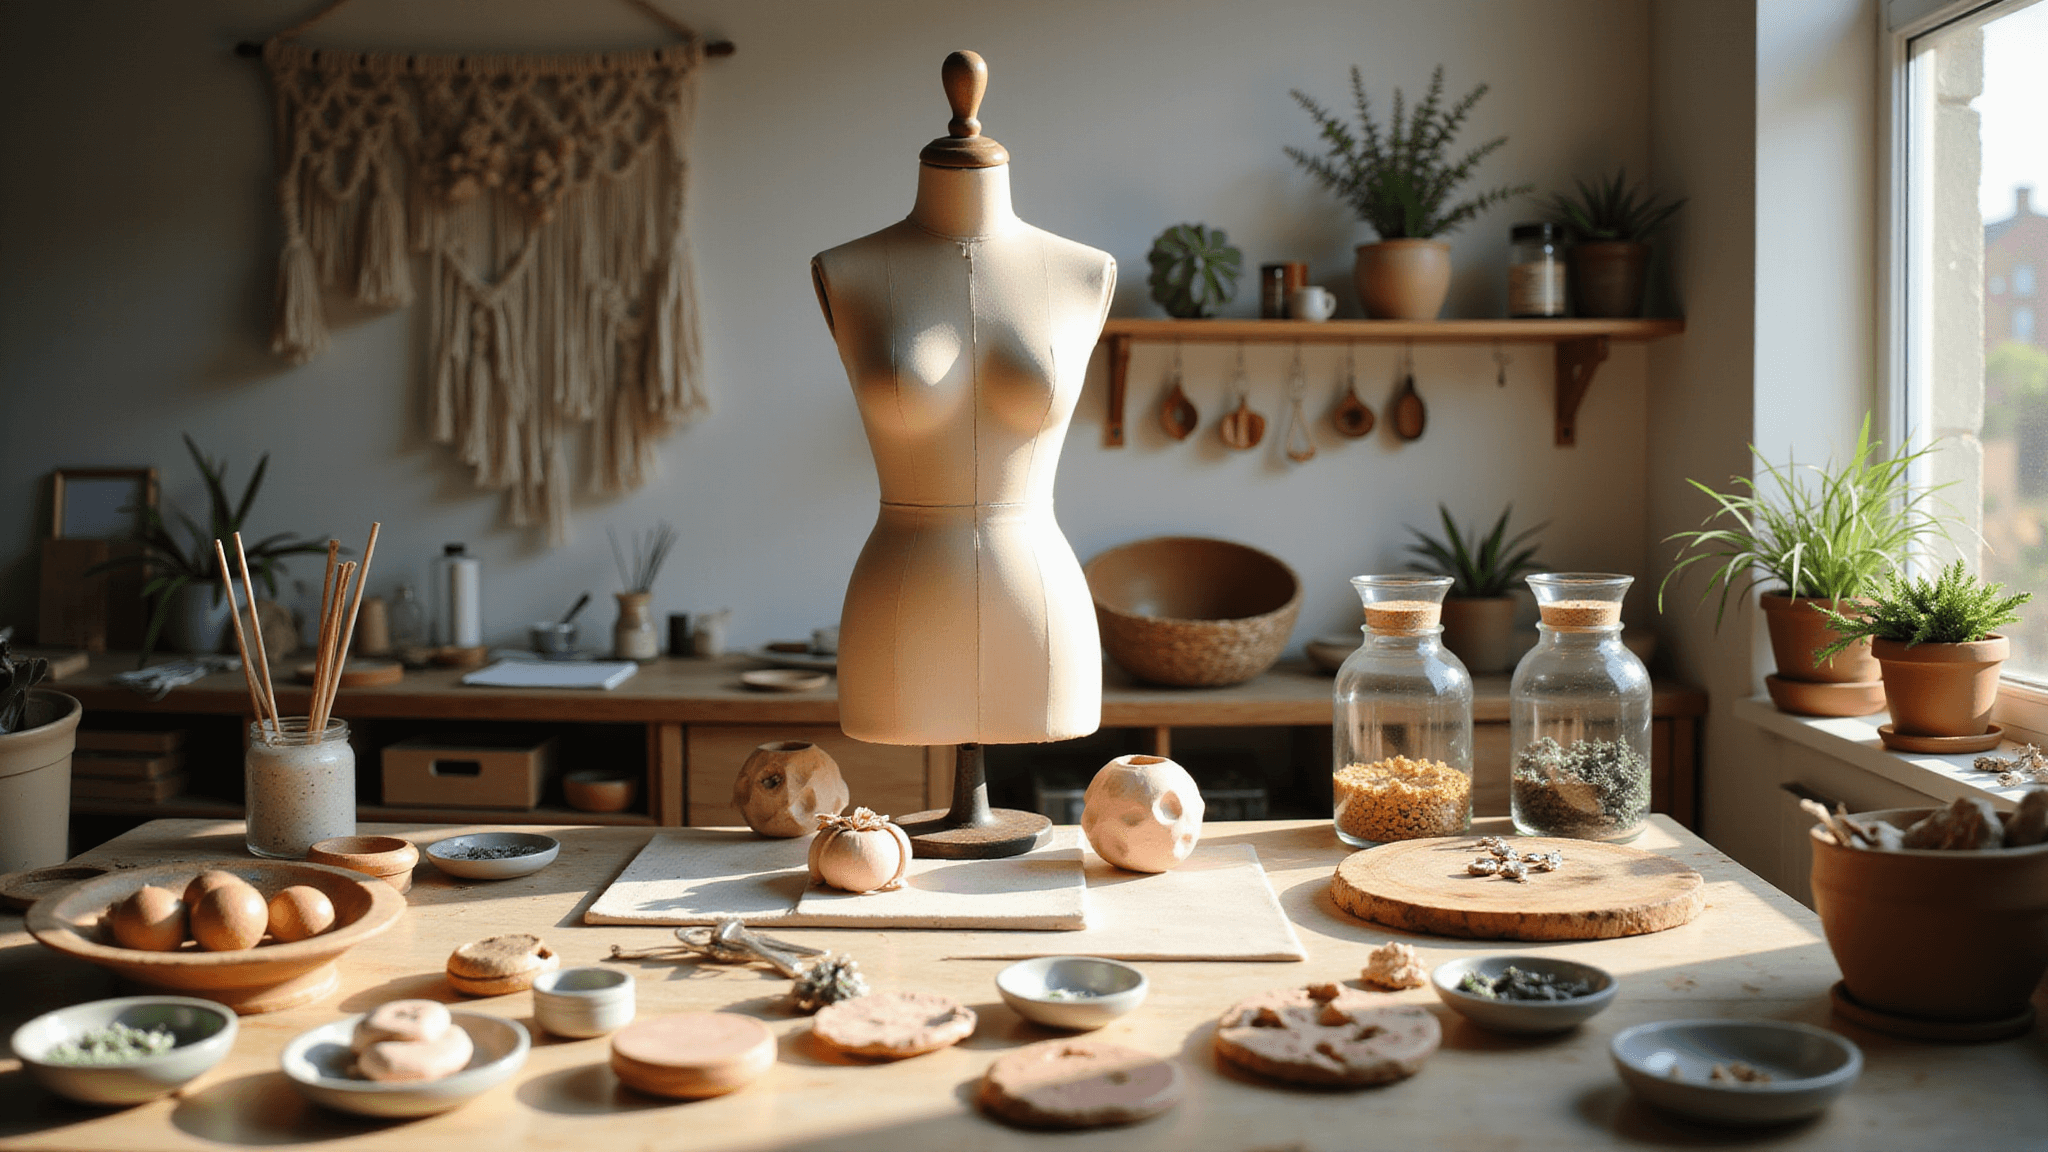
🖼 Steal This Look
- Paint Color: Sherwin-Williams Agreeable Gray SW 7029
- Furniture: white oak craft table with built-in storage cubbies, adjustable height drafting stool with woven seat
- Lighting: adjustable swing-arm architect lamp with daylight LED bulb, string lights with warm white bulbs along shelving
- Materials: raw birch plywood pegboard, linen fabric bins, matte ceramic tool caddies, unfinished wood beads for styling props
This is the room where you finally stop overthinking and start making—there’s something deeply satisfying about a dedicated corner that holds your half-finished experiments and celebrates your learning curve.
Killer Ideas for Creative Earrings
1. Geometric Gems
Who doesn’t love a good triangle or hexagon? Grab some cookie cutters or go freehand with a knife to create sleek, modern shapes. Mix and match for an edgy, architectural vibe.
2. Nature’s Calling
Pressed flowers in clay? Yes, please! Create delicate leaf shapes or press actual plants into the clay for a gorgeous botanical texture. It’s like wearing a tiny garden on your ears.
3. Abstract Art Attack
Channel your inner Picasso and sculpt some funky, organic shapes. Twisty loops, blobby forms – the weirder, the better. These babies are conversation starters, guaranteed.
4. Faux Stone Stunners
Want the look of marble without the weight? Swirl in some acrylic paint or mix clay colors for a jaw-dropping faux stone effect. Folks will think you’re rocking some fancy geology.
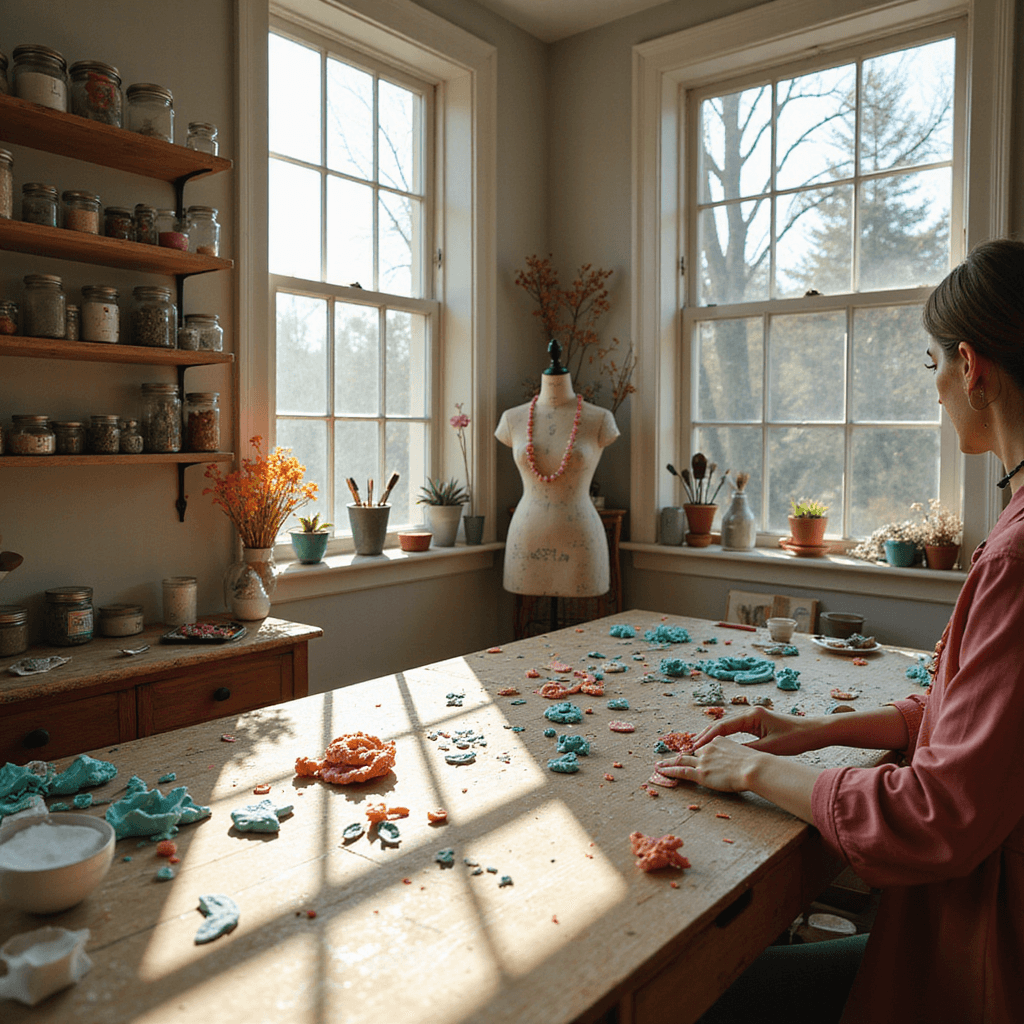
💡 Steal This Look
- Paint Color: Benjamin Moore Simply White OC-117
- Furniture: white oak floating display shelves with integrated LED strips for showcasing earring collections
- Lighting: adjustable brass-arm picture lights mounted above work surface for precise color rendering
- Materials: raw linen backdrop boards, terrazzo tile work surface, matte black metal pegboard for tool organization
There’s something deeply satisfying about a craft space that doubles as a mini gallery—when your earrings-in-progress become accidental sculptures against a clean, gallery-white backdrop, the creative energy shifts from hobbyist to serious maker.
Materials You’ll Need
Here’s what you’ll need to get started:
- Air dry clay (duh!)
- Clay cutters or small cookie cutters
- A rolling pin (or a smooth glass bottle if you’re in a pinch)
- Earring findings (hooks, posts, or hoops)
- Jump rings and jewelry pliers
- Acrylic paints and a fine brush
- Mod Podge or sealant
- Fine-grit sandpaper
Pro tip: Invest in some UV resin for a glossy, professional finish. It’s like magic in a bottle, I swear.
Save this article
Enter your email and we'll send it straight to your inbox.
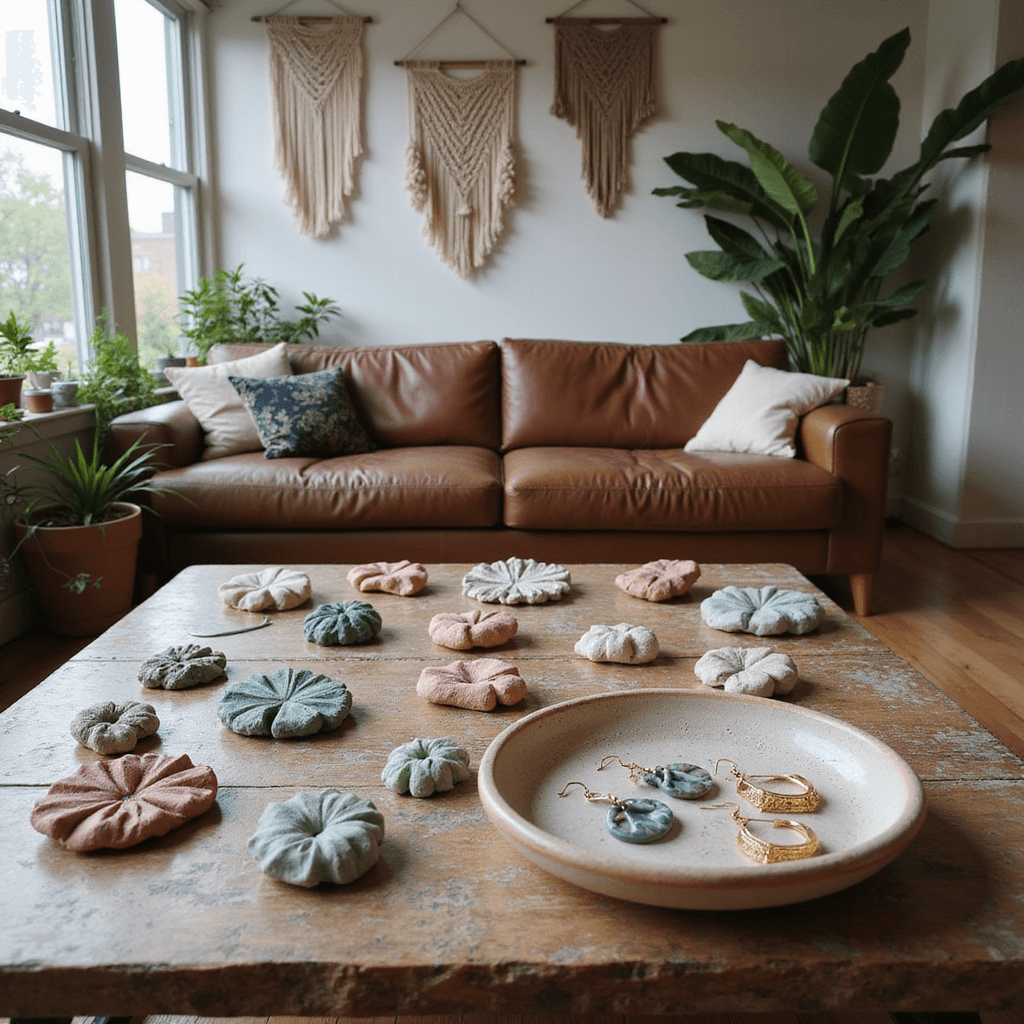
✎ Steal This Look
- Paint Color: Farrow & Ball Wimborne White No. 239
- Furniture: a vintage drafting table with brass hardware as your dedicated craft workstation
- Lighting: a swing-arm architect’s lamp with daylight LED bulb for true color matching
- Materials: raw linen pinboard for inspiration display, cork tile flooring for dropped tool resilience, matte black metal pegboard for vertical tool storage
There’s something deeply satisfying about a craft space that honors the handmade—this is where your creative practice deserves to live, not just survive in a cluttered corner.
Insider Tips for Perfect Earrings
- Keep your clay thickness consistent – aim for about 2-3mm. Too thick and they’ll weigh you down, too thin and they’ll snap faster than you can say “oops.”
- Smooth those edges! Nobody wants to get scratched by their jewelry. Use a bit of water or sandpaper to get them silky smooth.
- Paint, then seal for maximum durability. Or, if you’re feeling fancy, mix color right into the clay for a marbled masterpiece.
- Personalize, baby! Press in your initials, add some glitter, or embed tiny charms. Make ’em uniquely you.
DIY Heart Drop Earrings
Ready to get your hands dirty? Let’s whip up some cute heart drop earrings:
- Roll out your clay to about 2-3mm thick.
- Cut out heart shapes with a mini cutter.
- Use a toothpick to make a small hole at the top of each heart.
- Let those babies dry completely (patience is a virtue, folks).
- Sand the edges smooth – no one likes a rough heart.
- Paint ’em up if you’re feeling colorful.
- Seal with Mod Podge for protection.
- Attach jump rings and earring hooks.
- Boom! Adorable earrings ready to rock.
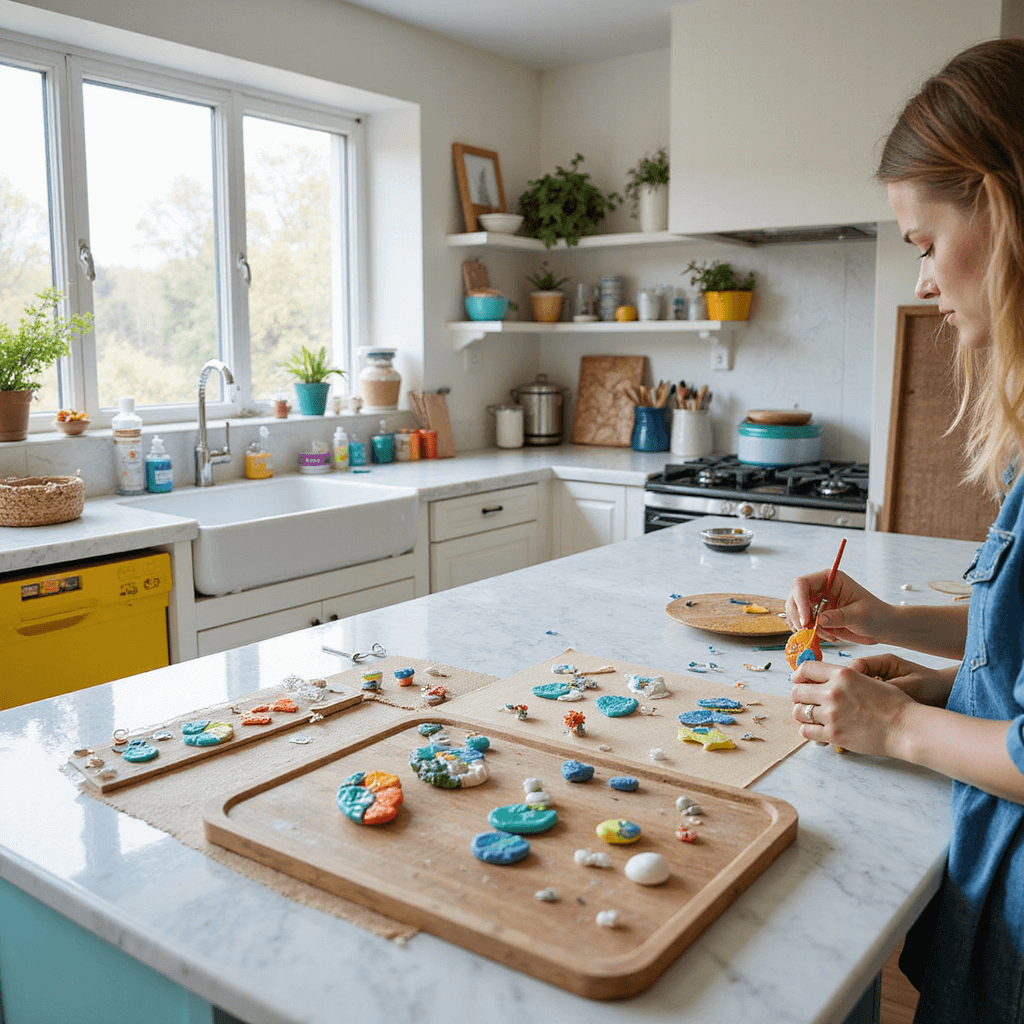
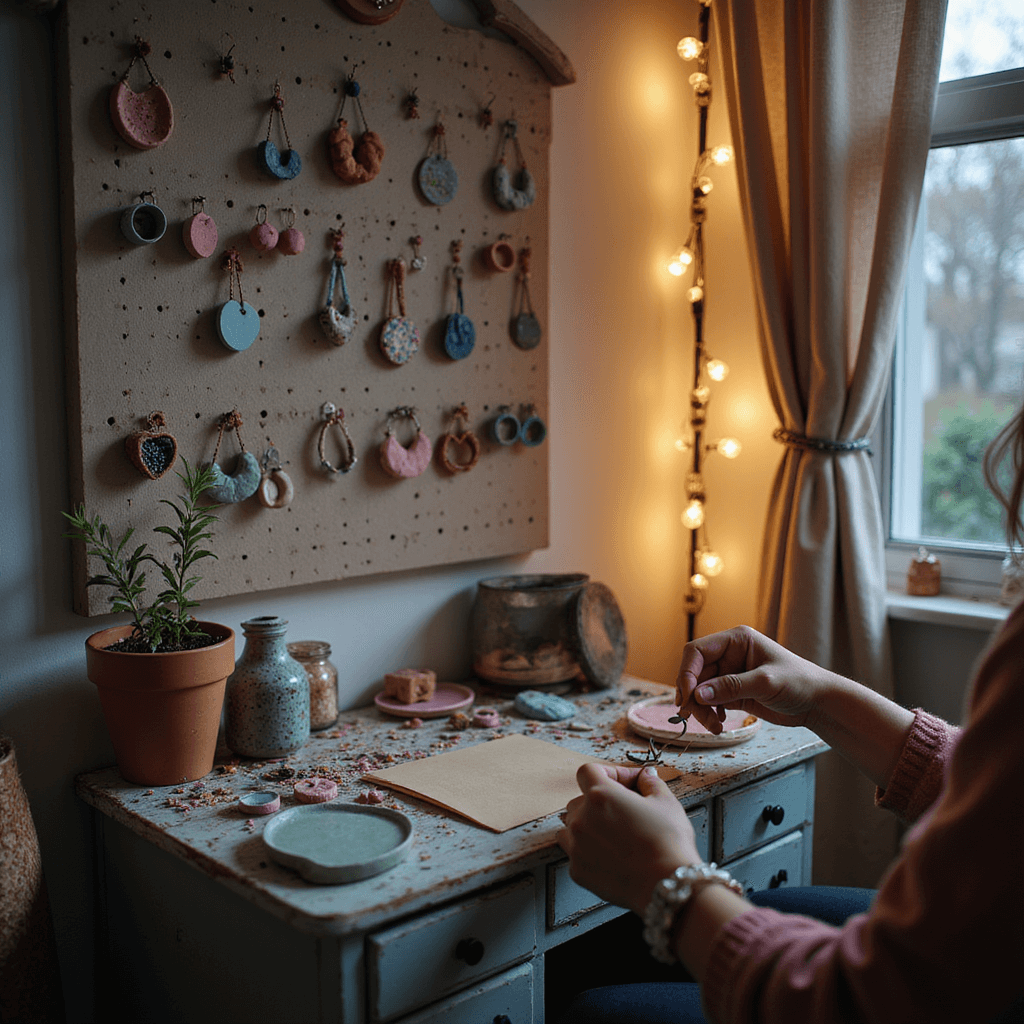
🏠 Steal This Look
- Paint Color: use Valspar brand. Match the ACTUAL wall color in the image. Format: Valspar ColorName CODE
- Furniture: small rolling craft cart with metal frame and wood top for organized clay supplies
- Lighting: adjustable-arm LED desk lamp with daylight color temperature for detailed handwork
- Materials: raw terracotta clay, brass jump rings, surgical steel earring hooks, fine-grit sandpaper, matte Mod Podge sealer
There’s something deeply satisfying about wearing jewelry you shaped with your own hands—these heart drops become little confidence boosters that spark conversations and remind you that creativity doesn’t require a studio, just a corner of your dining room and twenty minutes of focus.
Common Worries and Solutions
“Help! My earrings keep breaking!”
Make sure you’re sealing them well and avoiding water. These aren’t meant for swimming, people.
“They look… wonky.”
Practice makes perfect. Start with simple shapes and work your way up to more complex designs. Rome wasn’t built in a day, and neither were perfect clay earrings.
“I’m not artistic enough for this!”
Nonsense! Everyone’s got a creative spark. Start by copying designs you like, then put your own spin on them. You’ve got this!
Trend Alert!
Want to know what’s hot in the air dry clay earring world?
- Chunky geometric studs – the bolder, the better.
- Hand-painted finishes with funky patterns or mini landscapes.
- Boho-inspired dangles with wooden beads or tassels.
- Seasonal designs – think autumn leaves or springtime florals.
Remember, the beauty of air dry clay earrings is that you can try anything. If it breaks, just make another! It’s all about experimenting and having fun.
So, what are you waiting for? Grab that clay, let your imagination run wild, and get ready to rock some seriously cool, handmade earrings. Trust me, once you start, you won’t be able to stop. Happy crafting, you creative genius!
Want to keep this one?
We'll email you the link so you can find it again later.


[…] and wraps – channel your inner fashion designer with some killer […]