This post may contain affiliate links. Please see my disclosure policy for details.
Brick Edging for Flower Beds: Transform Your Garden’s Look
Contents
Hey there, garden enthusiasts! Ready to give your flower beds that crisp, professional edge that’ll make your neighbors stop and stare? Brick edging is your secret weapon.

Why Brick Edging? The Game-Changer for Garden Design
Let’s cut to the chase. Brick edging isn’t just about looking good—it’s about creating a clean, defined border that screams “I know what I’m doing” in your garden.
Instant Benefits:
- Stops grass from invading your flower beds
- Creates a professional, intentional garden look
- Provides a sturdy barrier that lasts for years
- Adds value to your landscape design

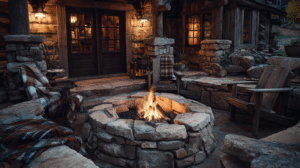
🏠 Steal This Look
- Paint Color: Sherwin-Williams Garden Spot SW 6432
- Furniture: weathered teak potting bench with galvanized steel top
- Lighting: solar-powered copper path lights with warm 2700K LED
- Materials: reclaimed clay brick, crushed limestone base, aged cedar mulch, black metal plant markers
There’s something deeply satisfying about running your hand along a brick edge you’ve laid yourself, feeling the slight irregularities that prove a human touched this soil.
Choosing Your Brick: Not All Bricks Are Created Equal
Picking the right brick is like choosing the perfect outfit—it matters big time.
Top Brick Options:
- Traditional clay bricks: Classic and weatherproof
- Concrete edging stones: Flexible and durable
- Faux brick: Budget-friendly and super easy to install
Pro Tip: Look for “severe weather” rated bricks for maximum longevity.

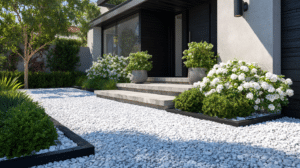
✎ Steal This Look
- Paint Color: Benjamin Moore Kendall Charcoal HC-166
- Furniture: weathered teak potting bench with galvanized steel top
- Lighting: solar-powered cast iron path lights with seeded glass
- Materials: hand-molded reclaimed brick, crushed limestone base, polymeric sand joints, aged copper garden edging
There’s something deeply satisfying about laying your first course of brick edging at dawn, coffee in hand, knowing you’re building something that will outlast the perennials you plant beside it.
DIY Installation: You’ve Got This!
Think you need a professional? Think again. This is totally doable with some basic tools and a weekend’s worth of effort.
What You’ll Need:
- Shovel
- Rubber mallet
- Sand or gravel
- Measuring tape
- Bricks of choice
- Polymeric sand
Step-by-Step Breakdown:
- Map Your Territory
- Use a rope or garden hose to outline your bed
- Measure carefully (add 10% for curves and mistakes)
- Dig Your Trench
- Depth should match brick height plus 2 inches
- Ensure it’s level and compact
- Create a Solid Base
- Add 2 inches of compacted sand
- This prevents shifting and ensures stability
- Brick Placement Magic
- Lay bricks side by side
- Use a rubber mallet to level
- Experiment with patterns: straight, angled, or curved
- Finishing Touches
- Fill gaps with polymeric sand
- Tap to settle
- Lightly water to lock everything in place

Design Inspiration: Beyond Basic Borders
Brick edging isn’t one-size-fits-all. Here are some killer styles:
- Flush Border: Sleek and modern, lawn-mower friendly
- Raised Edge: Dramatic and defined
- Angled Bricks: Add visual interest and texture
- Mixed Color Bricks: Create a rustic, eclectic look

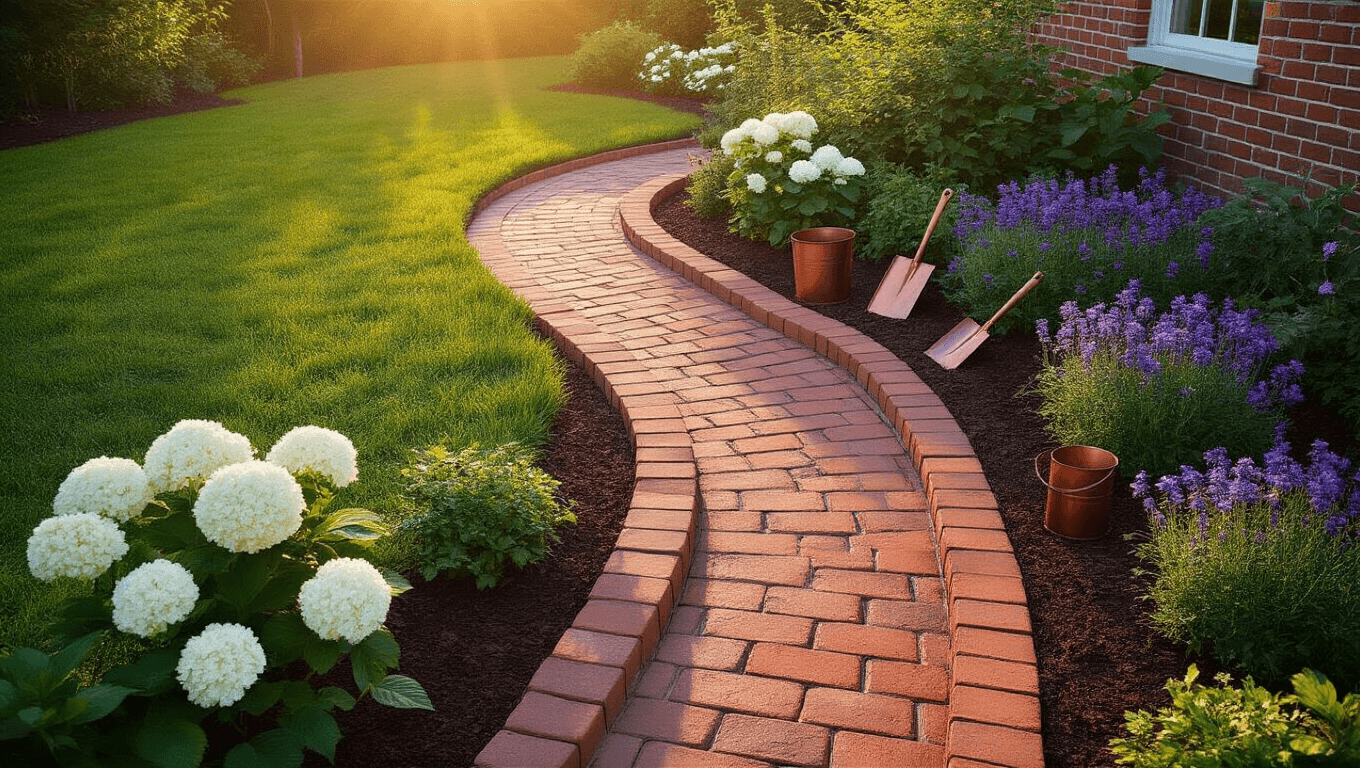
💡 Steal This Look
- Paint Color: use Behr brand. Match the ACTUAL wall color in the image. Format: Behr ColorName CODE
- Furniture: weathered teak Adirondack chair with wide slats for garden seating
- Lighting: solar-powered copper path lights with warm 2700K output
- Materials: reclaimed clay brick with moss patina, crushed limestone base, untreated cedar mulch
Your flower bed edging is the handshake of your garden—it’s what people notice first when they walk up, and brick gives you that timeless, settled-in feeling that plastic edging never will.
Common Pitfalls to Dodge
🚫 Mistakes to Avoid:
- Skipping proper trench preparation
- Neglecting to level as you go
- Using low-quality materials
- Forgetting to compact your base

💡 Steal This Look
- Paint Color: use Valspar brand. Match the ACTUAL wall color in the image. Format: Valspar ColorName CODE
- Furniture: specific furniture for this room
- Lighting: specific lighting fixture
- Materials: key textures and materials
I’ve watched too many weekend warriors rush the base layer only to rebuild everything the following spring when frost heave pushed their bricks into a crooked mess.
Budget Breakdown
- Basic Install: $100-$250
- Professional Look: $250-$500
- Luxury Option: $500-$1000
Maintenance: Keeping It Fresh
Brick edging is low-maintenance, but not no-maintenance.
Quick Care Tips:
- Check alignment annually
- Refill sand joints as needed
- Clean with a gentle pressure wash
- Replace any cracked bricks promptly

💡 Steal This Look
- Paint Color: Dunn-Edwards Whisper DEW 341
- Furniture: weathered teak potting bench with galvanized steel top
- Lighting: solar-powered LED path lights with hammered bronze finish
- Materials: aged clay brick, polymeric sand, cedar mulch, galvanized steel edging strips
There’s something deeply satisfying about running your hand along a crisp brick line in spring, feeling the slight mossy texture where the mortar meets the garden—it’s the tactile proof that your outdoor space is loved, not just landscaped.
The Bottom Line
Brick edging is your ticket to a magazine-worthy garden. With some effort, creativity, and these pro tips, you’ll transform your outdoor space from “meh” to “magnificent”.
Go get those bricks, and happy gardening! 🌿🧱