This post may contain affiliate links. Please see my disclosure policy for details.
DIY Clay Ornaments: A Festive Craft for All Ages
Contents
Hey there, crafty folks! Ready to get your hands dirty and create some seriously cool ornaments? I’m talking about clay ornaments – those versatile little beauties that can jazz up your tree, make perfect gifts, or even become year-round decor. Trust me, I’ve made my fair share of these babies, and I’m here to spill all the secrets.
Let’s dive right in, shall we?
The Beauty of Clay Ornaments
First things first – why clay? Well, let me count the ways:
- It’s affordable (your wallet will thank you)
- It’s easy to work with (even for us klutzy types)
- It’s super versatile (the sky’s the limit, folks)
- It’s great for all ages (from kiddos to grandma)
Now, you’ve got two main options: air-dry clay or polymer clay. Air-dry is great for quick projects, while polymer clay gives you that professional finish. Choose your fighter!

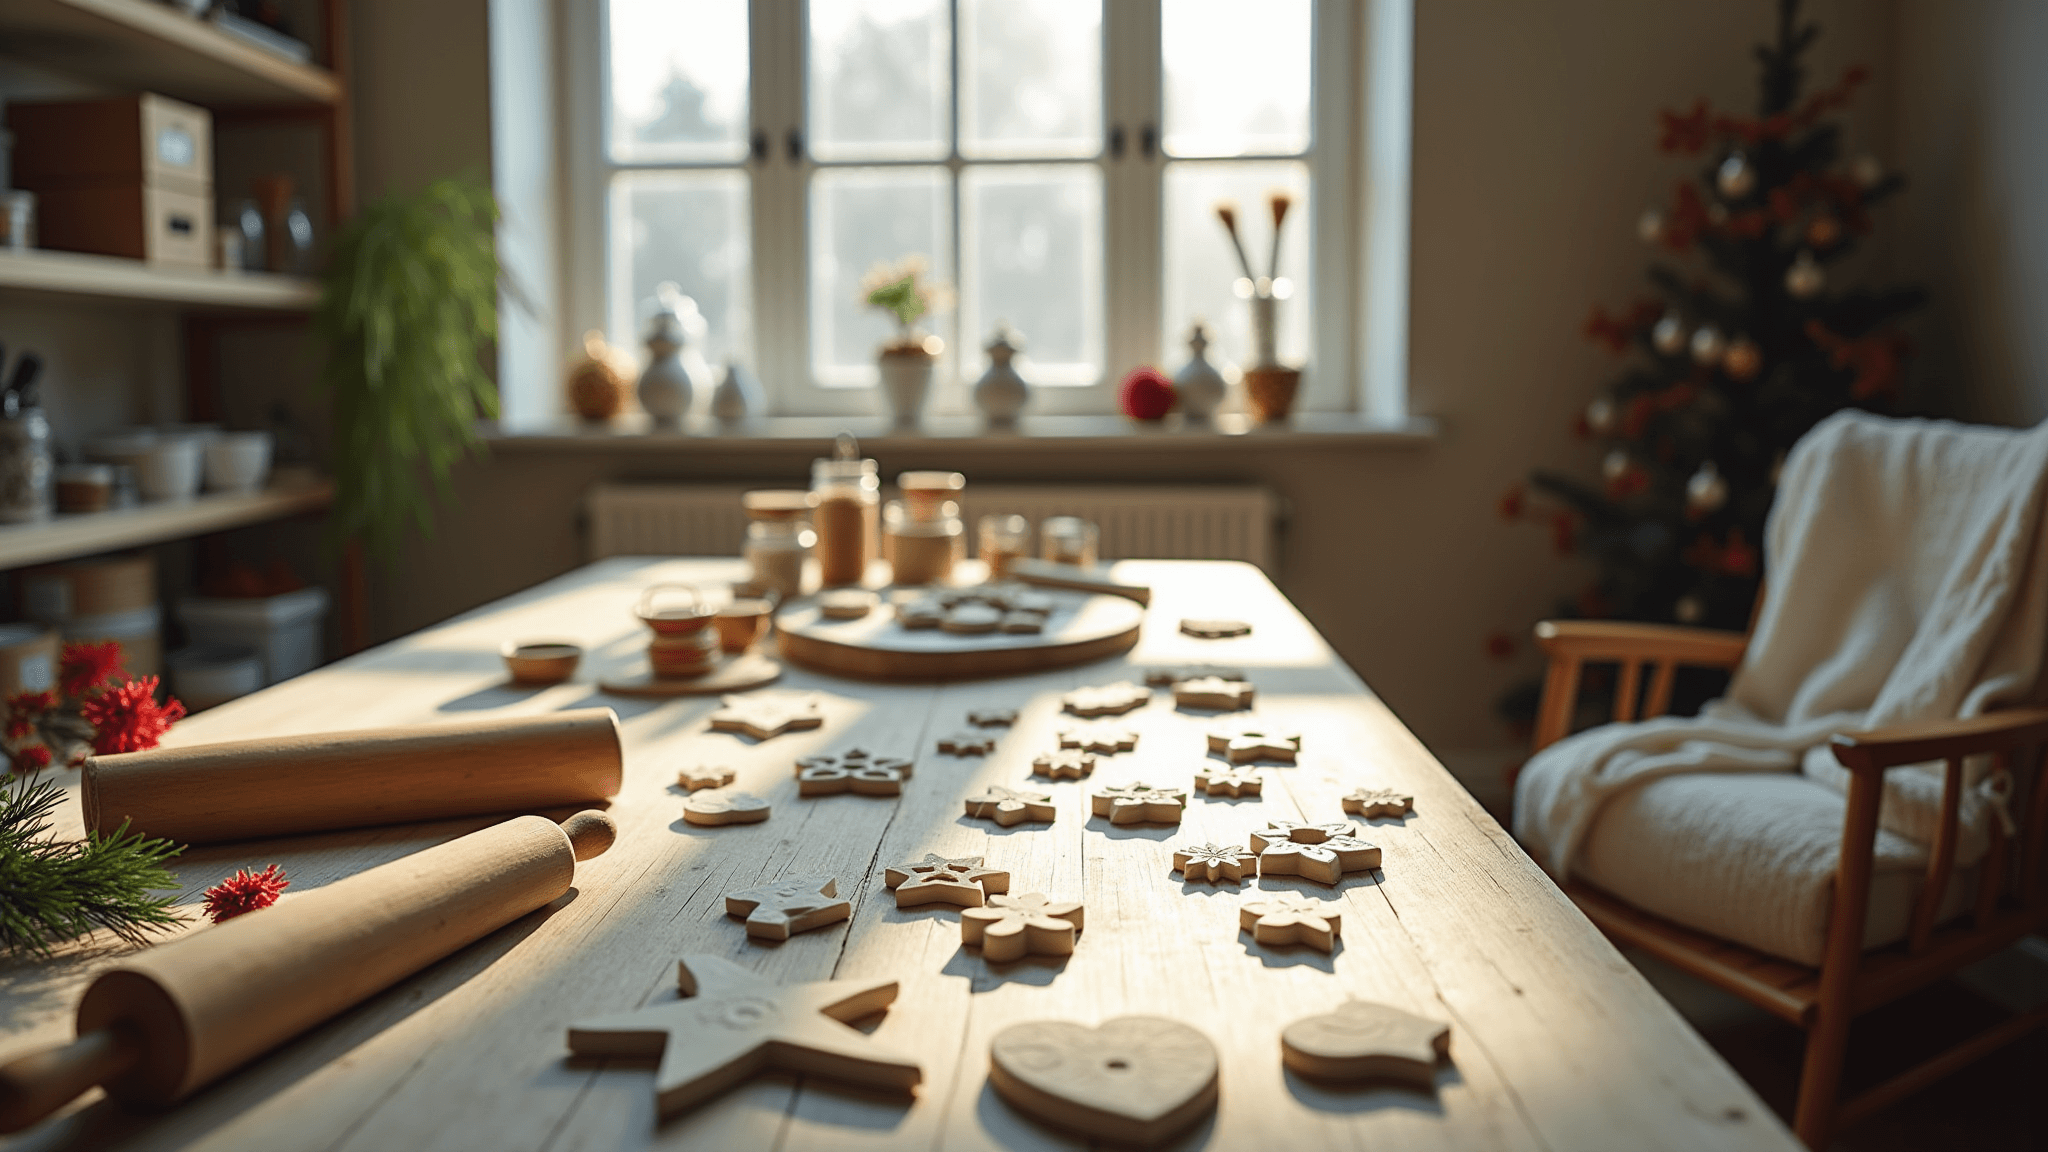
Getting Started: The Basics
Alright, let’s roll up our sleeves and get to it. Here’s what you’ll need:
- Clay (duh!)
- Rolling pin (or a wine bottle, we don’t judge)
- Cookie cutters or a sharp knife
- Something to make holes (a straw works wonders)
- Paint and brushes (if you’re feeling artsy)
- Ribbon or string for hanging
Now, follow these steps:
- Roll out your clay to about 1/8 inch thick.
- Cut out your shapes.
- Make a hole for hanging.
- Let it dry or bake it (follow the package instructions, folks).
- Decorate to your heart’s content!

Simple Shapes for the Win
Listen, sometimes simple is best. Here are some foolproof ideas:
- Stars (classic and never goes out of style)
- Hearts (spread the love, people)
- Circles (a blank canvas for your creativity)
- Trees (nothing says Christmas like a mini pine)
Pro tip: Use a glass or jar as a makeshift cookie cutter for perfect circles. You’re welcome.

Texture is Your Friend
Want to take your ornaments up a notch? Texture is the answer. Try these tricks:
- Press lace into the clay for a delicate pattern
- Use rubber stamps for words or designs
- Roll the clay over a textured surface (like burlap) for a rustic look
Personalize It, Baby!
Here’s where you can really make these ornaments your own:
- Stamp names or initials for custom gift tags
- Create family portraits (stick figures totally count)
- Make pet ornaments (because Fluffy deserves some recognition)
Paint Party
Once your clay is dry, it’s time to get colorful:
- Use acrylic paints for bold hues
- Try metallic sprays for a touch of glam
- Experiment with chalk paint for a vintage vibe

3D Magic
Ready to level up? Let’s go 3D:
- Use silicone molds to create raised designs
- Layer smaller shapes onto larger ones
- Build up simple forms to create characters (snowmen, anyone?)
Themes to Try
Need some inspiration? Here are some themes to get your creative juices flowing:
- Winter wonderland (snowflakes, icicles, the whole shebang)
- Woodland creatures (owls, foxes, and bears, oh my!)
- Beachy vibes (for those dreaming of warmer days)
- Abstract designs (let your inner artist shine)
Finishing Touches
Don’t forget these final steps:
- Add a coat of varnish for extra shine and protection
- Tie on some pretty ribbon or twine for hanging
- Group similar ornaments together for a cohesive look
Make it a Party!
Why craft alone when you can make it social? Host an ornament-making party:
- Set up stations with different materials
- Have a contest for the most creative design
- Exchange ornaments at the end (Secret Santa style)
Remember, there’s no right or wrong way to make clay ornaments. The beauty is in the imperfections and the personal touch. So go wild, have fun, and create something uniquely you. Happy crafting, my friends!


