This post may contain affiliate links. Please see my disclosure policy for details.
Hey there, fellow craft enthusiasts! Ready to dive into the wonderful world of grapevine wreaths? Trust me, once you start, you won’t be able to stop. These versatile beauties are like a blank canvas just begging for your creative touch. So, let’s roll up our sleeves and get crafty!
Why Grapevine Wreaths Rock:
Contents
- They’re a year-round decor staple
- Super adaptable for any season or holiday
- Perfect for beginners and pros alike
- Endlessly customizable (seriously, sky’s the limit!)
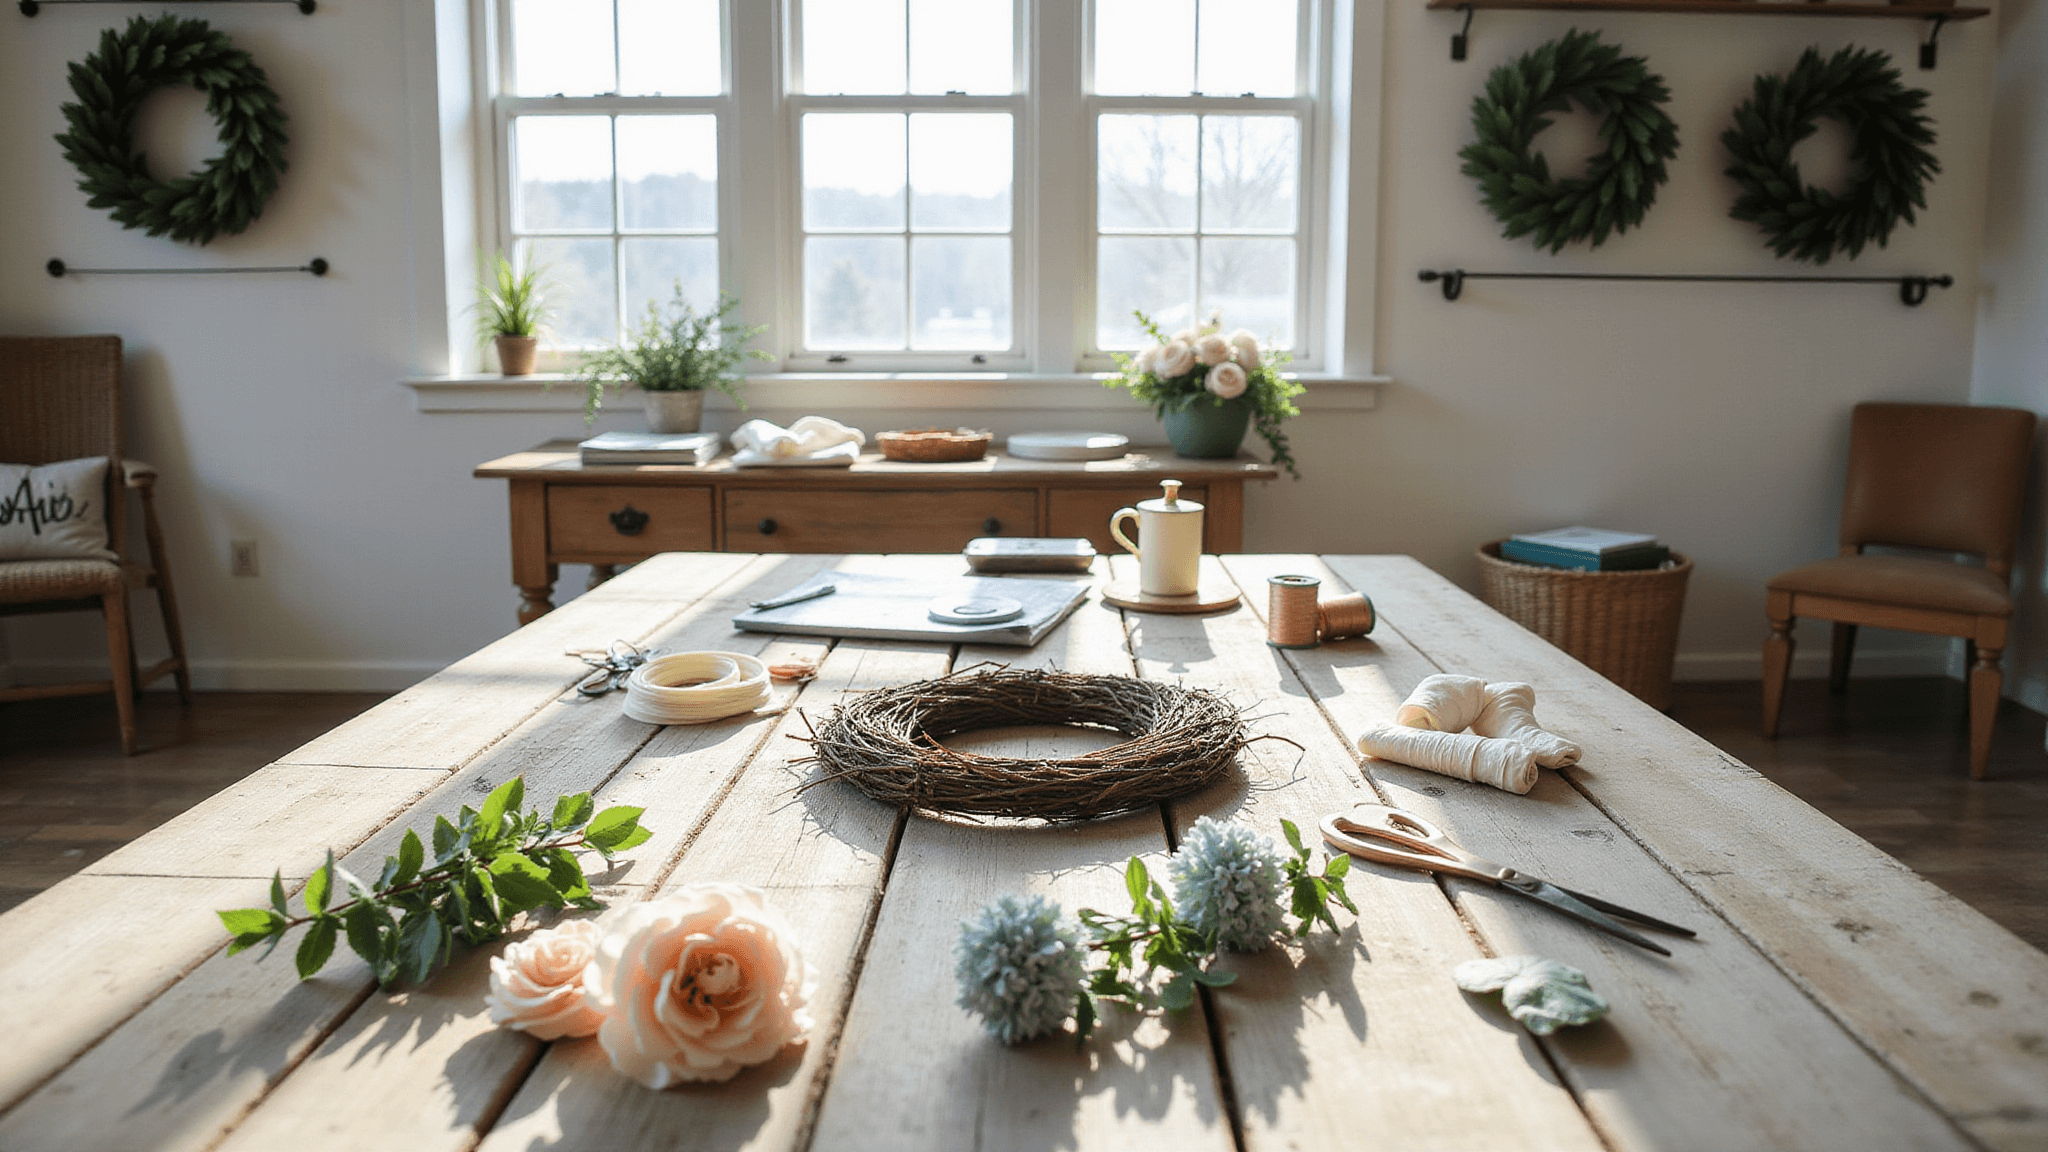
First Things First: Gathering Your Goodies
Before we jump in, let’s talk supplies. Here’s what you’ll need to get started:
- A grapevine wreath base (duh!)
- Floral stems (fake, dried, or fresh – dealer’s choice)
- Florist wire or hot glue gun
- Scissors or wire cutters
- Fun accents (ribbons, pinecones, signs – whatever floats your boat!)
Pro Tip: Hit up your local craft store or even your backyard for inspiration. Nature’s full of free goodies!

Design Time: Let Your Imagination Run Wild
Alright, time to put on your designer hat. What vibe are you going for? Rustic charm? Modern chic? Seasonal splash? Whatever you choose, here are some fool-proof ideas to get those creative juices flowing:
Spring Fling:
- Pastel flowers (think cherry blossoms or daffodils)
- Cute little bird nests or faux eggs
- Fluttery butterfly accents
Summer Lovin’:
- Bold, bright blooms like sunflowers
- Citrus slices for a zesty punch
- Bumblebee theme (because who doesn’t love those fuzzy little guys?)

Fall Feels:
- Rich autumn leaves
- Mini pumpkins or gourds
- Cinnamon sticks for that cozy scent
Winter Wonderland:
- Evergreen sprigs and pinecones
- Glittery ornaments or snowflakes
- Berry clusters for a pop of color

The How-To: Let’s Get Our Hands Dirty!
- Start with a plan: Lay out your materials and get a rough idea of placement.
- Go green: Begin with larger greenery pieces, tucking them into the vines or securing with wire.
- Flower power: Layer in your blooms, starting with bigger flowers and working down to smaller accents.
- Accent city: Now’s the time to add those special touches – bows, signs, or quirky elements.
- Fill ‘er up: Use smaller sprigs to fill any gaps and create a full, lush look.
- Secure the goods: Double-check that everything’s attached firmly. Nobody wants a wreath shedding on their porch!
Wreath Wisdom: Tips from a Seasoned Pro
- Mix textures like crazy: Smooth ribbons, rough burlap, soft petals – it all works!
- Don’t fear asymmetry: Sometimes, a lopsided design is the most eye-catching.
- Light it up: Weave in some battery-operated fairy lights for extra magic.
- Spray paint is your friend: A quick coat can transform your entire wreath base.

Wreath Woes? No Problem!
Feeling stuck? Here are some common wreath worries and how to fix ’em:
“Help! My wreath looks sparse!”
- Layer, layer, layer! Keep adding elements until you’re happy with the fullness.
“Everything’s falling off!”
- Time to break out the hot glue gun. A dab’ll do ya for most accents.
“It’s looking a bit… blah.”
- Try adding an unexpected element, like a quirky figurine or bold ribbon.
Remember, there’s no such thing as a “perfect” wreath. The beauty is in the personal touch you bring to it. So have fun, experiment, and don’t be afraid to get a little wild with your designs!
Now, go forth and create something gorgeous. Your front door (or mantel, or wherever) is waiting for its new star attraction. Happy crafting, wreath wizards!


