This post may contain affiliate links. Please see my disclosure policy for details.
Butterfly Magic: Hosting a Whimsical Craft Event for Adults
Hey there, fellow craft enthusiasts! Ready to spread your creative wings? Let’s dive into the enchanting world of butterfly crafts for adults. I’m thrilled to share my tried-and-true tips for hosting a magical craft event that’ll have your guests fluttering with joy.
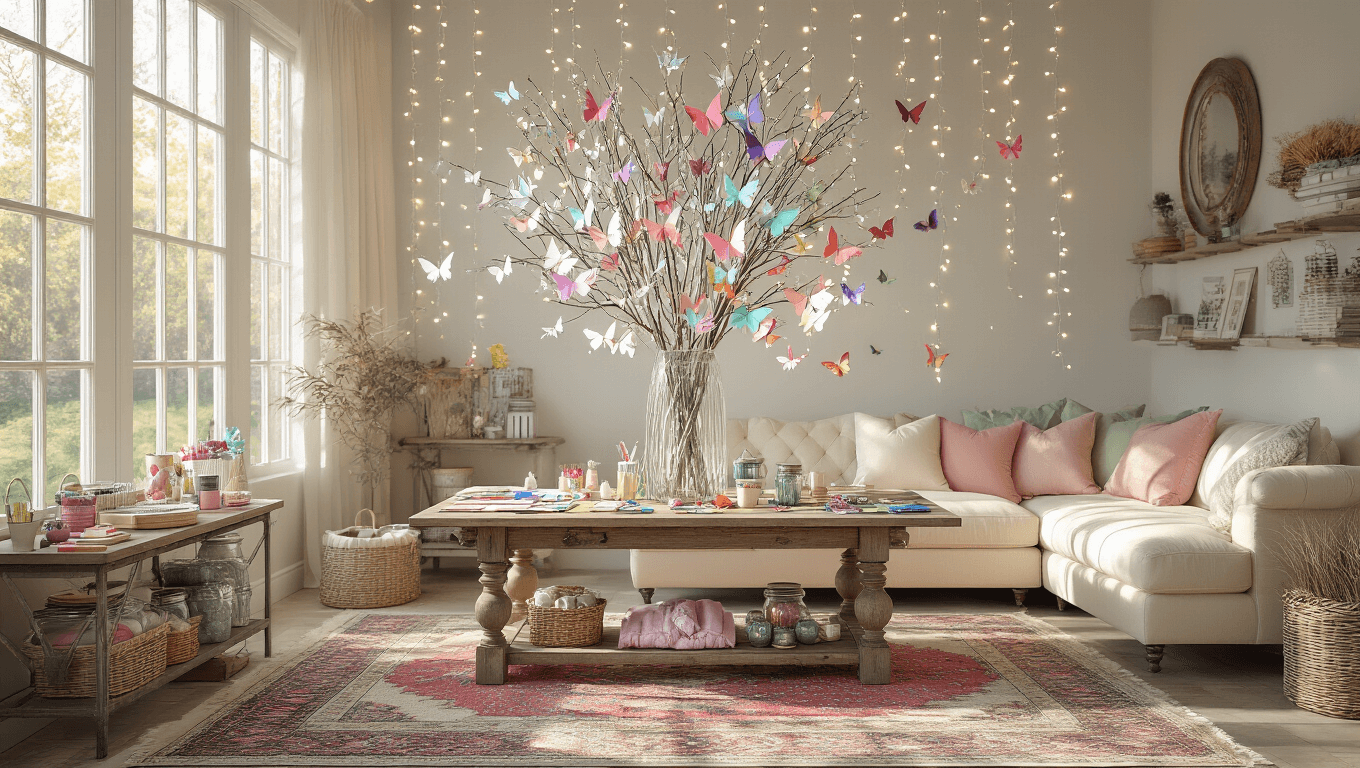
Butterflies aren’t just for kids anymore. These delicate creatures inspire some seriously stunning grown-up crafts. From paper art to upcycled wonders, we’re about to transform your space into a butterfly haven.
✎ Steal This Look
- Paint Color: Sherwin-Williams Intimate White SW 6322
- Furniture: extendable farmhouse dining table with whitewashed finish for flexible craft workspace
- Lighting: oversized woven rattan pendant with dimmable Edison bulbs
- Materials: raw linen table runners, pressed glass bud vases, unfinished wood display risers, vintage brass specimen trays
This is the room where strangers become friends over shared glue-gun burns and the satisfying crinkle of tissue paper wings taking shape.
Setting the Scene: Creating Your Butterfly Paradise
First things first – let’s set the mood. Think soft lighting, pastel hues, and touches of whimsy. Here’s how I create the perfect butterfly craft atmosphere:
- Hang delicate fairy lights to mimic fireflies
- Use branches or potted plants as natural decor elements
- Scatter faux butterflies around the space for instant magic
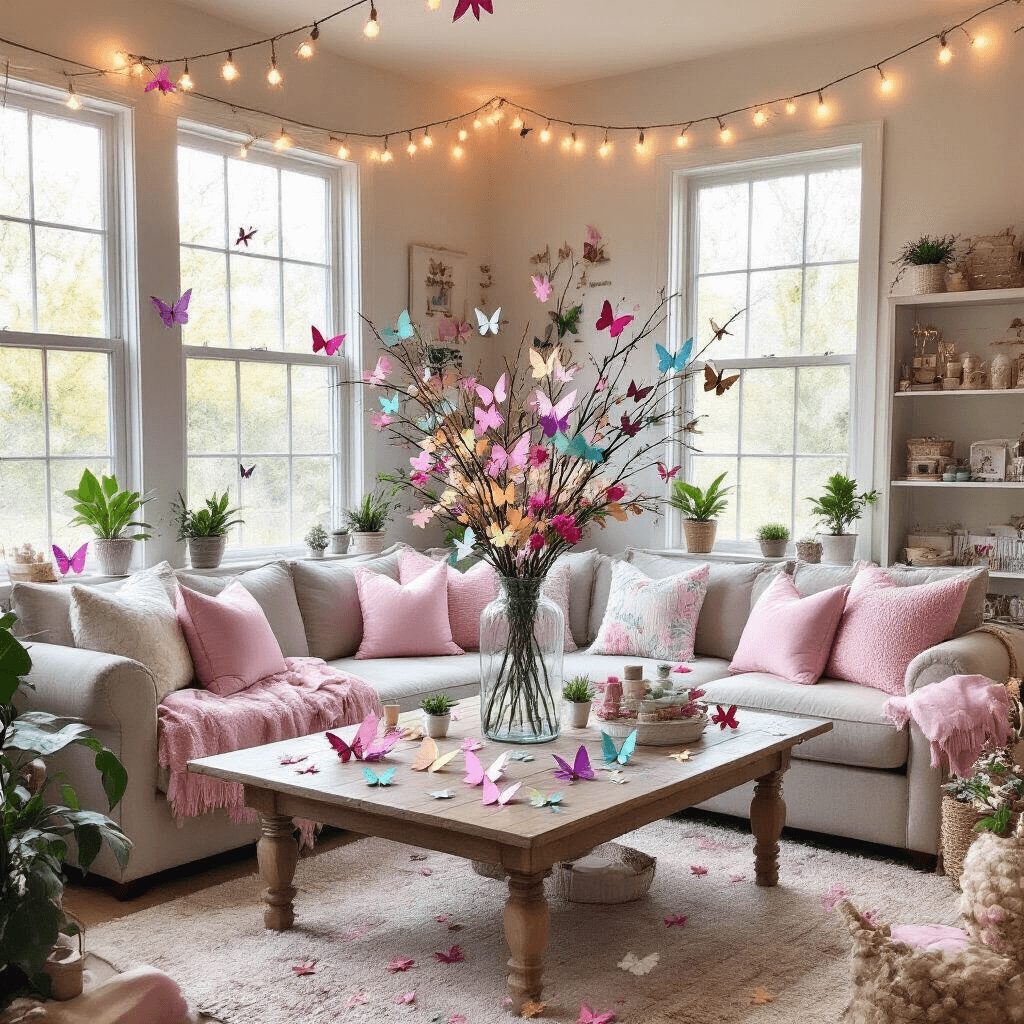
Pro tip: Create a show-stopping centerpiece by attaching colorful paper butterflies to branches in a tall vase. It’s simple, stunning, and sets the tone for your event.
💡 Steal This Look
- Paint Color: Benjamin Moore First Light 2102-70
- Furniture: a vintage whitewashed farmhouse table with turned legs
- Lighting: twinkle curtain lights with warm white LEDs draped behind sheer panels
- Materials: raw birch branches, linen table runners, pressed glass vases, matte ceramic planters
This is the room where you’ll lose track of time completely—there’s something about that soft, golden-hour glow that makes even simple paper crafts feel like treasured heirlooms in progress.
Essential Tools: Gearing Up for Butterfly Brilliance
Before your guests arrive, make sure you’ve got these must-haves on hand:
- Colorful paper (plain and patterned)
- Fabric scraps
- Scissors and craft knives
- Glue (both liquid and glue sticks)
- Paint and brushes
- Craft wire or pipe cleaners
- Beads and sequins for embellishment
Don’t forget comfort! Provide cushions for chairs if you’re crafting for extended periods. Trust me, your guests’ bottoms will thank you.
Butterfly Craft Ideas: From Simple to Spectacular
1. Paper Butterfly Wall Art
This is my go-to for instant impact. Here’s how:
- Cut butterfly shapes from colorful paper
- Fold wings slightly for dimension
- Arrange on a blank wall in a swooping pattern
- Secure with removable adhesive
Voila! A temporary butterfly migration right in your living room.
Save this article
Enter your email and we'll send it straight to your inbox.
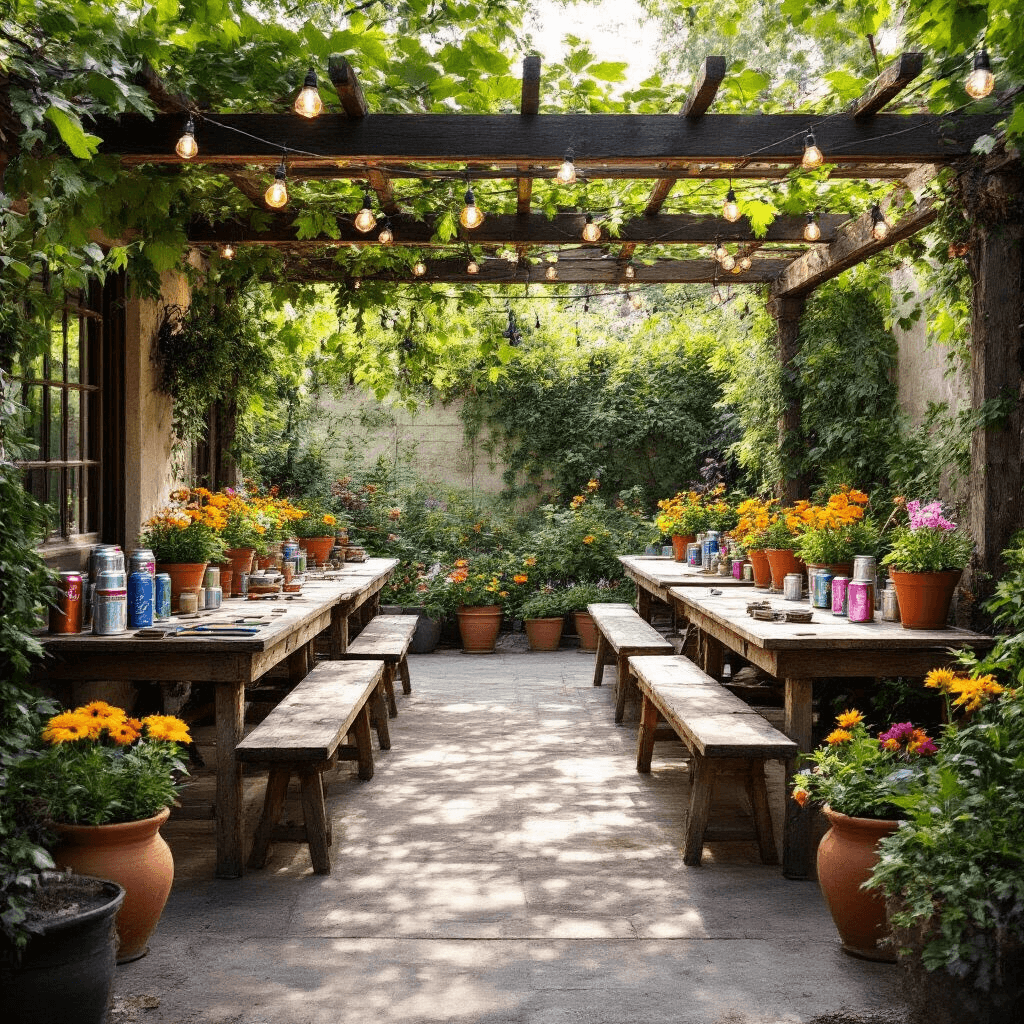
2. Upcycled Can Butterflies
Got empty soda cans? Turn them into garden art:
- Carefully cut butterfly shapes from cleaned cans
- Sand edges for safety
- Paint or leave as-is for a metallic look
- Attach to garden stakes
These beauties catch the light and add sparkle to any outdoor space.
3. Fabric Butterfly Brooch
For the fashion-forward crafters:
- Cut two butterfly shapes from felt or sturdy fabric
- Sandwich a brooch pin between layers
- Glue or stitch edges together
- Embellish with beads or embroidery
Wearable art that’s sure to turn heads!
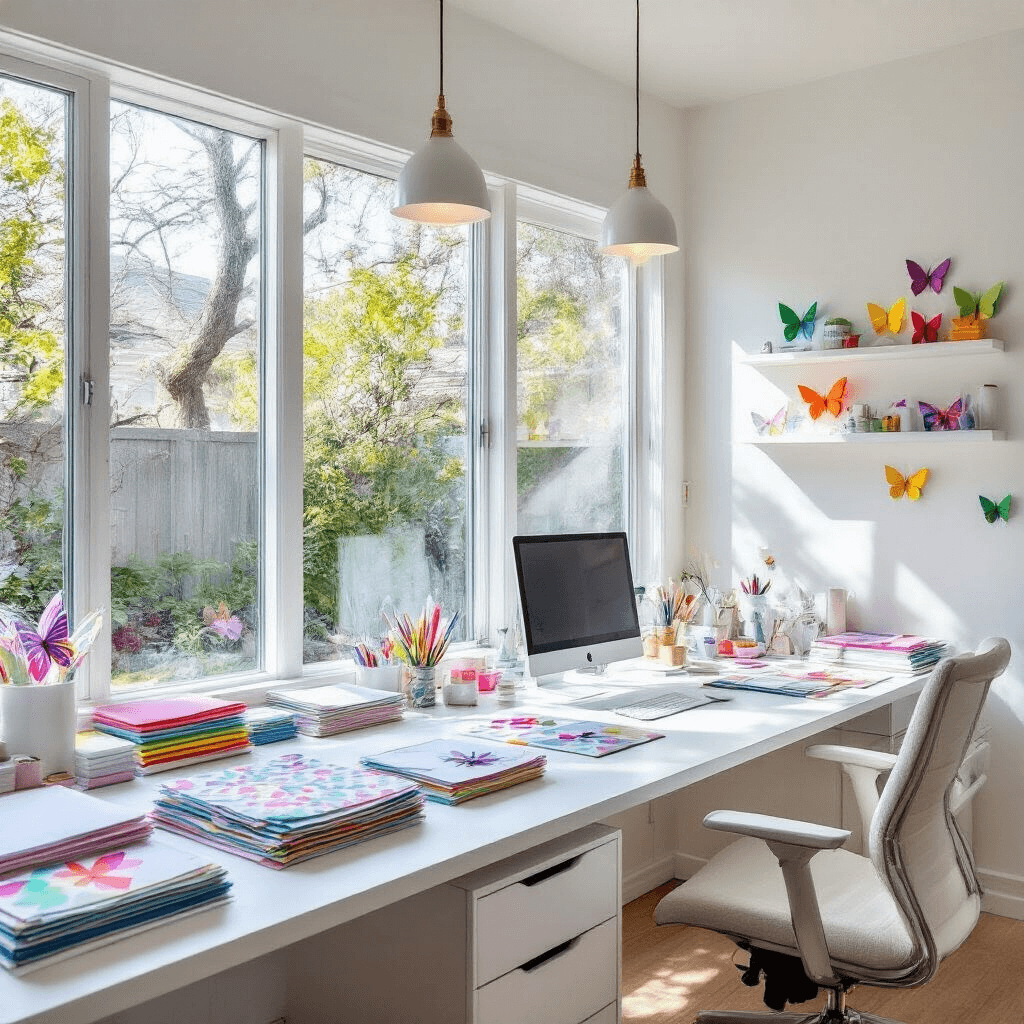
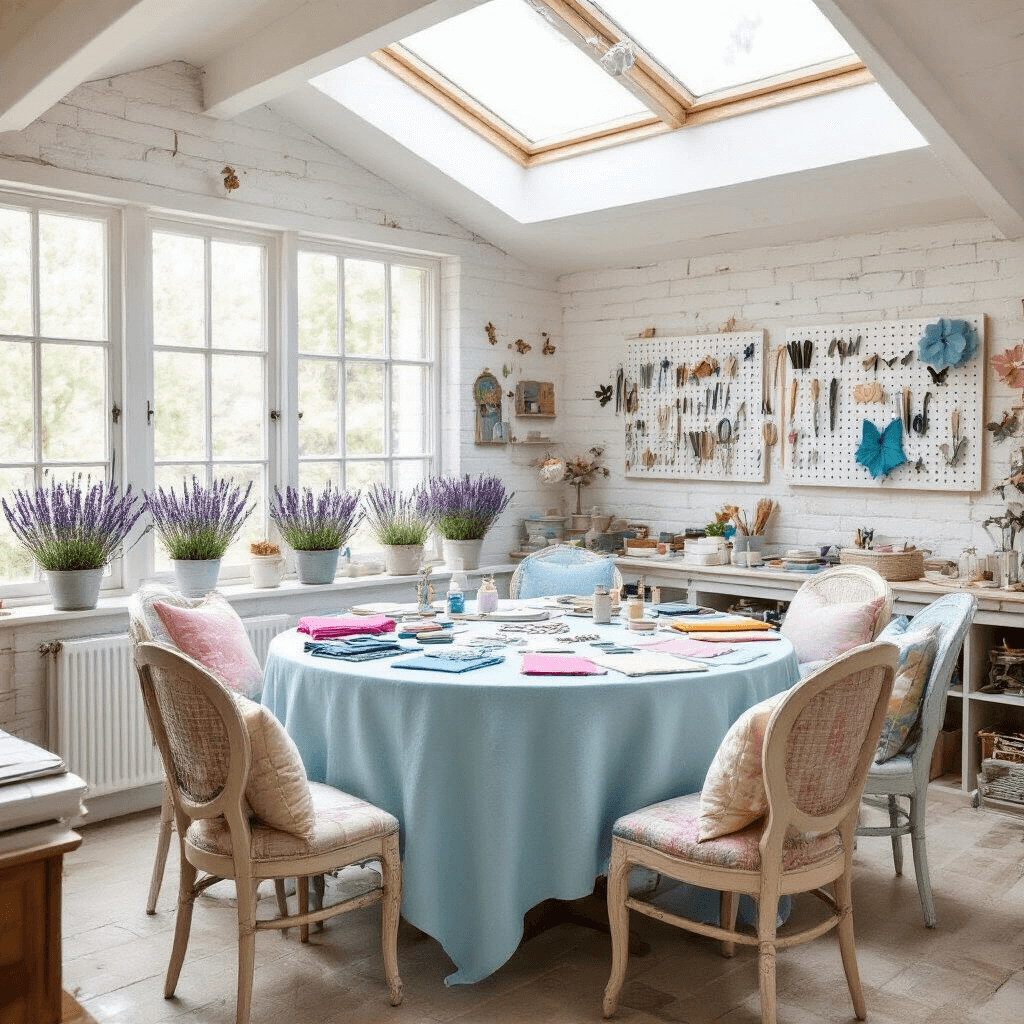
✎ Steal This Look
- Paint Color: use Behr brand. Match the ACTUAL wall color in the image. Format: Behr Whisper White MQ3-45
- Furniture: floating white display shelf for showcasing finished butterfly pieces
- Lighting: adjustable-arm brass desk lamp for detailed craft work
- Materials: matte cardstock in jewel tones, hammered aluminum sheets, wool felt in muted naturals
This is the craft room where late-night creativity actually happens—coffee rings on the table, half-finished projects in sight, and the satisfying mess of making something beautiful with your own hands.
Capturing the Magic: Photography Tips
Don’t forget to document your butterfly bonanza! Here are my tricks for Instagram-worthy shots:
- Use natural light when possible
- Capture close-ups of intricate details
- Stage “in-progress” shots for behind-the-scenes vibes
- Create flat lays of materials for eye-catching compositions
Remember, people love seeing the process as much as the final product.
Wrapping Up Your Butterfly Extravaganza
As your event winds down, send guests home with a little butterfly magic:
- Package leftover materials in cute goodie bags
- Encourage photo sharing with a custom event hashtag
- Plan your next crafty get-together – maybe moths are next?
Hosting a butterfly craft event for adults is all about embracing your inner child while creating sophisticated art. With these tips, you’ll be the talk of the craft world in no time.
Now, grab those scissors and let your imagination take flight! Who knows what beautiful creations will emerge from your butterfly craft cocoon?
Want to keep this one?
We'll email you the link so you can find it again later.