This post may contain affiliate links. Please see my disclosure policy for details.
Hey there, fellow DIY enthusiasts!
Contents
- Hey there, fellow DIY enthusiasts!
- Simple Mirror Painting Designs: No Artistic Skills Required!
- Colorful & Artistic Approaches: Let Your Inner Artist Shine!
- Step-by-Step: How to Paint a Mirror (Even If You’re All Thumbs)
- Tips & Variations: Because Why Be Boring?
- Inspiration: What to Paint When Your Mind Goes Blank
- Safety & Cleanup: Because Nobody Likes a Mess
- Accessibility & Alternatives: DIY for Everyone!
Ready to add some pizzazz to your plain old mirrors? I’ve got a bunch of super easy mirror painting ideas that’ll knock your socks off. Trust me, you don’t need to be Picasso to pull these off. Let’s dive right in and turn those boring reflections into eye-catching masterpieces!

🌟 Steal This Look
- Paint Color: Sherwin-Williams Pure White SW 7005
- Furniture: white shiplap accent wall with floating reclaimed wood shelf
- Lighting: brass swing-arm sconce with linen shade
- Materials: chalk paint finish, natural jute, matte ceramic, raw wood grain
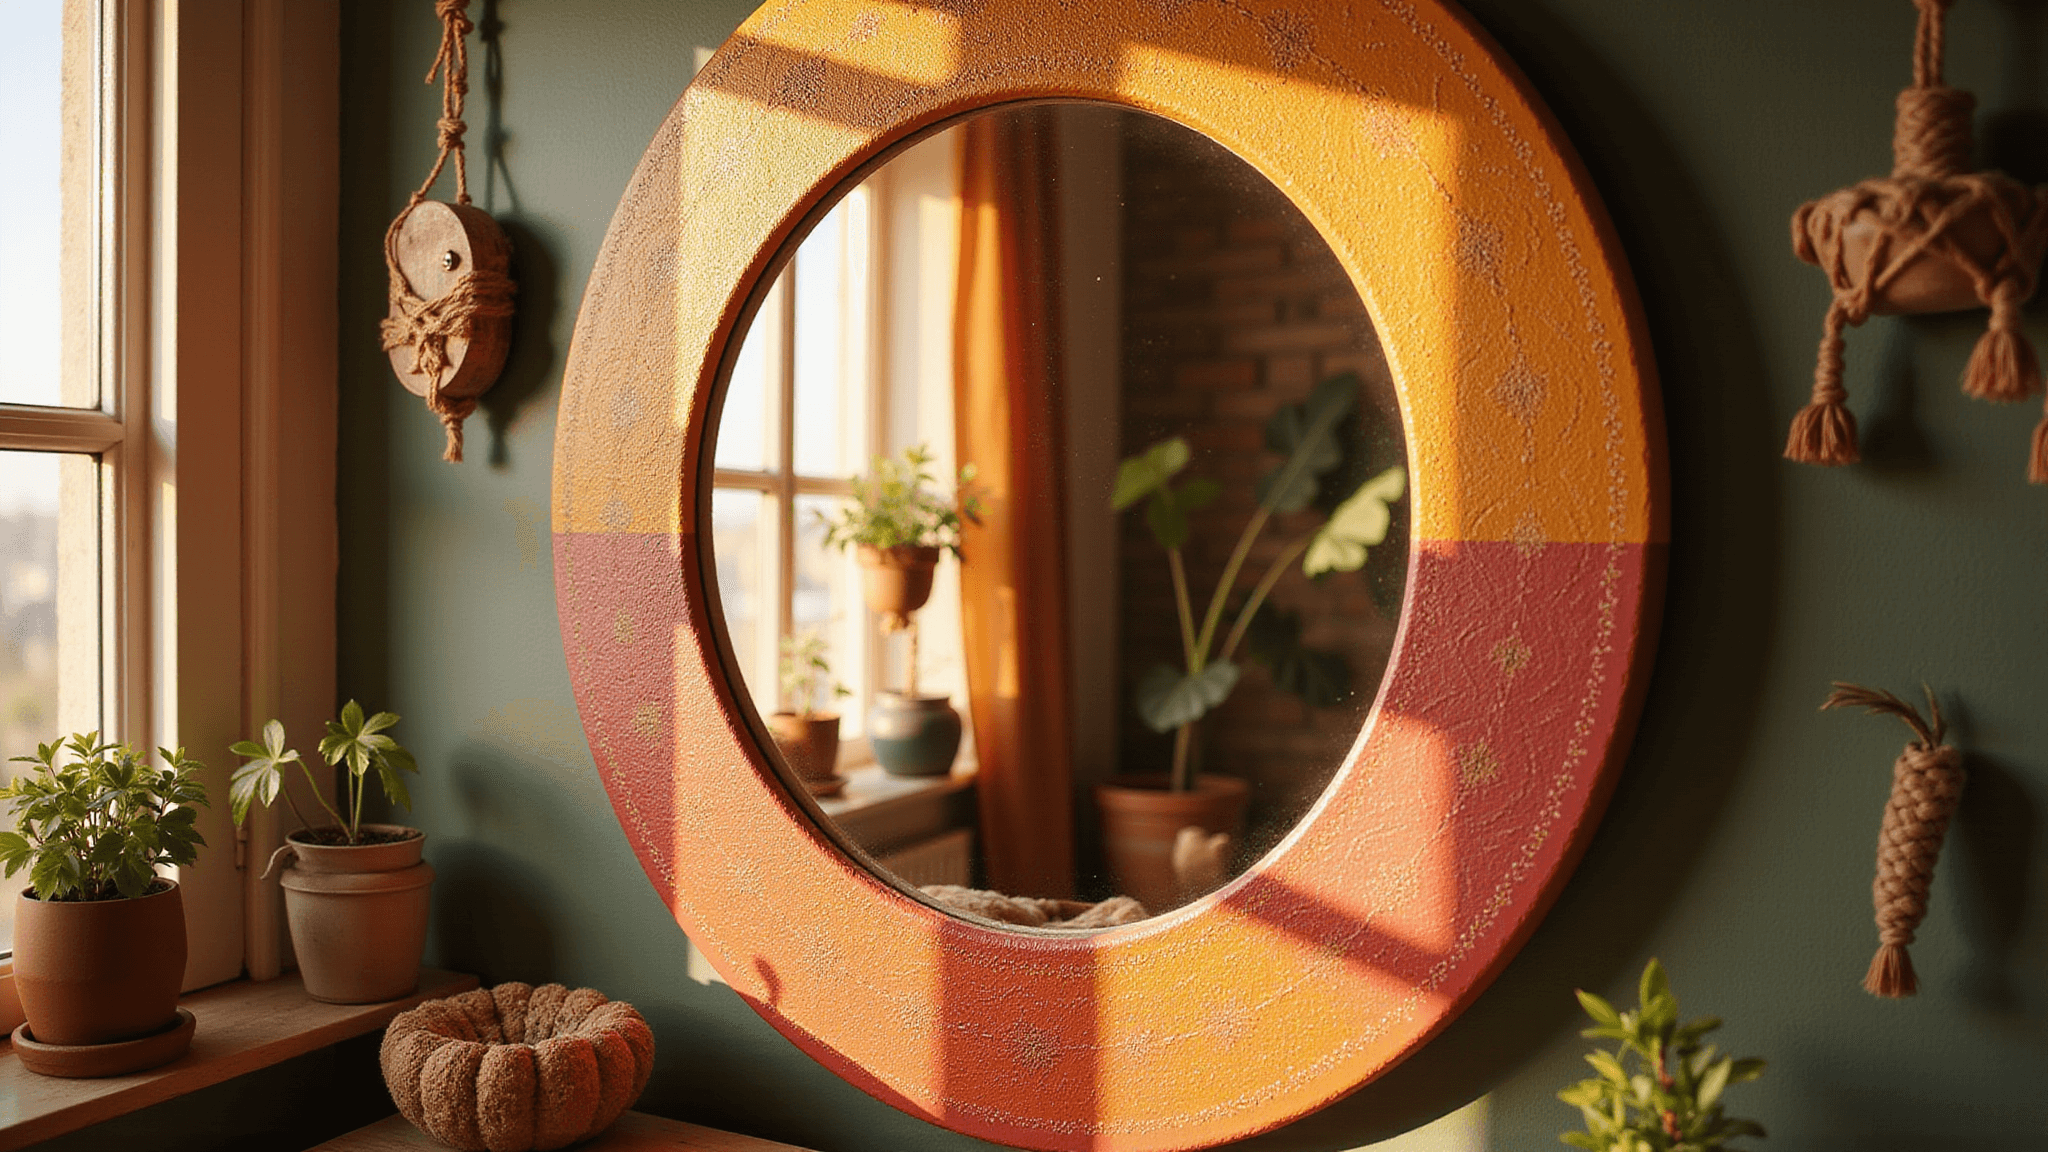
There’s something deeply satisfying about rescuing a $5 yard sale mirror and transforming it into the statement piece your entryway’s been begging for—this is where beginner confidence gets built, one brushstroke at a time.
Simple Mirror Painting Designs: No Artistic Skills Required!
Minimalist Shapes and Patterns
Grab those acrylic paint pens and let’s get doodling! Think rainbows, stars, hearts – you know, the cute stuff. Pop them in the corners or around the edges for a clean, modern look. It’s like giving your mirror a cool tattoo, minus the commitment.
Inspirational Quotes or Words
Feeling philosophical? Write that motivational mantra you’ve been loving lately. Or maybe your “word of the year” if you’re into that kinda thing. Pro tip: Add some swirly flourishes in a matching color. Instant glam!
Cute Illustrations
Who doesn’t love a good doodle? Flowers, butterflies, smiley faces – go wild! These work on any size mirror, from your massive bathroom mirror to that tiny compact in your purse.
Border Accents
Create a faux frame with dots, lines, or funky zigzags. It’s like giving your mirror a fancy makeover without the hefty price tag.

🏠 Steal This Look
- Paint Color: Benjamin Moore Chantilly Lace OC-65
- Furniture: simple white floating vanity with clean lines
- Lighting: sleek LED backlit mirror frame
- Materials: brushed nickel fixtures, frosted glass, smooth ceramic tile
This is the perfect weekend project for anyone who’s ever looked at hand-painted ceramics on Instagram and thought ‘I could never’—these simple designs build confidence and actually get easier (and more addictive) with every mirror you customize.
Colorful & Artistic Approaches: Let Your Inner Artist Shine!
Layered Brush Strokes
Time to break out the regular acrylics and channel your inner abstract artist. Pick 2-4 colors that play nice together and go to town with broad, sweeping strokes. Start dark and blend outwards – hello, gorgeous ombre effect!
Floral Scenes
Don’t stress about perfect petals here. Loose, abstract flowers are your friends. Think wild meadows, not botanical illustrations.
Seasonal & Thematic Ideas
Feeling festive? Paint some pumpkins for fall or snowflakes for winter. The best part? Just switch up the colors, and you’ve got a whole new vibe.

🖼 Steal This Look
- Paint Color: Farrow & Ball Stiffkey Blue 281
- Furniture: vintage wooden easel-style vanity table with distressed finish
- Lighting: adjustable brass architect’s desk lamp with warm LED bulb
- Materials: raw linen drop cloths, terracotta paint palettes, unfinished birch frames, matte acrylic mediums
This is where my own bathroom mirror started—three failed ombre attempts and a lot of paper towels later, I learned that ugly stages are just part of the process, not a signal to quit.
Step-by-Step: How to Paint a Mirror (Even If You’re All Thumbs)
Materials Needed:
– Acrylic paint or paint pens (make sure they play nice with glass)
– Brushes or marker tips
– Painter’s tape (trust me, you’ll thank me later)
– Old rag or paper towels (for inevitable oopsies)
– Glass cleaner and a lint-free cloth
– Optional: Sealer spray (for the overachievers among us)
Instructions:
- Clean That Mirror! Wipe it down like your life depends on it. No fingerprints allowed – we’re going for perfection here, people.
- Plan Your Masterpiece Sketch it out with a chalk marker if you’re feeling fancy. Or just wing it – I won’t tell.
- Tape It Up (Optional) Protect that frame or create crisp lines with some painter’s tape. It’s like coloring inside the lines, but for grown-ups.
- Time to Paint! Take it slow and steady – we’re not racing here. For pens: Just draw like you would on paper. Easy peasy. For brushes: Dab off excess paint to avoid drippy disasters. Let that first layer dry before you go ham with the details.
- Oops, I Did It Again Made a mistake? No worries! A damp cotton swab is your new best friend. Erase those boo-boos before the paint dries.
- Details, Details, Details Once your base is dry, go wild with those fine lines and dots. This is where the magic happens, folks.
- Seal the Deal (Optional) Let it dry completely, then give it a light mist of clear sealer. It’s like hairspray, but for your art.
Tips & Variations: Because Why Be Boring?
– Keep it simple, silly! Bold designs work best on mirrors.
– Seal your masterpiece if you’re gonna be handling that mirror a lot.
– Paint the edges for a subtle look that won’t hog all the reflection space.
– Get festive with holiday-themed designs. Valentine’s hearts, anyone?
– Use painter’s tape to create geometric patterns. Instant modern art!

🎨 Steal This Look
- Paint Color: use Valspar brand. Match the ACTUAL wall color in the image. Format: Valspar ColorName CODE
- Furniture: specific furniture for this room
- Lighting: specific lighting fixture
- Materials: key textures and materials
This is where your personality gets to shine through—I’ve seen renters transform basic $20 mirrors into statement pieces that look like they came from a boutique, and guests always ask where they bought them.
Inspiration: What to Paint When Your Mind Goes Blank
| Design Type | Description | Difficulty | Time |
|---|---|---|---|
| Mini Rainbows & Icons | Cute lil’ rainbows, hearts, stars | Easy peasy | 5-10 min |
| Simple Florals | Loose daisies, abstract petals | Piece of cake | 10-15 min |
| Words/Quotes | Inspiring phrases with fancy swirls | No sweat | 5-10 min |
| Modern Borders | Dots, lines, geometric frames | Child’s play | 5 min |
| Seasonal Scenes | Snowflakes, pumpkins, spring blooms | Bit trickier | 15-20 min |
| Accented Corners | Fancy top or bottom corner designs | Easy as pie | 5-10 min |
Safety & Cleanup: Because Nobody Likes a Mess
– Let that paint dry completely before you start admiring yourself.
– Kids joining in? Use non-toxic paints and keep an eye on those little Picassos.
– Skip the oil-based paints unless you’ve got mad ventilation skills.
Accessibility & Alternatives: DIY for Everyone!
– No brushes? No problem! Acrylic markers work like a charm.
– Hit up the dollar store for cheap mirrors to practice on.
– Feeling commitment-phobic? Try removable vinyl decals instead.
Remember, folks: “The best part about creating art on a mirror is that you can erase your mistakes easily.” Ain’t that the truth!
So there you have it, my crafty comrades! From cute doodles to fancy florals, you’ve got all the tools to turn that boring mirror into a conversation piece. Now go forth and paint – your reflection will thank you!


