This post may contain affiliate links. Please see my disclosure policy for details.
DIY Dollhouse Magic: Crafting Miniature Worlds on a Budget
Contents
- DIY Dollhouse Magic: Crafting Miniature Worlds on a Budget
- Starting from Scratch: Building Your Dollhouse Dream Home
- Decor on a Dime: Turning Trash into Dollhouse Treasure
- Makeover Madness: Breathing New Life into Old Dollhouses
- Quirky Upgrades: Taking Your Dollhouse to the Next Level
- Upcycled Awesomeness: Eco-Friendly Dollhouse Hacks
- Step-by-Step: Crafting a Twig Table
- More Dollhouse Inspiration
Ever dreamed of creating your own tiny wonderland?
Well, buckle up, dollhouse dreamers, because we’re about to embark on a pint-sized adventure that’ll have you seeing the world through miniature-tinted glasses!
I’ve been obsessed with dollhouses since I was knee-high to a grasshopper, and let me tell you, there’s nothing quite like the satisfaction of building your own itty-bitty paradise.
So, grab your crafting glue and put on your tiny thinking cap – we’re diving into the delightful world of DIY dollhouses!

🖼 Steal This Look
- Paint Color: Sherwin-Williams Alabaster SW 7008
- Furniture: 1:12 scale miniature farmhouse dining table with turned legs and matching spindle-back chairs
- Lighting: battery-operated LED brass chandelier with candle-style bulbs
- Materials: raw balsa wood strips, unbleached muslin fabric, aged brass wire, hand-torn book pages for wallpaper, beeswax for aging wood
There’s something deeply meditative about working at this scale—every tiny decision feels consequential, and I find myself slowing down in the best possible way, noticing details I’d rush past in life-size rooms.
Starting from Scratch: Building Your Dollhouse Dream Home
Alright, let’s kick things off with the biggie – creating your very own dollhouse from the ground up.
Now, don’t panic! It’s not as daunting as it sounds, I promise.
Here’s what you’ll need to get started:
- Plywood or poplar boards (your choice, champ!)
- A trusty saw or jigsaw
- Nail gun or wood glue (dealer’s choice)
- Measuring tape (because eyeballing it rarely works out well)
- Sandpaper (for those silky-smooth finishes)
Ready to roll up your sleeves? Let’s do this!
- Start by cutting your panels for floors, walls, and room dividers.
- Use foam board or cardboard to create templates for windows and doors. Trust me, this step will save you a headache later!
- Time to play architect! Nail or glue those panels together, creating your dollhouse structure.
- Feeling fancy? Add some pizzazz with angled roofs or cute window boxes.
- For the jet-setting dolls, consider a “fold-and-go” design. Portable paradise, anyone?

★ Steal This Look
- Paint Color: Benjamin Moore Simply White OC-117
- Furniture: miniature workbench with tiny saw and measuring tools
- Lighting: adjustable architect’s desk lamp in brushed brass
- Materials: raw birch plywood grain, matte black metal hardware, natural linen dust covers
There’s something deeply satisfying about building the house itself rather than just filling it—this room honors that hands-on journey where sawdust meets imagination.
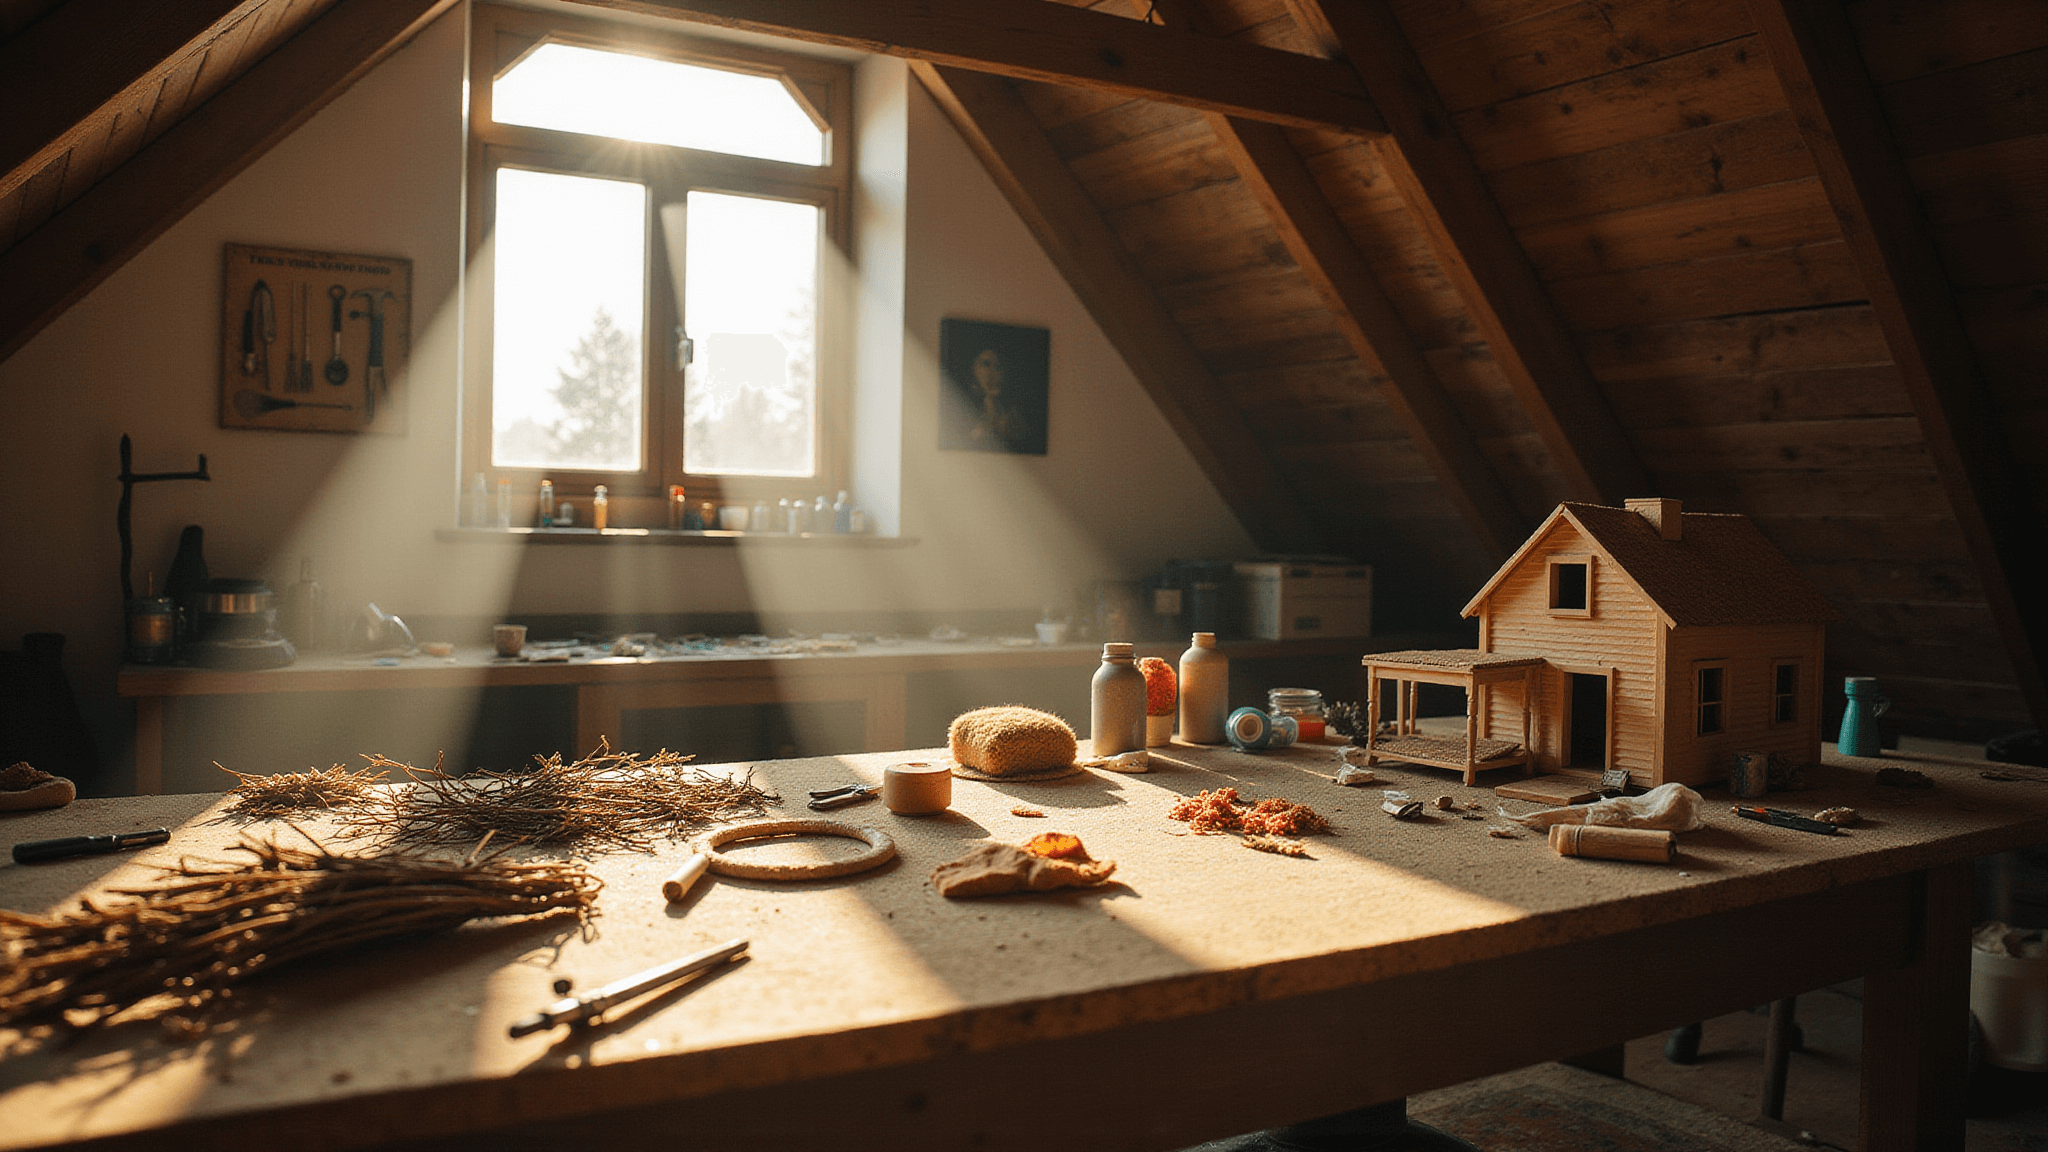
Decor on a Dime: Turning Trash into Dollhouse Treasure
Now, here’s where the real magic happens – transforming everyday objects into dollhouse delights!
- Twiggy Furniture: Remember those twigs you’ve been meaning to clear from the yard? Time to upcycle! Fashion rustic chairs, tables, and shelves from willow or other sturdy twigs.
- Cardboard Creations: Don’t toss that Amazon box just yet! With a little imagination, cardboard can become beds, tables, or even a swanky kitchen island.
- Popsicle Stick Paradise: Save those popsicle sticks from your summer treats. They’re perfect for creating miniature wooden floors or quaint picket fences.
- Fabric Scraps to Fab: Turn those lonely fabric scraps into stylish rugs, curtains, or even teensy throw pillows.

★ Steal This Look
- Paint Color: Farrow & Ball Mouse’s Back 40
- Furniture: twig-and-cardboard hybrid pieces with raw edges and visible construction
- Lighting: battery-operated copper wire fairy lights wrapped around twig branches
- Materials: unpeeled willow twigs, corrugated cardboard edges, raw cotton muslin, kraft paper, burlap scraps
This is the room where you stop apologizing for your supply closet and start bragging about it—that crumpled brown paper bag becomes aged leather, that wine cork becomes a side table, and suddenly you’re not crafting, you’re alchemizing.
Makeover Madness: Breathing New Life into Old Dollhouses
Got an old dollhouse gathering dust? Time for a dollhouse glow-up!
- Wallpaper Wonder: Scrapbook paper or fabric scraps make for charming dollhouse wallpaper. Mix and match for eclectic vibes!
- Paint Party: Nothing freshens up a space like a new coat of paint. Go wild with trendy colors – pastels, jewel tones, or even a bold monochrome look.
- Flooring Facelift: Upgrade those tired floors with faux wood sheets, patterned paper, or create a rustic look with popsicle stick planks.
- Furniture Refresh: Give old dollhouse furniture new life with decoupage, metallic accents, or hand-stitched miniature pillows.

✎ Steal This Look
- Paint Color: use Behr brand. Match the ACTUAL wall color in the image. Format: Behr ColorName CODE
- Furniture: specific furniture for this room
- Lighting: specific lighting fixture
- Materials: key textures and materials
There’s something deeply satisfying about rescuing a forgotten dollhouse from a thrift store corner and imagining the tiny lives that could unfold there; this project lets you be both architect and storyteller.
Quirky Upgrades: Taking Your Dollhouse to the Next Level
Ready to really wow the miniature world? Try these fun and unusual upgrades:
- DIY Dollhouse Pool: Create a backyard oasis using plastic lids and blue cellophane. Don’t forget the tiny pool floats!
- Barbie’s Runway: Fashion mini outfits from scrap fabric or even balloons for a haute couture look.
- Light It Up: Add fairy lights or battery-operated LED bulbs for a cozy, lived-in feel.
- Porch Perfect: Build a charming front porch complete with swings, planters, and an itty-bitty welcome mat.
Upcycled Awesomeness: Eco-Friendly Dollhouse Hacks
Let’s get resourceful! Here are some everyday items you can repurpose:
- Old boxes (shoeboxes, tea tins) make great room frameworks
- Bottle caps transform into stools or mini planters
- Fabric scraps become luxurious bedding and curtains
- Beads work wonders as door knobs and fancy hardware
Step-by-Step: Crafting a Twig Table
Ready for a quick DIY? Let’s make a rustic twig table!
You’ll need:
- Willow or similar twigs
- Pruning scissors
- Wood glue
- Sandpaper
- Collect and clean your twigs (5 minutes)
- Cut four equal-length pieces for legs and a flat, thick piece for the tabletop (10 minutes)
- Sand those rough edges (5 minutes)
- Glue legs to the bottom of the tabletop and let dry (15 minutes)
- Decorate or paint as desired (10 minutes)
Pro tip: Use a clamp or heavy object to hold pieces together while the glue dries.
Feeling inspired? Why not make matching chairs with smaller twigs?
More Dollhouse Inspiration
Still hungry for more dollhouse ideas? Check out these resources:
- Pinterest is a goldmine with over 900 dollhouse ideas and tutorials.
- Craft blogs like Life in Mini and Everything Very Small offer free furniture plans and step-by-step guides.
Remember, the beauty of DIY dollhouses is that there are no rules. Let your imagination run wild, use what you have on hand, and most importantly – have fun!
Who knows? Your next great dollhouse idea might be hiding in your recycling bin or lurking in your craft drawer. Happy crafting, miniature mavens!


