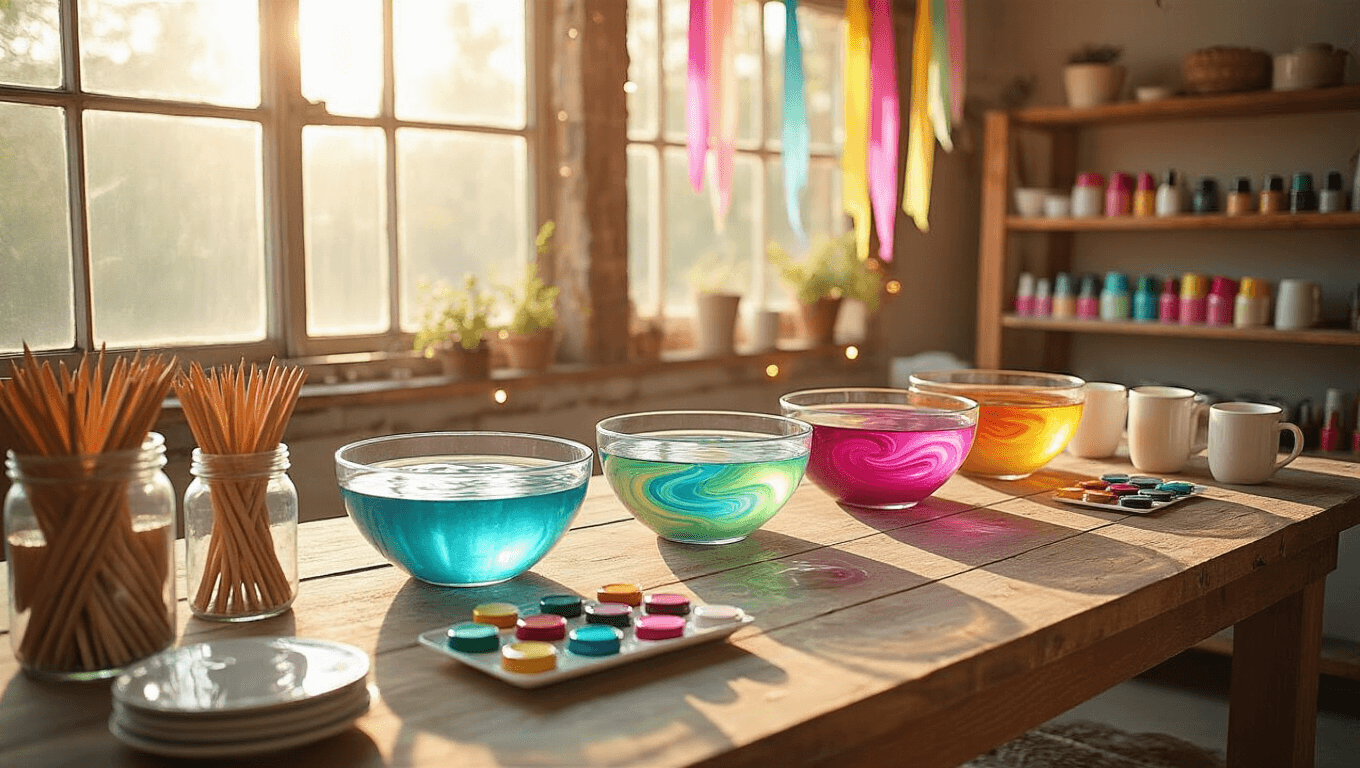
This post may contain affiliate links. Please see my disclosure policy for details.
Ever dreamed of creating swirling, mesmerizing patterns on everyday objects? Well, grab your paintbrushes (or should I say toothpicks?) because we’re diving into the world of water marbling!
This easy-peasy craft is perfect for beginners, budget-friendly, and guaranteed to spark joy. So, let’s get this colorful party started!
Quick Facts to Get You Floating:
- Photography time: 30-60 minutes (snap those Insta-worthy shots!)
- Styling time: About an hour (make it pretty, people!)
- Total creation time: 3-4 hours (from setup to clean-up)
- Space needed: Think cozy studio vibes
- Difficulty level: Easy as pie (mmm, pie)
- Budget: Under $20 (cha-ching!)
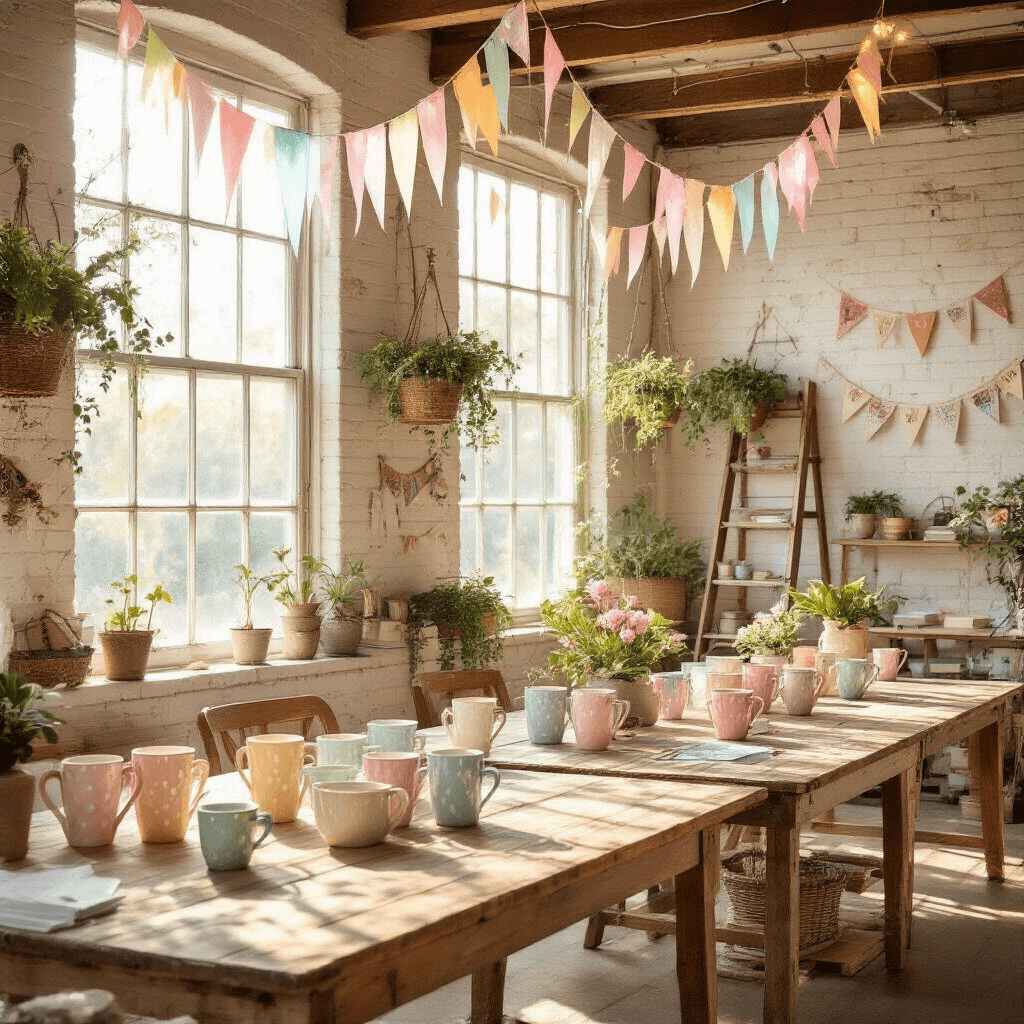
Setting the Scene: Playful Meets Pretty
Picture this: A sun-drenched room with pops of color everywhere. Pastel streamers dance from the ceiling, while jewel-toned marbled mugs line rustic wooden tables. It’s a craft lover’s paradise!
Gather Your Goodies:
- Water marbling paint or nail polish (go wild with colors!)
- Containers for water (the bigger, the better)
- Objects to marble (mugs, paper, your cat – just kidding!)
- Toothpicks or skewers (for swirly magic)
- Protective sheeting (trust me, you’ll thank me later)
Optional flair:
- Fairy lights (because everything’s better with twinkle)
- DIY banners (get crafty before you get crafty!)
- Fresh flowers (nature’s bling)
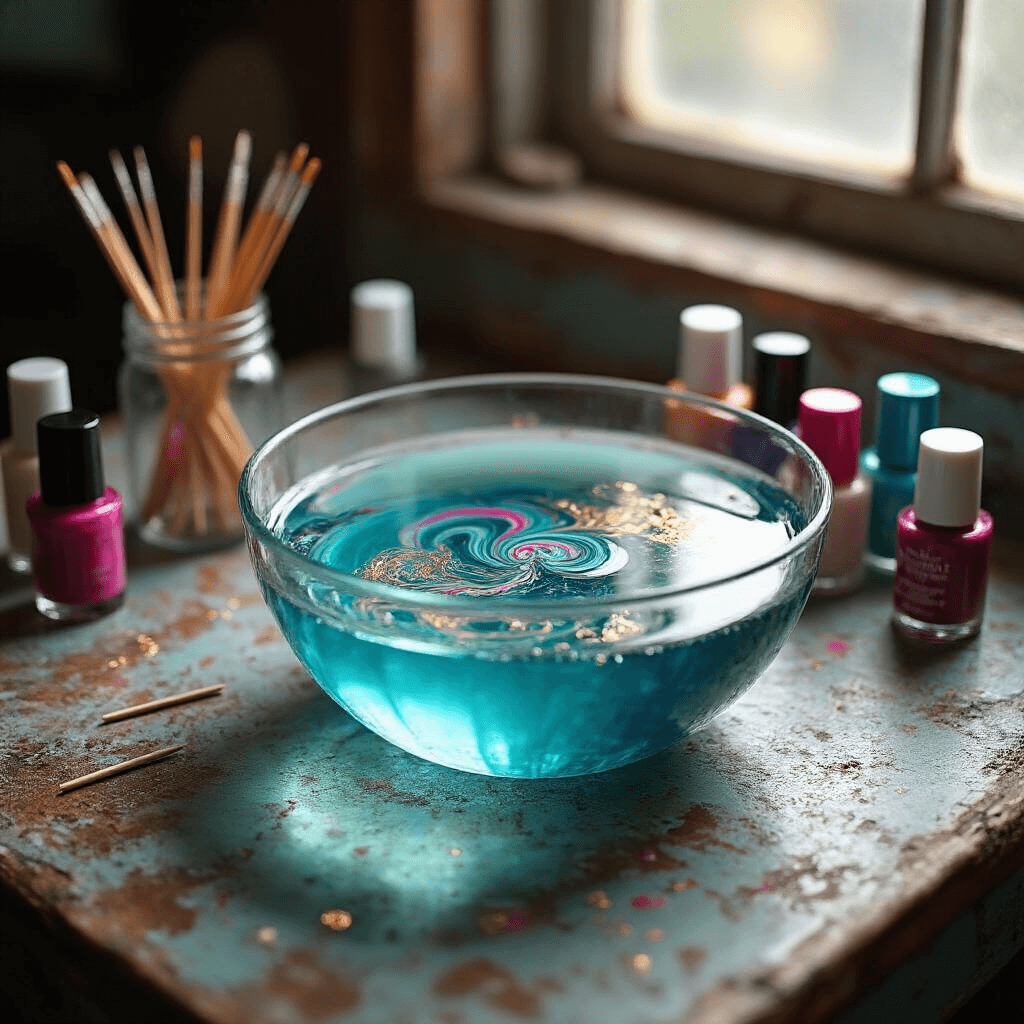
★ Steal This Look
- Paint Color: Sherwin-Williams Pure White SW 7005
- Furniture: reclaimed farmhouse dining table with visible wood grain
- Lighting: vintage Edison bulb string lights with copper wire
- Materials: raw pine wood, unbleached cotton canvas, terracotta pottery, hand-thrown ceramic mugs
This is the room where you’ll lose track of time on a Saturday morning, coffee cooling beside you, because you’re too absorbed in watching paint swirl and bloom on your latest ceramic find.
Save this article
Enter your email and we'll send it straight to your inbox.
Let’s Get This Party Started!
- Set the stage: Arrange tables, lay out materials, and create an Insta-worthy backdrop.
- Light it up: Natural light is your BFF, but softboxes work in a pinch.
- Get your marble on:
- Fill containers with room-temp water
- Drop in paint or nail polish
- Swirl with toothpicks (channel your inner artist!)
- Dip objects and watch the magic happen
- Capture the moment: Snap flatlay shots of supplies, action pics of dipping, and close-ups of those dreamy patterns.
- Spice it up: Mix textures like lace and wood, play with complementary colors, and don’t be afraid to get a little wild!
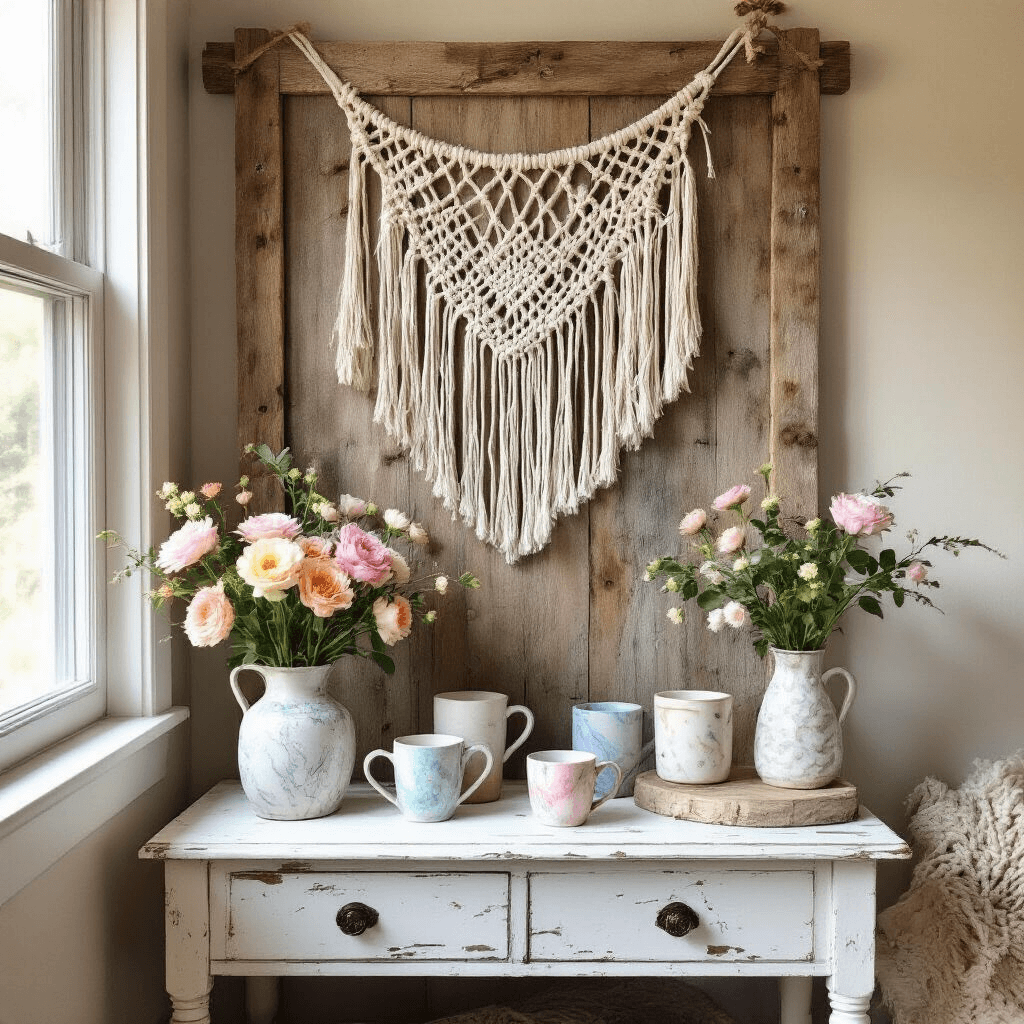
Pro Tips for Picture-Perfect Results:
- Rule of thirds is your friend (goodbye, boring compositions!)
- Create depth by staggering objects
- Shoot during golden hour for that dreamy glow
- Mix high and low angles for variety
Avoiding Craft Catastrophes:
- Ventilate, ventilate, ventilate (especially with nail polish)
- Handle with care to avoid spills (RIP favorite shirt)
- Clean up thoroughly (no one likes crusty paint remnants)
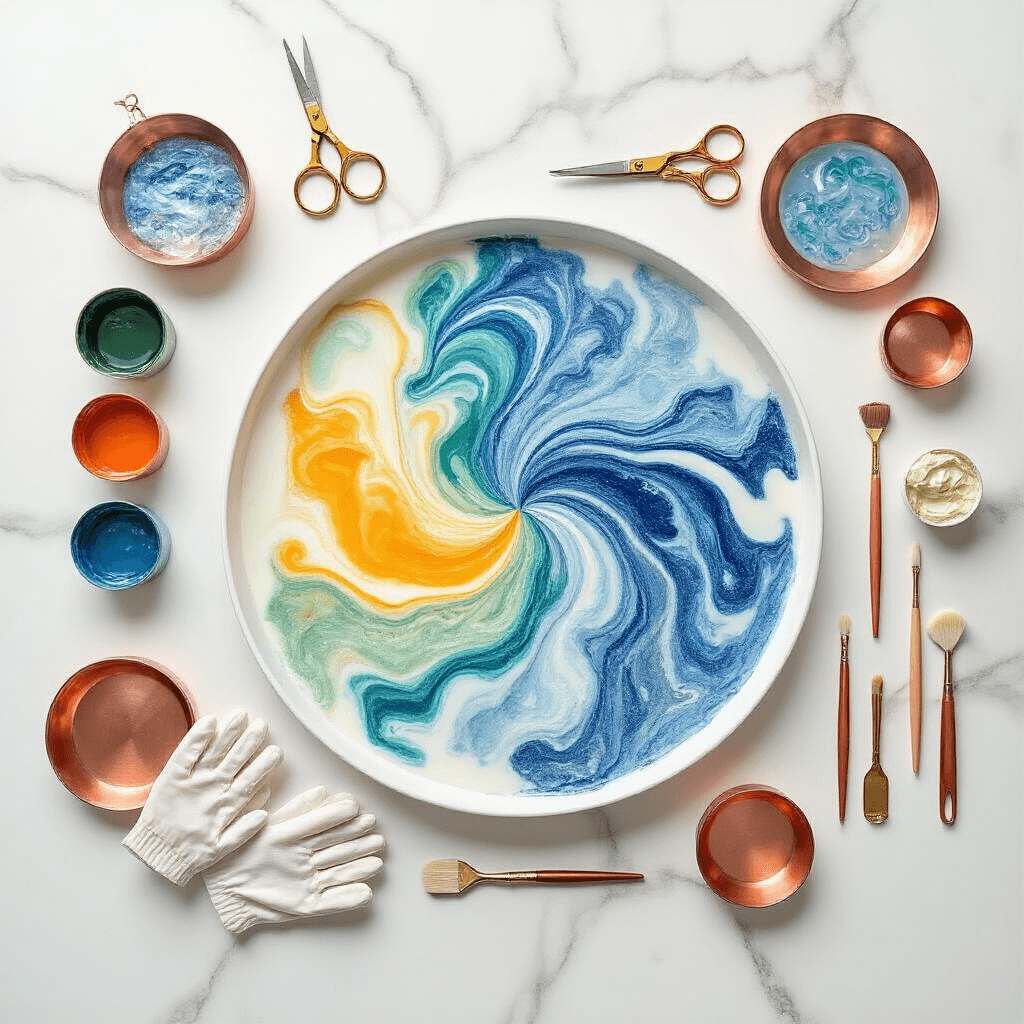
Scaling Your Marbled Masterpiece:
- Host seasonal versions (hello, pumpkin-spiced marbling!)
- Switch up color schemes (pastel spring, anyone?)
- Go rustic-chic or boho-glam with your styling
Remember, the beauty of water marbling is in its unpredictability. Embrace the swirls, celebrate the splatters, and let your creativity flow like… well, water!
So, gather your friends, stock up on snacks (because crafting is hungry work), and get ready to marble your way to DIY bliss. Trust me, once you start, you won’t be able to stop. Next thing you know, everything in your house will be sporting those mesmerizing patterns!
Now go forth and make waves in the crafting world. Your marbled masterpieces await!
🏠 Steal This Look
- Paint Color: Benjamin Moore Chantilly Lace OC-65
- Furniture: folding craft table with white laminate top for easy cleanup
- Lighting: ring light with adjustable tripod stand for even, shadow-free illumination
- Materials: clear glass mason jars for water containers, unfinished birch wood rounds for display props, crisp white cotton drop cloths
This is the room where creative chaos becomes curated content—there’s something deeply satisfying about transforming a simple craft session into a scroll-stopping moment that makes people want to drop everything and marble everything they own.
Want to keep this one?
We'll email you the link so you can find it again later.