This post may contain affiliate links. Please see my disclosure policy for details.
Hey there, fellow crafters!
Contents
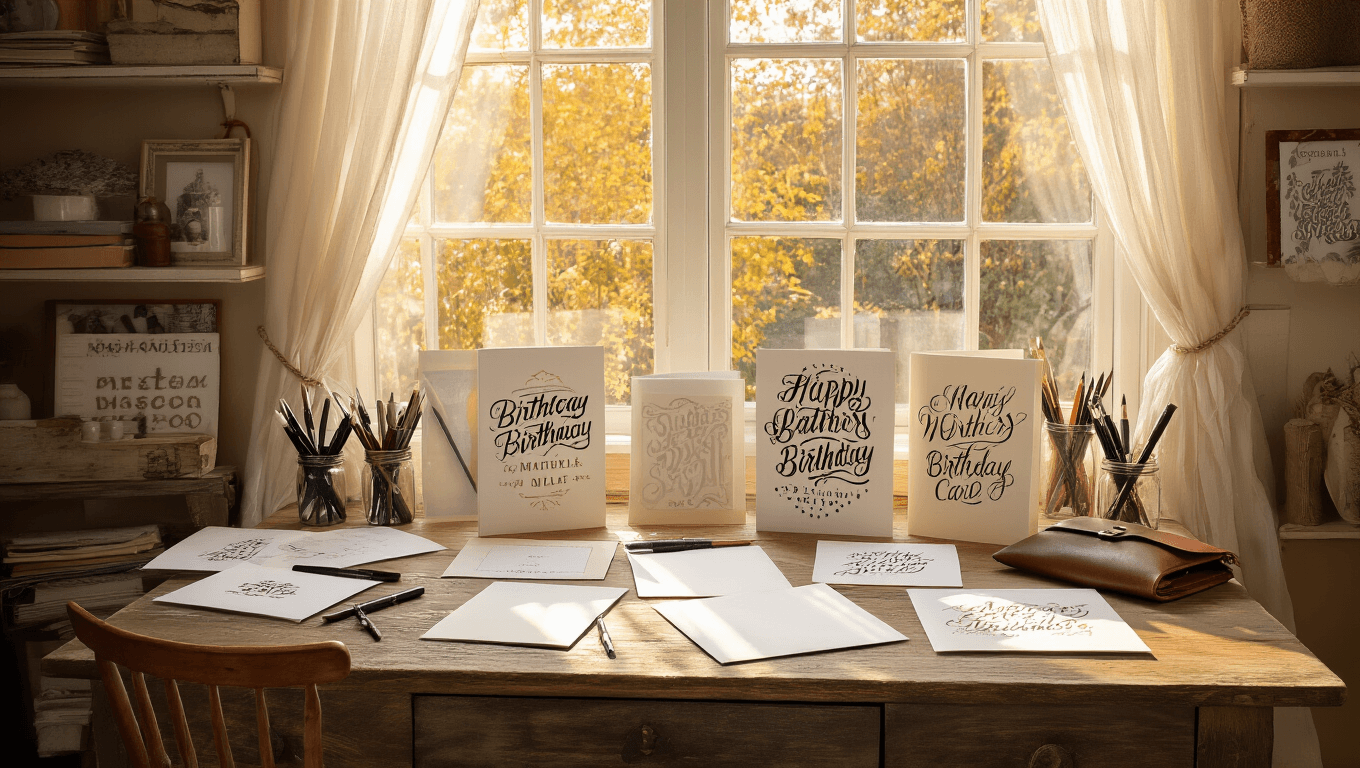
Ready to dive into the world of hand-lettering “Happy Birthday”? Trust me, it’s not as daunting as it sounds. I’ve been there, staring at a blank card, wondering how to make it pop. But fear not! I’m here to guide you through this creative journey, step by step.

🏠 Steal This Look
- Paint Color: Sherwin-Williams Pure White SW 7005
- Furniture: white modular craft table with built-in storage cubbies and adjustable height for standing or sitting work sessions
- Lighting: swing-arm architect’s desk lamp with daylight LED bulb and dimmer control
- Materials: unfinished birch plywood pegboard, matte black metal grid wall system, natural linen pinboard, reclaimed wood floating shelves
This is where I lost entire weekends perfecting my first ‘Happy Birthday’ script, surrounded by coffee cups and crumpled practice sheets that slowly turned into something worth framing.
Let’s kick things off with a burning question:
“How can I make my birthday cards look professional without being a pro artist?” Well, buckle up, because I’ve got some tricks up my sleeve that’ll have you lettering like a boss in no time!
First things first, let’s talk styles.
Did you know there are at least 10 different ways to letter “Happy Birthday”? It’s true! From swirly script to bold blocks, the possibilities are endless. Here’s a quick rundown of my favorite styles:
- Classic Script: Flowing and elegant
- Block Letters: Bold and punchy
- Faux Calligraphy: Fancy without the fancy pen
- Mixed Style: A little bit of everything
- Bubble Letters: Fun and playful
- Rustic Chalk: Perfect for that homemade vibe
- Watercolor Brush: Artsy and vibrant
- 3D Letters: Pop right off the page
- Vintage Typography: Old-school cool
- Minimalist: Less is more, am I right?

🎨 Steal This Look
- Paint Color: Benjamin Moore Chantilly Lace OC-65
- Furniture: white Parsons desk with gold hairpin legs
- Lighting: adjustable architect’s swing-arm desk lamp in matte black
- Materials: raw birch plywood desktop organizer, cork bulletin board, linen canvas pencil roll
This is the room where self-doubt dissolves into the satisfying scratch of nib on paper—where ‘I can’t draw’ transforms into ‘wait, I actually made that?’
Now, I know what you’re thinking.
“But I can’t even draw a straight line!” Don’t worry, I’ve got you covered. Let’s start with something simple: faux calligraphy.
Here’s how to nail faux calligraphy in three easy steps:
- Write “Happy Birthday” in your best cursive
- Thicken the downstrokes (any part of the letter where your pen naturally moves downward)
- Fill in those thickened areas
Voila! You’ve got yourself some fancy-looking lettering without needing a special pen. Pretty neat, huh?

🏠 Steal This Look
- Paint Color: Farrow & Ball Hague Blue 30
- Furniture: vintage drafting table with adjustable tilt top for lettering practice
- Lighting: adjustable architect’s desk lamp with warm LED bulb
- Materials: raw linen bulletin board, matte black washi tape, unbleached cotton canvas drop cloth
This is the room where shaky first attempts transform into proud signatures—every expert started with that same wobbly ‘Happy Birthday’ and a deep breath.
🌊 Get The Look
But wait, there’s more!
Let’s talk backgrounds. A plain white card is so last year. Why not spice things up with a watercolor wash? Grab some watercolors, wet your brush, and go wild on that card. Once it’s dry, letter over it with white or metallic pens for some serious wow factor.
Speaking of wow factor, let’s chat about embellishments.
Nothing says “party” like some well-placed doodles. Here are my top picks:
- Balloons: Easy to draw and instantly festive
- Cupcakes: Because who doesn’t love cake?
- Confetti: Just dots, but oh so effective
- Streamers: A few wavy lines and you’re done
- Present boxes: Square, ribbon, bow – easy peasy!

💡 Steal This Look
- Paint Color: Behr Watery HDC-CT-26
- Furniture: white lacquer Parsons desk with gold hairpin legs
- Lighting: adjustable brass architect’s desk lamp with warm LED
- Materials: cold-pressed watercolor paper, metallic gold leaf sheets, matte ceramic brush holders, raw linen pinboard
This is the room where happy accidents become intentional style— I’ve spent countless evenings here testing color combinations, and there’s something deeply satisfying about seeing your own handlettering evolve from shaky first attempts to confident, flowing script.
Now, if you’re feeling a bit intimidated by all this creativity, don’t sweat it.
Practice makes perfect, and there are tons of free resources out there to help you along. I’m talking worksheets, video tutorials, the works. Heck, I even print out practice sheets and doodle while watching TV. Multitasking at its finest!
Here’s a pro tip:
Work on different colored papers. Black cardstock with metallic markers? Classy AF. Kraft paper with white pen? Rustic chic. Mix it up and see what speaks to you.
Alright, let’s put it all together.
Here’s my fool-proof recipe for a show-stopping birthday card:
- Create a watercolor background in bright, happy colors
- Let it dry (patience, grasshopper)
- Draw some simple balloon outlines with a black fineliner
- Letter “Happy” in a flowing script
- Follow up with “BIRTHDAY” in bold block letters
- Add a cute little cupcake doodle in the corner
- Finish with some white gel pen highlights for extra pop
And there you have it! A hand-lettered masterpiece that’ll make the birthday girl or boy feel extra special. Remember, the key is to have fun with it. Don’t stress about perfection – it’s the thought that counts, and your personal touch is what makes it unique.
So grab those pens, pull up some inspiration on Pinterest, and let your creativity flow. Before you know it, you’ll be the go-to person for amazing birthday cards. Who knows? You might even start a side hustle!
Now go forth and letter, my friends. Happy crafting!


