This post may contain affiliate links. Please see my disclosure policy for details.
Why DIY Kitchen Cabinets Are a Game-Changer
Contents
Ever stared at your kitchen and thought, “These cabinets are killing my vibe“? You’re not alone. Kitchen cabinets are the unsung heroes of home design, and creating them yourself isn’t just a project—it’s a total game-changer.

The Real Deal About DIY Cabinets
Quick Wins:
- Save thousands compared to professional installations
- Customize exactly to your style
- Boost your home’s value
- Unleash your inner craftsperson
✎ Steal This Look
- Paint Color: Sherwin-Williams Alabaster SW 7008
- Furniture: Shaker-style base cabinet with soft-close drawers and open shelving unit
- Lighting: Pendant lights with brushed brass finish over island
- Materials: Birch plywood cabinet boxes, solid maple doors, brushed brass hardware, quartz countertop
There’s something deeply satisfying about pulling open a drawer you built yourself—every glide reminds you that you transformed raw lumber into the hardworking heart of your home.
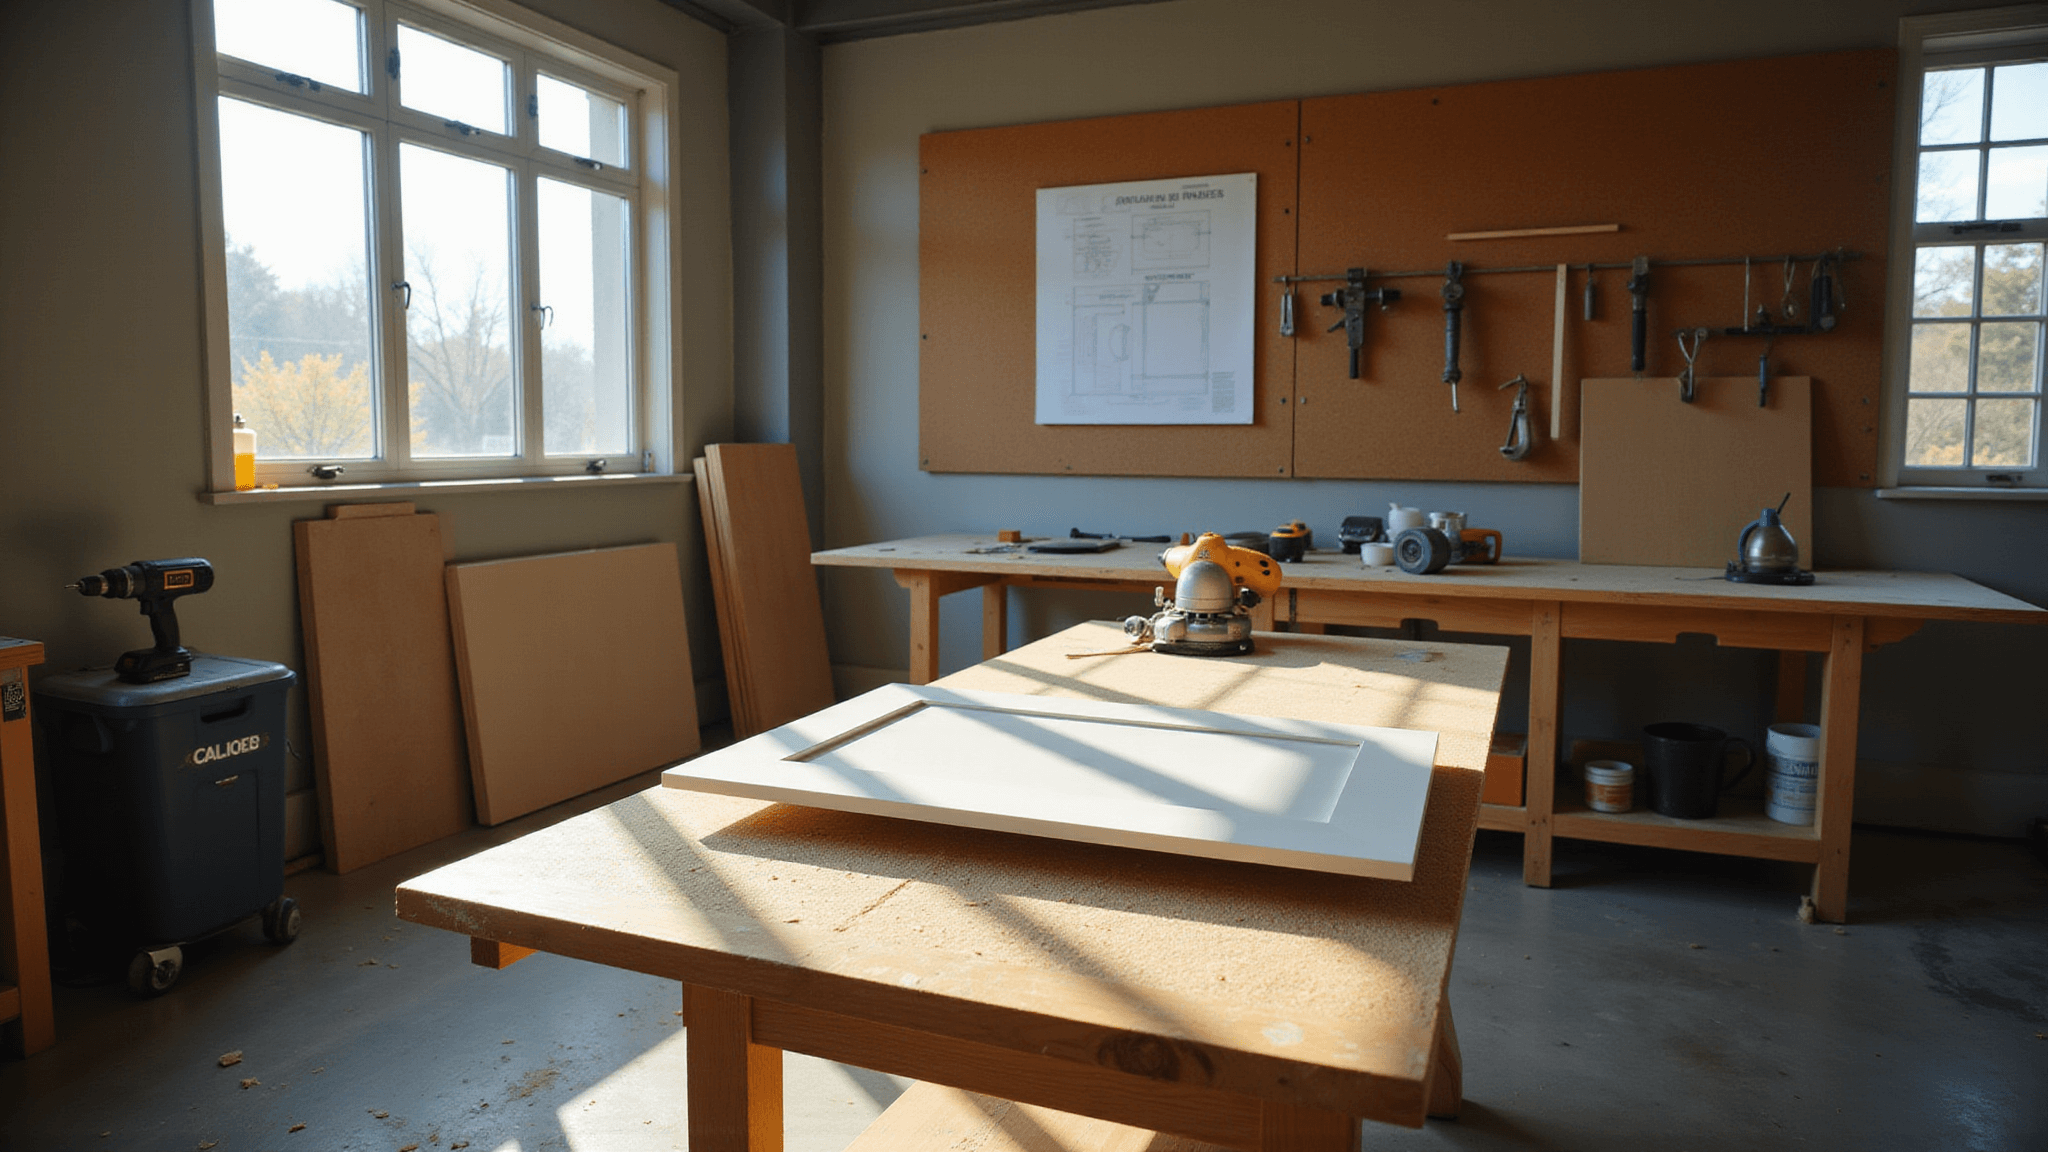
Getting Started: What You’ll Actually Need
Tools That Won’t Collect Dust
Essential Gear:
- Circular saw (your new best friend)
- Power drill
- Sander
- Measuring tape
- Clamps
- Paint supplies
Pro Tip: Rent tools if buying seems overkill. No need to drain your wallet before you even start!

🌟 Steal This Look
- Paint Color: Benjamin Moore Chantilly Lace OC-65
- Furniture: heavy-duty folding workbench with integrated clamp points
- Lighting: LED shop light with 5000K daylight temperature for accurate color matching
- Materials: birch plywood for cabinet boxes, solid maple for face frames, brushed nickel hardware
I still remember my first cabinet build with a borrowed saw that wandered through every cut—spending $120 on my own circular saw transformed not just that project but my confidence for everything after.
Budget Breakdown: How Cheap Can You Go?
Forget those $10,000 kitchen renovation nightmares. We’re talking smart spending:
- Plywood: $500-$1,500
- Hardware: $200-$500
- Paint/Finish: $100-$300
Total Potential Savings: Up to 70% compared to professional installations

✎ Steal This Look
- Paint Color: Farrow & Ball Strong White 2001
- Furniture: IKEA SEKTION base cabinet frames with custom plywood fronts
- Lighting: affordable under-cabinet LED strip lighting from Amazon Basics
- Materials: birch plywood with visible edge grain, matte black iron pulls, water-based poly finish
I built my first kitchen on a $900 budget during a layoff, and honestly? The pride of cooking in cabinets I made with my own hands outlasted any showroom kitchen I’ve had since.
🛒 Get The Look
Step-by-Step Cabinet Creation
1. Planning Your Dream Kitchen
Measure Twice, Cut Once
- Sketch your kitchen layout
- Calculate exact cabinet dimensions
- Create a detailed material list
2. Cutting and Assembly
Wood Selection Tips:
- Plywood is your friend (strong, stable, affordable)
- Avoid warped or damaged sheets
- Look for smooth, consistent grain
Assembly Hacks:
- Use pocket hole jigs for invisible, strong joints
- Pre-drill everything
- Take your time with alignment

3. Finishing Like a Pro
Painting Secrets:
- Sand thoroughly
- Use primer (non-negotiable!)
- Choose quality paint
- Multiple thin coats > one thick coat
💡 Steal This Look
- Paint Color: use Behr brand. Match warm white cabinetry. Format: Behr Swiss Coffee 12
- Furniture: Shaker-style base cabinets with soft-close drawer glides and full-overlay doors
- Lighting: LED under-cabinet strip lighting with warm 3000K temperature
- Materials: Baltic birch plywood for cabinet boxes, solid maple for face frames, brushed nickel hardware
Building your own cabinets transforms you from homeowner to craftsman—there’s profound satisfaction in opening a drawer you cut, joined, and finished with your own hands.
Style Options That’ll Make Your Kitchen Pop
Design Inspiration:
- Modern minimalist
- Farmhouse chic
- Industrial edge
- Classic traditional

🖼 Steal This Look
- Paint Color: use Valspar brand. Match the ACTUAL wall color in the image. Format: Valspar ColorName CODE
- Furniture: specific furniture for this room
- Lighting: specific lighting fixture
- Materials: key textures and materials
Kitchens are where morning coffee rituals and midnight snack raids happen—your cabinet style should feel like it belongs to your actual life, not a magazine spread you’ll outgrow in two years.
Common Mistakes to Dodge
Warning Signs:
- Rushing measurements
- Skipping sanding
- Cheap hardware
- Ignoring wood moisture

💡 Steal This Look
- Paint Color: PPG Delicate White PPG1001-1
- Furniture: soft-close full extension drawer slides with undermount installation
- Lighting: LED under-cabinet strip lighting with warm 2700K temperature
- Materials: birch plywood for cabinet boxes, solid maple for face frames, brushed nickel pulls
This is the phase where most DIYers abandon their kitchen dreams, but every mistake here is fixable if you catch it early—I’ve seen beautiful cabinets ruined by impatient Sunday afternoon installs.
Cost vs. Value Breakdown
Investment Analysis:
- Professional Cabinets: $10,000+
- DIY Cabinets: $1,000-$3,000
- Potential Home Value Increase: 60-80% of project cost

🖼 Steal This Look
- Paint Color: Dunn-Edwards Whisper White DEW340
- Furniture: Shaker-style base cabinet with soft-close drawers and adjustable shelving
- Lighting: Under-cabinet LED strip lighting with warm 2700K temperature
- Materials: Birch plywood cabinet boxes, solid maple door fronts, brushed nickel hardware, quartz-look laminate countertops
Kitchens sell homes, and buyers can spot flimsy cabinets instantly—this is where your sweat equity pays real dividends, not just in appraisal value but in the pride of cooking in something you built with your own hands.
🌊 Get The Look
Final Thoughts: You’ve Got This!
DIY kitchen cabinets aren’t just about saving money. They’re about creating a space that screams “YOU” while building skills that’ll last a lifetime.
Your Motto: Measure carefully, cut confidently, and enjoy the journey.
Bonus Challenge
Try one cabinet first. Not the entire kitchen. Build confidence, learn techniques, and prove to yourself that you’re a total kitchen renovation rockstar.
Remember: Every expert was once a beginner. Your dream kitchen starts with that first cut.