This post may contain affiliate links. Please see my disclosure policy for details.
Garden Borders with Sleepers: Transform Your Outdoor Space Like a Pro
Contents
- Garden Borders with Sleepers: Transform Your Outdoor Space Like a Pro
- Why Sleepers are a Gardener’s Best Friend
- Getting Started: Your Sleeper Border Battle Plan
- Pro Tips for Sleeper Border Mastery
- Maintenance: Keep Your Borders Looking Incredible
- Common Mistakes to Dodge
- Cost vs. Value: Why Sleepers Win
- Final Pro Tip
Ever wondered how to create stunning, rock-solid garden borders that look amazing and last for years? Sleepers are your ultimate solution for transforming any garden landscape with style and durability.

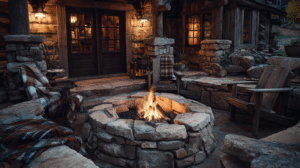
🏠 Steal This Look
- Paint Color: Sherwin-Williams Rookwood Dark Green SW 2808
- Furniture: weathered teak Adirondack chair with slatted back
- Lighting: solar-powered bollard lights with warm 2700K output
- Materials: reclaimed oak railway sleepers, crushed slate chippings, corten steel edging strips, drought-tolerant ornamental grasses
There’s something deeply satisfying about building sleeper borders with your own hands—the weight of the timber, the smell of cut wood, and the immediate transformation of messy garden edges into crisp architectural lines that frame your planting like a gallery wall.
Why Sleepers are a Gardener’s Best Friend
Let’s cut to the chase about why sleepers are an absolute game-changer for garden borders:
Tough as Nails
- Incredibly durable wooden beams that laugh in the face of harsh weather
- Typically made from oak or pine with professional-grade treatments
- Can withstand years of outdoor exposure without falling apart
Design Chameleon
- Fits every garden style imaginable
- Works perfectly in:
- Traditional gardens
- Modern minimalist spaces
- Rustic countryside settings
- Contemporary landscape designs
More Than Just Good Looks
- Prevents soil erosion
- Creates clear garden zones
- Stops pesky weeds in their tracks
- Adds architectural structure to your outdoor space

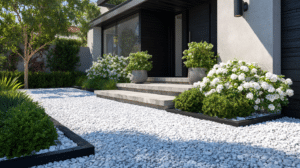
💡 Steal This Look
- Paint Color: Benjamin Moore Hunter Green HC-109
- Furniture: weathered teak Adirondack chair with slatted back
- Lighting: solar-powered copper pathway lights with warm 2700K output
- Materials: rough-sawn oak sleepers, pea gravel, aged terracotta pots, English ivy
There’s something deeply satisfying about running your hand along a sleeper’s grain after a morning of planting—it’s the rare hardscaping choice that actually improves with every season of weathering.
Getting Started: Your Sleeper Border Battle Plan
Preparation is Key
Before You Start:
- Grab a measuring tape and marking spray
- Measure your garden space meticulously
- Standard sleeper sizes to know:
- 1.2m (4 ft) length
- 2.4m (8 ft) length
- Typical width: 100mm x 200mm (4″ x 8″)
Step-by-Step Installation Guide
- Clear the Battlefield
- Remove grass, roots, and debris
- Level the ground carefully
- Create a clean, smooth foundation
- Build a Rock-Solid Base
- Pro tip: Use gravel or sand for drainage
- Optional: Pour a thin concrete base for extra stability
- Ensure perfect levelness – no shortcuts!
- Positioning Your Sleepers
- Align precisely with your markings
- Use stakes or landscaping screws for secure anchoring
- Check level after each placement
- Connecting the Pieces
- Use metal brackets for clean joins
- Mitre corners at 45-degree angles
- Secure with heavy-duty landscaping screws

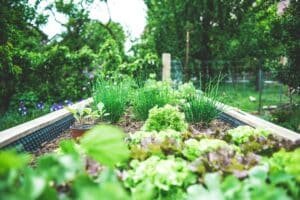
✎ Steal This Look
- Paint Color: Farrow & Ball Green Smoke 47
- Furniture: weathered teak potting bench with galvanized steel top
- Lighting: industrial cage pendant with IP65 rating for outdoor use
- Materials: rough-sawn oak sleepers, crushed Cotswold stone gravel, corten steel edging strips
There’s something deeply satisfying about standing back at dusk, muddy-kneed and slightly aching, to see those clean sleeper lines defining your garden’s new bones—it’s the moment a chaotic outdoor space finally commits to becoming something intentional.
Pro Tips for Sleeper Border Mastery
Drainage is Your Secret Weapon
- Always create a drainage-friendly base
- Avoid moisture-trapping membranes
- Keep wood dry to prevent rot
Design Like a Landscape Architect
- Create curves or geometric patterns
- Mix vertical and horizontal placements
- Experiment with different wood finishes

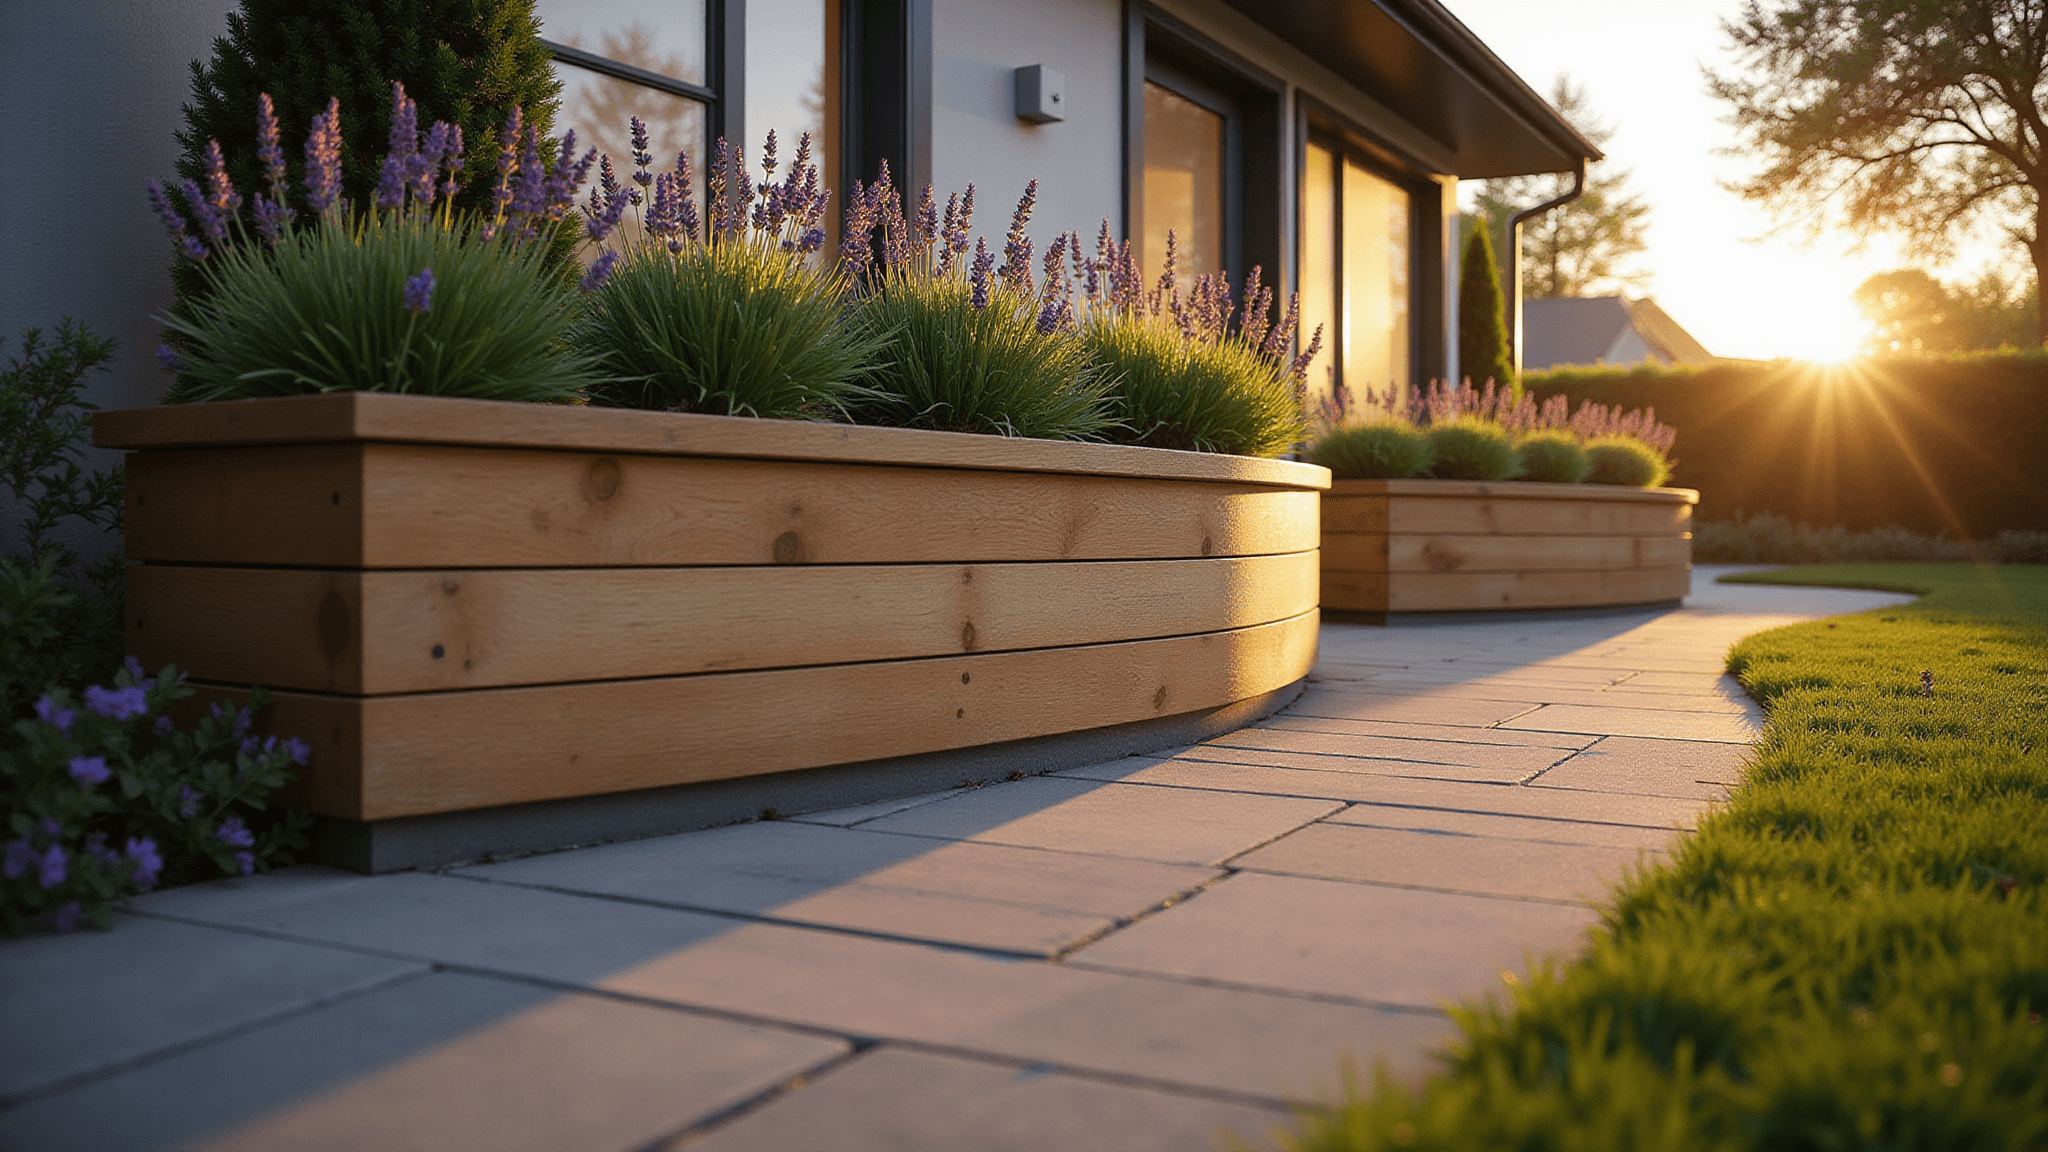
✎ Steal This Look
- Paint Color: Behr Woodland Green N400-6
- Furniture: weathered teak garden bench with slatted backrest positioned against the sleeper border as a focal viewing point
- Lighting: low-voltage LED well lights uplighting the sleeper texture from ground level
- Materials: rough-sawn oak sleepers with visible grain, crushed granite drainage base, corten steel edging strips, untreated gravel top dressing
There’s something deeply satisfying about building a sleeper border with your own hands; the weight of each timber grounds you in the process, and watching weather transform the wood over seasons connects your garden to something timeless.
Maintenance: Keep Your Borders Looking Incredible
Yearly Checklist:
- Inspect for signs of wear
- Retreat cut ends with wood preservative
- Clear surrounding area of debris
- Check anchoring and stability
Common Mistakes to Dodge
❌ Rookie Errors to Avoid:
- Skipping proper ground preparation
- Neglecting drainage
- Forgetting to treat wood surfaces
- Poor anchoring techniques

🏠 Steal This Look
- Paint Color: use PPG brand. Match the ACTUAL wall color in the image. Format: PPG ColorName CODE
- Furniture: specific furniture for this room
- Lighting: specific lighting fixture
- Materials: key textures and materials
I’ve watched too many weekend warriors build beautiful raised beds only to see them collapse by year three—taking the time to level and anchor your first sleeper properly saves you from the heartbreaking rebuild nobody wants to face.
Cost vs. Value: Why Sleepers Win
Compared to Other Borders:
- More affordable than stone
- More flexible than brick
- Better longevity than plastic
- Eco-friendly when sourced responsibly

🎨 Steal This Look
- Paint Color: Dunn-Edwards Olivewood DE6224
- Furniture: weathered teak Adirondack chair with slatted back for garden seating area adjacent to sleeper border
- Lighting: solar-powered bollard lights with warm 2700K output to illuminate sleeper edges
- Materials: reclaimed oak railway sleepers with visible grain and iron staining, crushed granite gravel, native ornamental grasses
There’s something deeply satisfying about building a border that outlasts plastic alternatives while costing less than a weekend dinner out—sleepers let you invest sweat equity instead of cash.
Final Pro Tip
“Sleeper borders are 90% preparation, 10% installation. Take your time, do it right, and you’ll have a stunning garden border for years to come.”
— Garden Design Experts
Ready to transform your garden? Grab those sleepers and start creating your outdoor masterpiece!

★ Steal This Look
- Paint Color: Clare Paint Current Mood CW-15
- Furniture: weathered teak Adirondack chair with slatted back
- Lighting: solar-powered copper stake lights with warm 2700K output
- Materials: rough-sawn untreated oak sleepers, horticultural membrane, 20mm pea gravel, corten steel edging strips
There’s something deeply satisfying about standing back at dusk, drink in hand, knowing every level and every screw was placed by your own hands—this is the project that turns a gardener into a true maker.