This post may contain affiliate links. Please see my disclosure policy for details.
Garden Pathways: Your Ultimate Guide to Creating Stunning Outdoor Walkways
Contents
- Garden Pathways: Your Ultimate Guide to Creating Stunning Outdoor Walkways
- Why Garden Pathways Matter
- Types of Garden Pathways: Something for Every Style
- Design Principles: Making Your Path Pop
- Step-by-Step Path Creation
- Pro Tips for Stunning Pathways
- Common Mistakes to Avoid
- Maintenance Matters
- Final Thoughts
Ever wondered how to transform your garden from bland to breathtaking? Garden pathways are the secret weapon that can completely revolutionize your outdoor space.

🎨 Steal This Look
- Paint Color: Sherwin-Williams Garden Sage SW 7743
- Furniture: weathered teak garden bench with curved silhouette, positioned as a pathway destination point
- Lighting: low-voltage brass path lights with hammered glass shades, spaced 6-8 feet apart
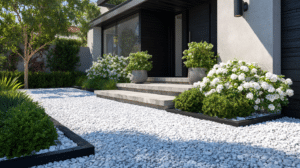
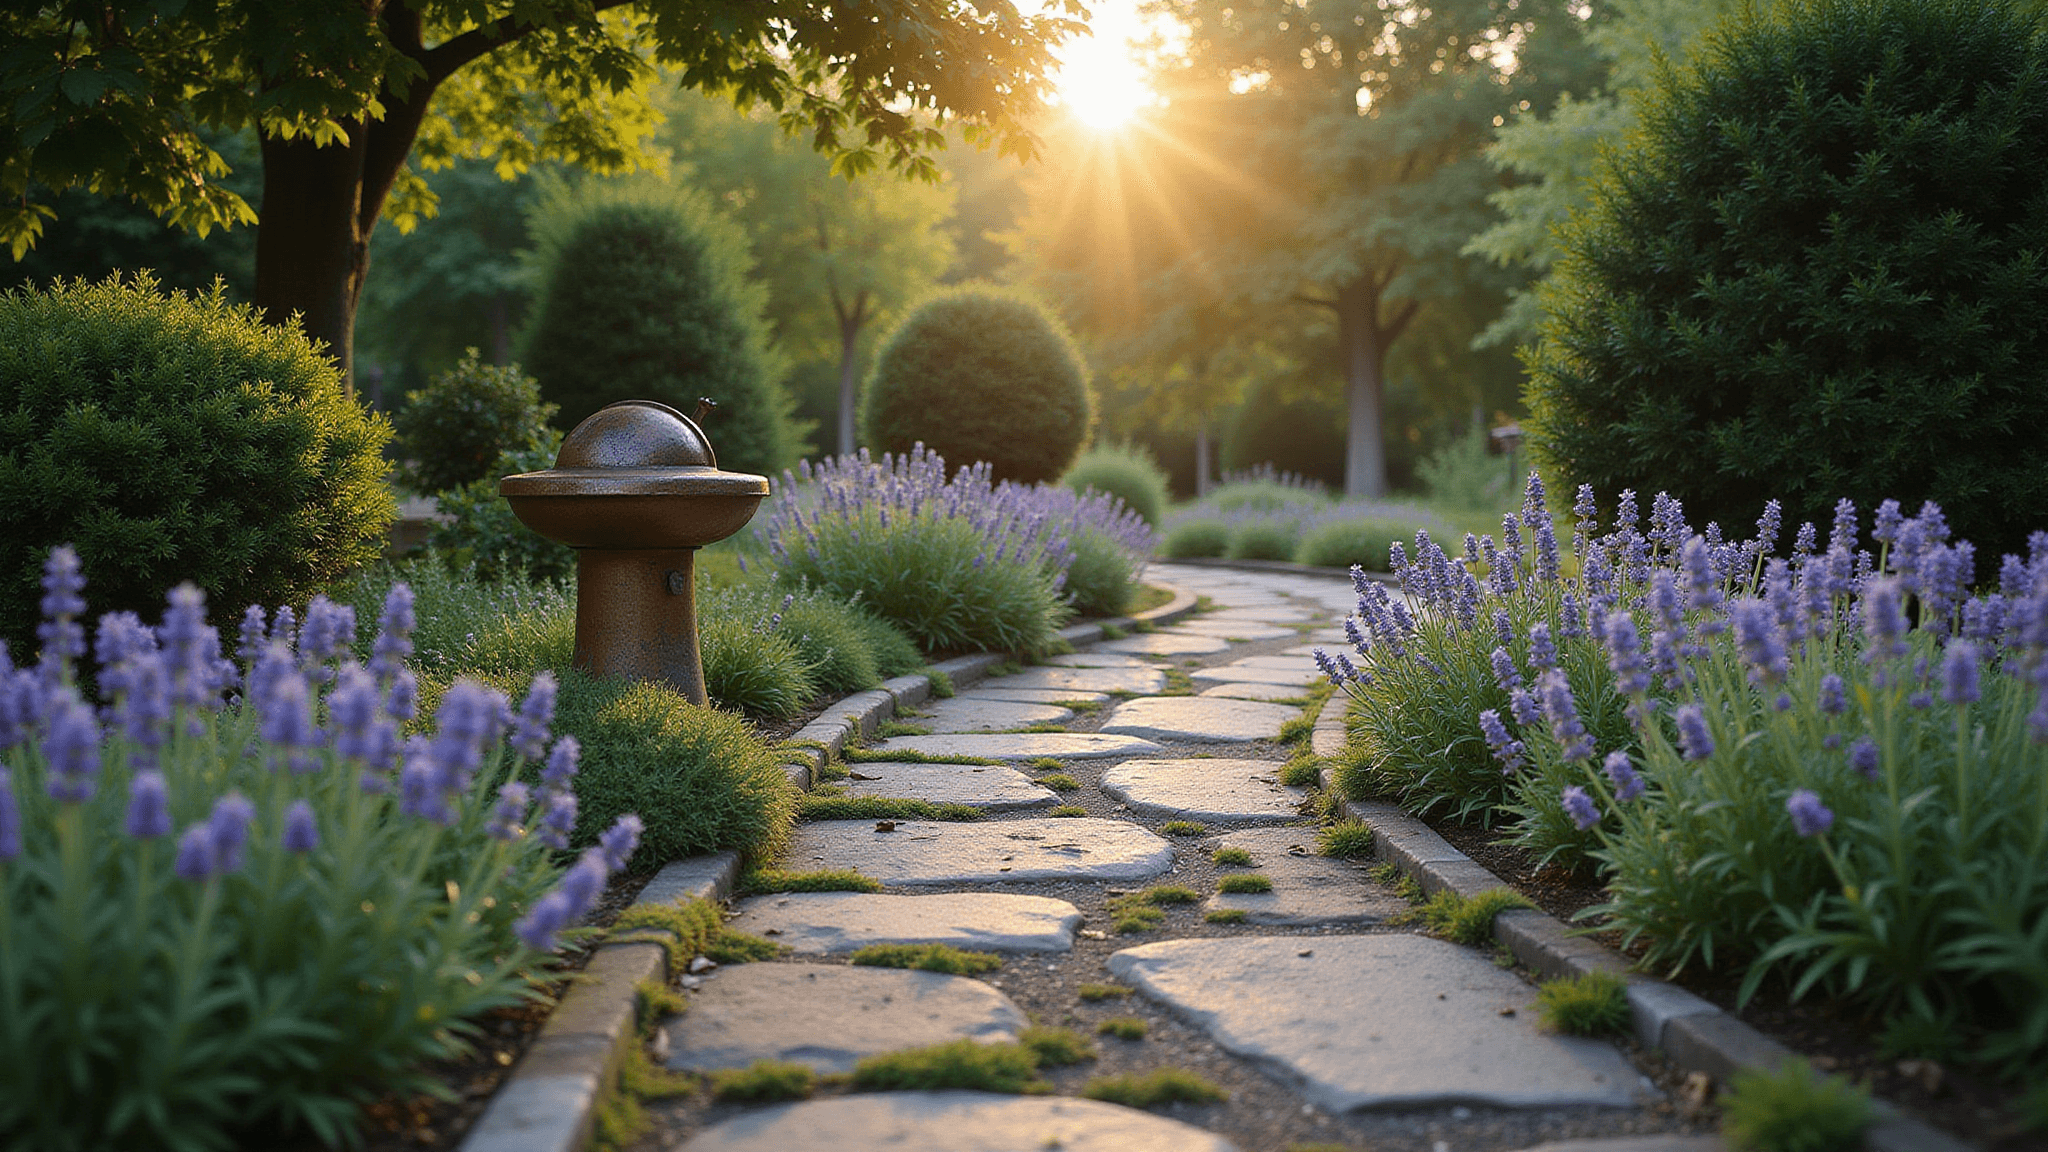
- Materials: irregular bluestone pavers with 2-inch moss joints, crushed granite base layer, reclaimed brick edging
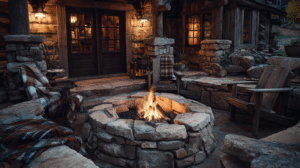
There’s something deeply satisfying about the crunch of gravel underfoot or the way morning light hits a winding stone path—this is the room where you actually slow down and notice.
Why Garden Pathways Matter
Garden pathways aren’t just about getting from point A to point B. They’re about:
- Creating visual interest
- Guiding visitors through your landscape
- Adding structure to your garden design
- Solving practical movement challenges
Types of Garden Pathways: Something for Every Style
1. Stone and Flagstone Paths
Perfect for: Traditional and natural-looking gardens
Pros:
- Extremely durable
- Timeless aesthetic
- Works in multiple landscape styles

2. Gravel Paths
Perfect for: Informal and relaxed garden settings
Pros:
- Budget-friendly
- Easy to install
- Provides excellent drainage
3. Brick Pathways
Perfect for: Formal and cottage-style gardens
Pros:
- Classic appearance
- Neat and structured
- Long-lasting material

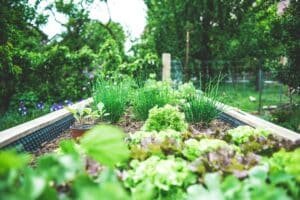
4. Natural Grass Paths
Perfect for: Meadow and woodland gardens
Pros:
- Zero material cost
- Supports local wildlife
- Blends seamlessly with surroundings
🏠 Steal This Look
- Paint Color: Farrow & Ball Green Smoke 47
- Furniture: weathered teak garden bench with curved backrest positioned at pathway intersection as a destination point
- Lighting: bronze bollard lights with seeded glass shades spaced evenly along path edges
- Materials: reclaimed York stone pavers, crushed Cotswold gravel, aged brick herringbone, native meadow turf
There’s something deeply satisfying about the crunch of gravel underfoot or the way flagstone warms in afternoon sun—these textures ground us in a way pavement never could.
Design Principles: Making Your Path Pop
Choose Your Style
- Traditional: Structured, geometric layouts
- Modern: Minimalist, clean lines
- Cottage: Soft, meandering routes
- Natural: Organic, wild-looking paths

Key Placement Considerations
- Analyze your yard’s size and terrain
- Determine primary movement patterns
- Consider drainage and sunlight
★ Steal This Look
- Paint Color: Behr Garden Path S340-4
- Furniture: weathered teak garden bench with curved backrest positioned at pathway intersection as a visual anchor and resting point
- Lighting: low-voltage brass path lights with hammered copper hoods spaced 6-8 feet apart for consistent wash lighting without runway effect
- Materials: thermal bluestone pavers with 2-inch joints filled with creeping thyme, reclaimed brick edging, and crushed granite base layer
There’s something deeply satisfying about a path that reveals itself gradually—I’ve watched clients fall in love with their gardens all over again when the journey becomes as intentional as the destination.
Step-by-Step Path Creation
- Site Preparation
- Clear existing vegetation
- Level the ground
- Mark proposed pathway
- Material Selection
- Match material to garden style
- Consider maintenance requirements
- Factor in budget constraints
- Edge Management
- Use edging materials to prevent spread
- Create clean, defined borders
- Consider metal, timber, or brick edges
- Installation
- Ensure stable, even surface
- Use proper base materials
- Allow for slight drainage slope

✎ Steal This Look
- Paint Color: Valspar Garden Stone 5002-4B
- Furniture: weathered teak garden bench with curved backrest positioned at pathway intersection as a contemplative resting point
- Lighting: low-voltage brass path lights with hammered copper hoods spaced every 6-8 feet along walkway edges
- Materials: thermal bluestone pavers, crushed limestone base, corten steel edging strips, pea gravel infill, reclaimed brick soldier course border
There’s something deeply satisfying about a path that reveals itself gradually rather than dumping you at your destination—I’ve always believed the journey through a garden should feel like a conversation, not a commute.
Pro Tips for Stunning Pathways
Visual Enhancements
- Add focal points like benches or statues
- Incorporate complementary plantings
- Use lighting for nighttime ambiance
Budget-Friendly Hacks
- Repurpose reclaimed materials
- Use solar pathway lights
- DIY stepping stones

💡 Steal This Look
- Paint Color: PPG Olive Sprig PPG1125-5
- Furniture: curved teak garden bench with slatted back
- Lighting: low-voltage brass path lights with seeded glass shades
- Materials: weathered limestone pavers, crushed granite fines, moss between joints
There’s something deeply satisfying about a pathway that reveals itself gradually—I’ve found the best gardens reward slow walking with hidden moments of discovery around each bend.
Common Mistakes to Avoid
❌ Don’t:
- Use slippery materials in wet climates
- Forget proper edging
- Create paths too narrow
- Ignore existing traffic patterns
Maintenance Matters
Keep Your Path Looking Fresh
- Regularly remove weeds
- Replenish mulch/gravel
- Clean stone surfaces
- Trim surrounding vegetation

🏠 Steal This Look
- Paint Color: Clare Paint Dirty Chai CW-13
- Furniture: weathered teak garden bench with slatted seat
- Lighting: solar-powered brass bollard pathway lights
- Materials: crushed limestone gravel, cedar mulch, bluestone pavers, aged corten steel edging
There’s something deeply satisfying about a well-kept garden path—it’s the difference between a space that feels abandoned and one that invites you to linger, and honestly, thirty minutes of maintenance every few weeks pays off in years of beauty.
Final Thoughts
Garden pathways are more than functional—they’re an art form. Whether you prefer rustic charm or modern minimalism, there’s a perfect pathway waiting to elevate your outdoor space.
Pro Tip: Always visualize your entire garden when designing paths. They should feel like a natural, integrated part of your landscape.
Ready to transform your garden? Start planning your dream pathway today!