This post may contain affiliate links. Please see my disclosure policy for details.
Ladybug Craft Ideas: Adorable DIY Projects for Kids and Adults
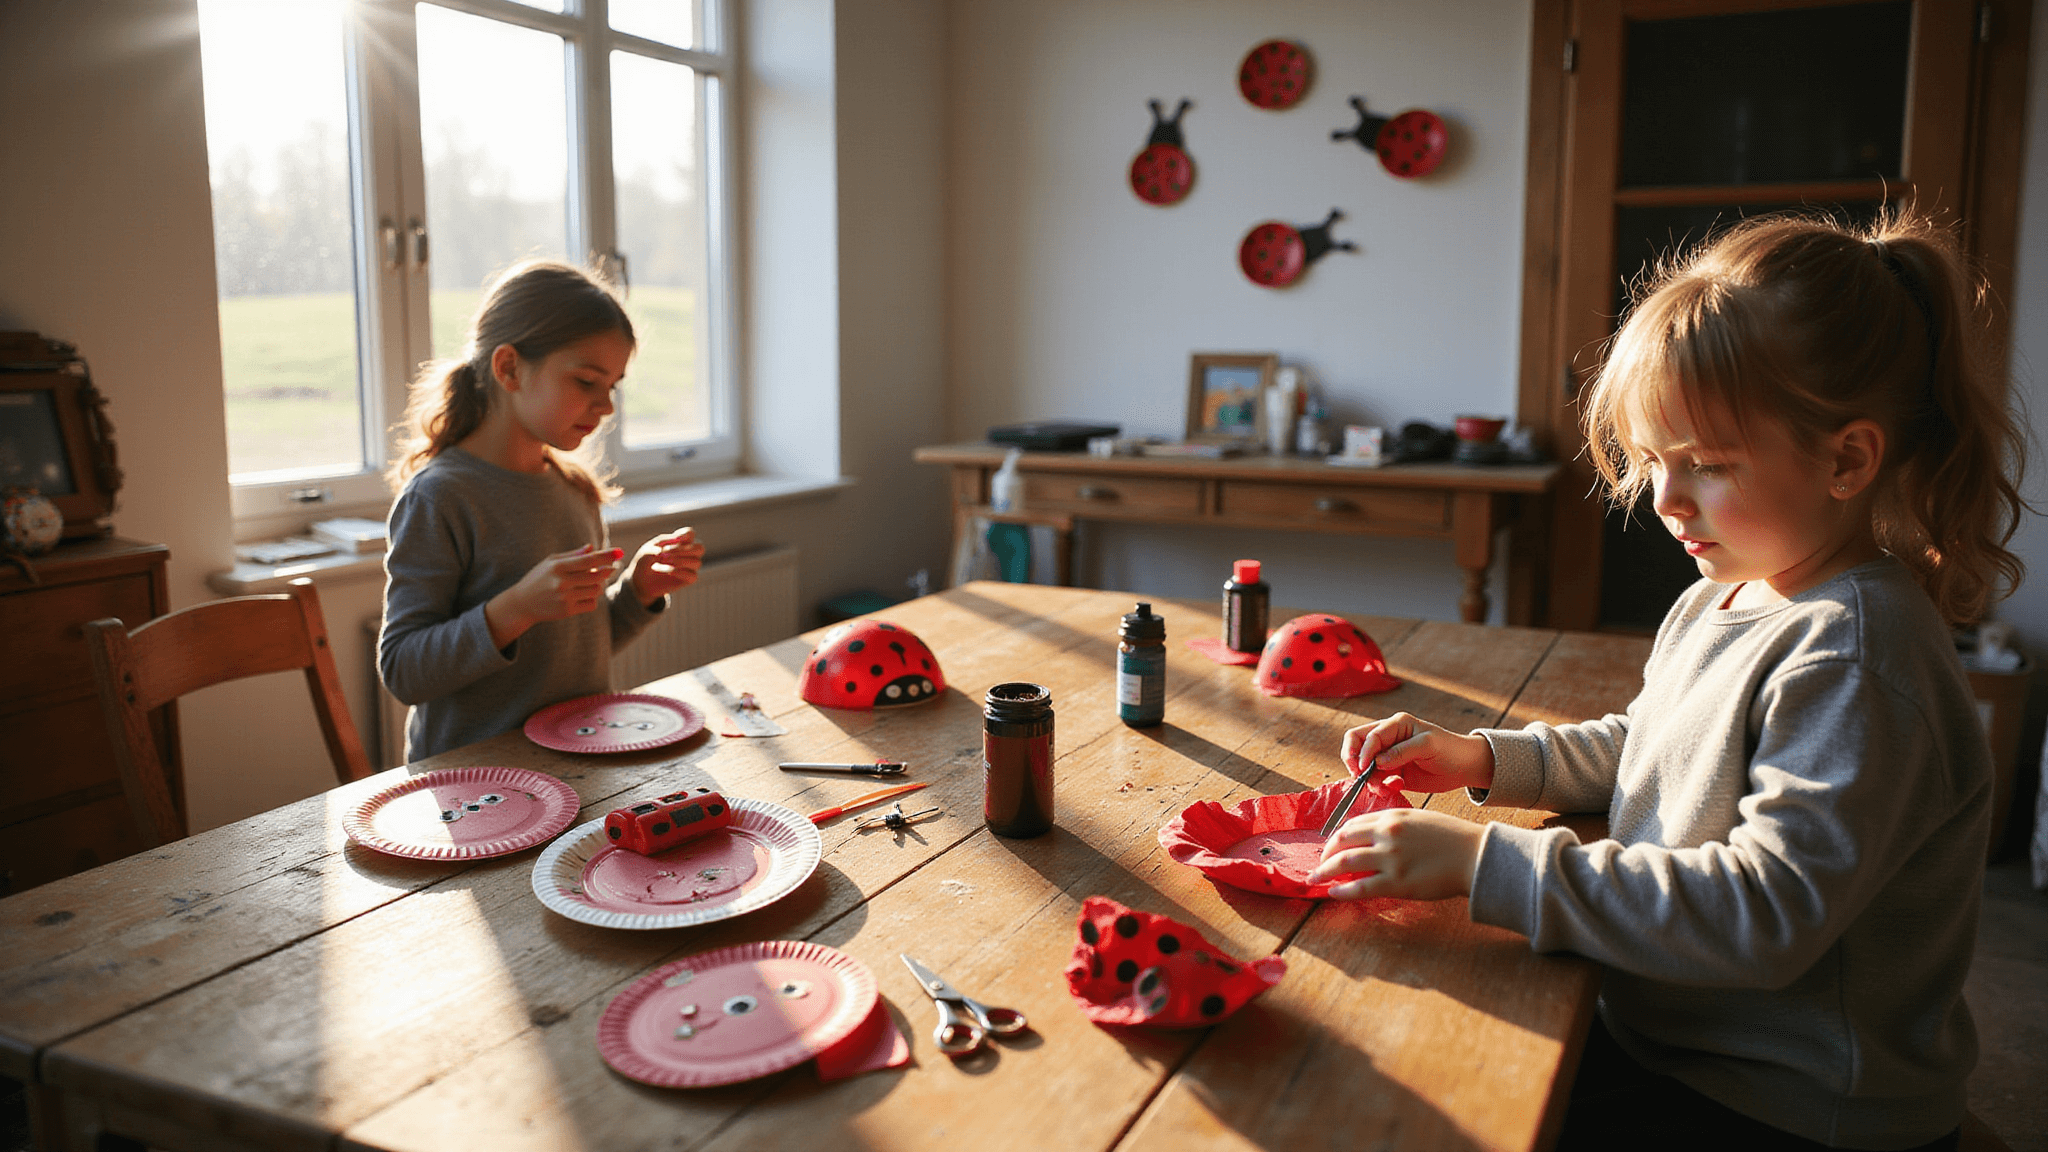
Hey there, fellow craft enthusiasts! Today, we’re diving into the world of ladybug crafts. These cute little critters are perfect for brightening up any space and are a blast to make with kids. I’ve rounded up some of my favorite ladybug craft ideas that are sure to bring a smile to your face. Let’s get crafting!

Paper Plate Ladybug: Easy-Peasy and Kid-Friendly
Who doesn’t love a good paper plate craft? This one’s a classic for a reason, folks!
Here’s what you’ll need:
- Small paper plates
- Red paint (acrylic or finger paint)
- Black construction paper
- Googly eyes
- Scissors and glue
- Black marker or paint for spots
- Pipe cleaners (optional)
Let’s make some ladybugs:
- Paint that plate red! Slather it on and let it dry.
- Cut a semicircle from black paper for the head. Glue it to one edge of the plate.
- Snip six strips of black paper for legs. Stick three on each side under the plate.
- Dot it up! Use a marker or paint to add those iconic ladybug spots.
- Give your bug some peepers with googly eyes and antennae with black paper or pipe cleaners.
Pro tip: For the little ones, pre-cut the pieces. It’ll save you a headache and keep those tiny fingers safe!

3D Construction Paper Ladybug: Taking It Up a Notch
Ready for a ladybug with some dimension? This 3D version is perfect for displaying on a desk or shelf.
Grab these supplies:
- Red and black construction paper
- Glue stick
- Googly eyes
- Scissors
- Black marker
Here’s how to bring your 3D ladybug to life:
- Cut a big red circle for the body. Think saucer-sized.
- Snip eight red strips about 1cm wide.
- Crisscross those strips over the base, gluing the ends so they arch up. Instant 3D effect!
- Add a black semicircle for the head, draw on some spots, and stick on those googly eyes.
- Finish with antennae made from black paper strips.

Egg Carton Ladybug: Upcycling at Its Cutest
Got egg cartons lying around? Turn them into an adorable ladybug army!
Here’s your supply list:
- Egg carton cups
- Red and black paint or markers
- Black pom poms
- Googly eyes
- Black pipe cleaners
- Glue
Let’s get crafting:
- Paint those egg cups red and let ’em dry.
- Add spots with black paint or a marker.
- Glue on a black pom pom for the head and stick on those googly eyes.
- Pop in some pipe cleaner antennae, and voila!
Word to the wise: Keep an eye on the kiddos if you’re using hot glue or working with small parts.

Paper Ladybug with Moving Wings: For the Drama Queens
Who doesn’t love a little movement in their crafts? This ladybug’s got wings that actually flutter!
You’ll need:
- Paper plates
- Red and black construction paper
- Round head fasteners
- Pipe cleaners
- Glue, scissors, marker
Here’s the drill:
- Paint your plate red for the body.
- Cut out wing shapes from paper and attach them to the body with fasteners. Now they move!
- Add legs and antennae with pipe cleaners or paper strips.
- Glue on black spots and eyes for that classic ladybug look.
Tips and Tricks for Ladybug Craft Success
- Mix it up! Try different sizes, patterns, or even sparkly materials for a glam ladybug.
- Go green with your crafting. Use recyclables and scraps whenever you can.
- Adjust for age: Toddlers do great with pre-cut shapes, while older kids can handle more detailed work.
- Safety first! Always supervise the little ones with scissors and small parts.
- Non-toxic materials are a must for young crafters.
Quick Ladybug Craft Inspiration
Stuck for ideas? Here are some quick hits:
- Ladybug wall art using paper plates
- Painted ladybug pebbles for the garden
- Ladybug bookmarks to keep your place
- Cute ladybug greeting cards
- Ladybug masks for pretend play
Remember, Pinterest is your friend for even more ladybug craft inspiration!
Ladybug crafts are the perfect way to spend a rainy afternoon or liven up a classroom. They’re simple enough for kids but can be as detailed as you want for adults. So grab your supplies, unleash your creativity, and let’s make some ladybugs!
Happy crafting, everyone!


