This post may contain affiliate links. Please see my disclosure policy for details.
How to Paint Kitchen Cabinets Like a Pro: A Complete DIY Makeover Guide
Contents
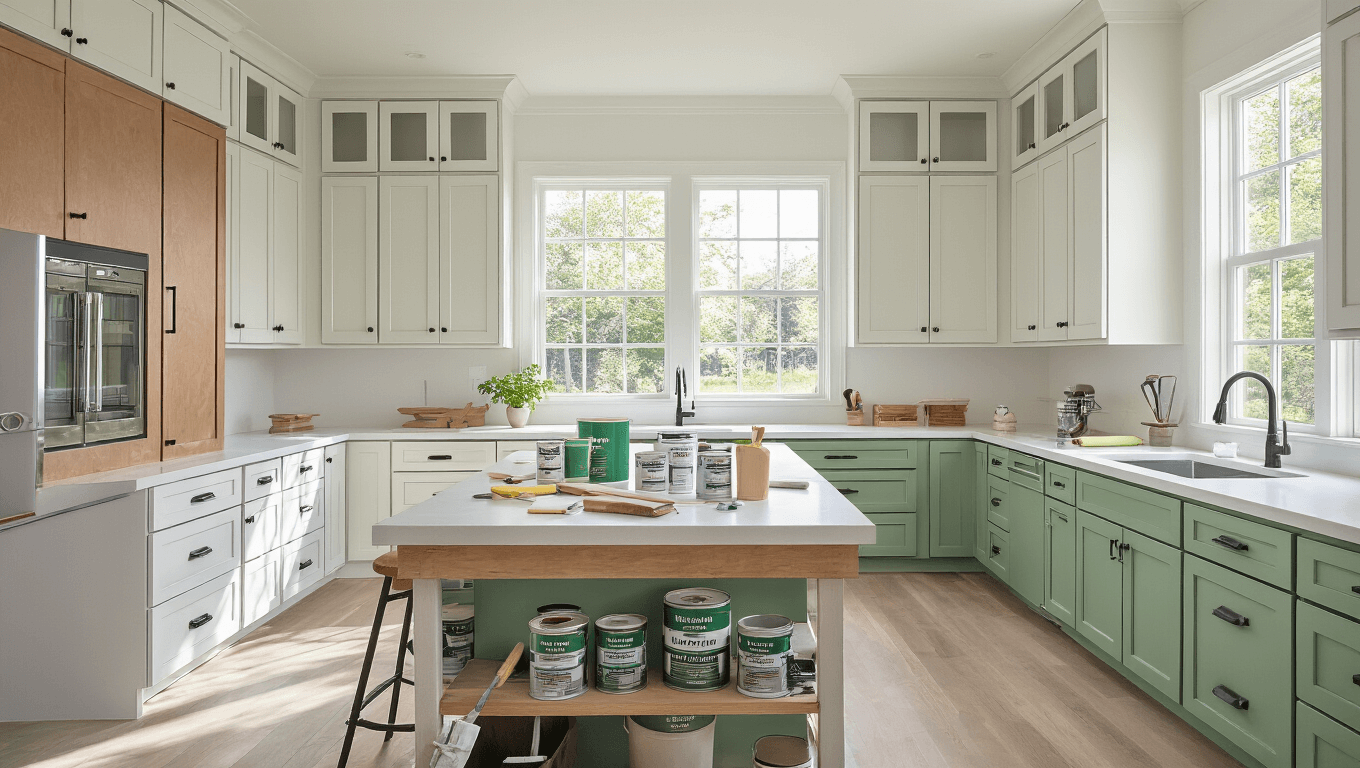
Kitchen cabinet painting can transform your entire space without breaking the bank. This comprehensive guide will walk you through every single step to achieve a professional-looking finish that’ll make your friends think you hired an expensive contractor.
Why Paint Your Kitchen Cabinets?
Let’s be real. Kitchen renovations are crazy expensive. A full cabinet replacement can cost anywhere from $5,000 to $25,000. But painting? You’re looking at just $200-$300 and some serious elbow grease.

What You’ll Need: The Ultimate Supply Checklist
Tools and Materials
- 220-grit sandpaper
- Degreaser
- Quality primer
- Cabinet paint
- Foam rollers
- Angled brushes
- Drop cloths
- Painter’s tape
- Wood filler
- Screwdriver
- Labels/masking tape

The Step-by-Step Process
1. Prep Like a Professional
Preparation is everything. Don’t rush this stage.
- Remove ALL hardware
- Label each cabinet door and drawer
- Clean surfaces thoroughly with heavy-duty degreaser
- Repair any dings or scratches with wood filler
- Sand everything smooth
2. Priming: The Secret Weapon
Pro Tip: A great primer means a flawless finish.
- Choose a bonding primer specific to your cabinet material
- Apply thin, even coats
- Let each coat dry completely
- Sand lightly between primer layers

3. Painting Techniques
Paint Selection Matters
Best Cabinet Paint Options:
- Sherwin-Williams Emerald Urethane
- Benjamin Moore Advance
- BEHR Premium Cabinet & Trim Enamel
Recommended Finishes:
- Satin
- Semi-gloss
- Easier to clean
- More durable
Application Techniques
- Use foam rollers for large flat surfaces
- Utilize angled brushes for detailed areas
- Apply 2-3 thin coats
- Allow complete drying between coats

Common Mistakes to Dodge
❌ DON’T:
- Skip cleaning and sanding
- Use cheap paint
- Apply thick coats
- Rush the process
- Forget proper ventilation

Pro Tips from the Trenches
- Work in natural daylight
- Keep room temperature consistent
- Use drop cloths everywhere
- Wear a respirator during sanding
- Be patient between coats
Estimated Timeline
- Prep work: 1 day
- Priming: 1 day
- Painting: 2 days
- Drying/curing: 2-3 days

Budget Breakdown
- Paint: $50-$100
- Primer: $20-$40
- Supplies: $50-$100
- Total: $120-$240

Final Thoughts
Painting kitchen cabinets isn’t rocket science. It’s about patience, preparation, and technique. Anyone can do this with the right approach.
Your kitchen will look like a million bucks, and you’ll save thousands in the process. Who said home improvement has to be complicated?
Pro Insider Secret: The difference between an amateur and professional job? Preparation and technique. Master those, and you’re golden.


