This post may contain affiliate links. Please see my disclosure policy for details.
The Easiest Friendship Bracelets You Can Make Today
Contents
- The Easiest Friendship Bracelets You Can Make Today
- 1. The “I Can’t Believe It’s This Easy” Cardboard Loom Bracelet
- 2. The “Three’s Company” Simple Braided Bracelet
- 3. The “Sweet as Candy” Stripe Bracelet
- 4. The “Bead-azzled” Bracelet
- 5. The “Twist and Shout” Spiral Staircase Bracelet
- 6. The “V for Victory” Chevron Bracelet
- Some Golden Rules for Bracelet Bliss:
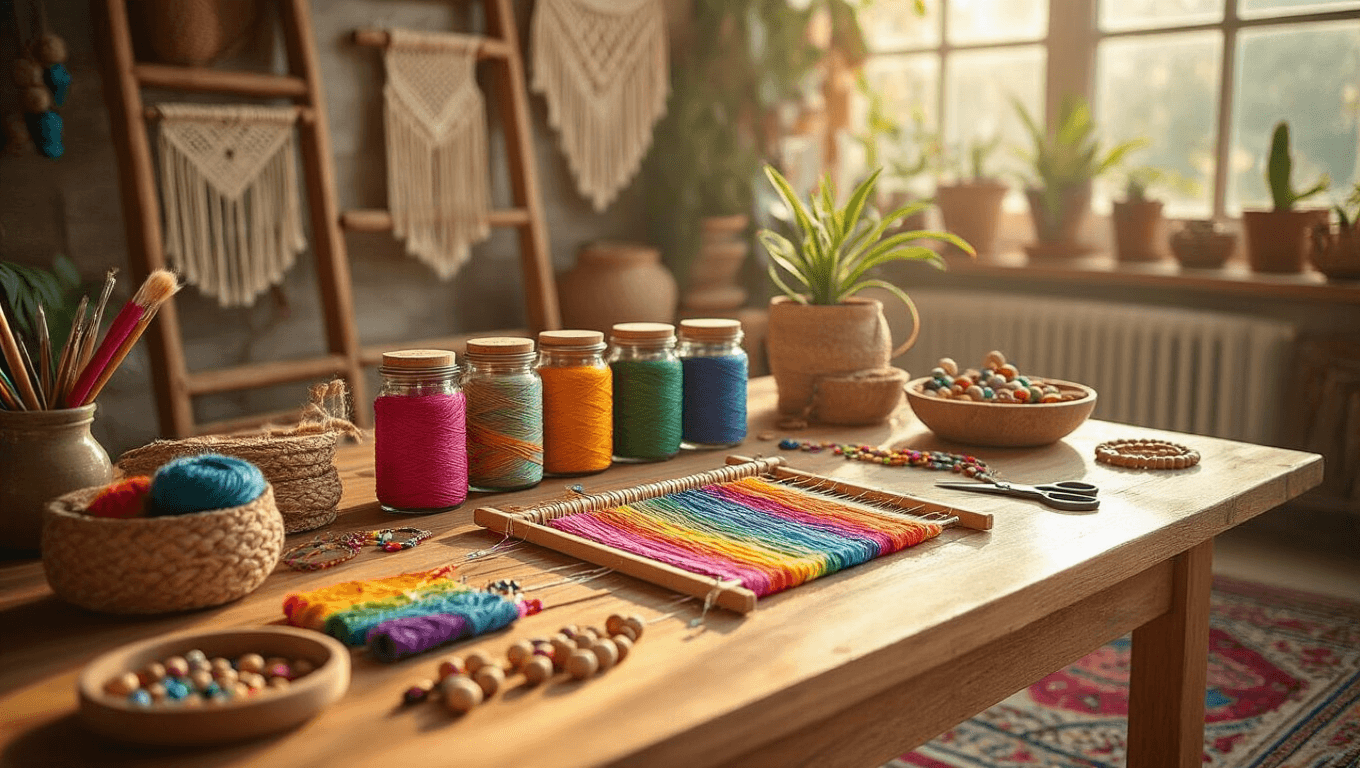
Hey there, crafty friends! Ready to dive into the colorful world of friendship bracelets? I’ve got some super simple ideas that’ll have you churning out armfuls of these fun accessories in no time. Trust me, I’ve made about a gazillion of these over the years, and these are the absolute easiest to start with. Let’s get those creative juices flowing!
1. The “I Can’t Believe It’s This Easy” Cardboard Loom Bracelet

Alright, picture this: you, a piece of cardboard, and some colorful threads. Sounds like the start of a crafting joke, right? But nope, it’s actually the recipe for a stunning bracelet!
Here’s what you’ll need:
- 7 threads (about 50 cm each – better too long than too short!)
- A piece of cardboard
- Scissors (the sharper, the better)
Now, let’s make some magic:
- Cut your cardboard into a circle. Think pizza, but way less tasty.
- Cut 8 slots around the edge, like you’re making a sun drawing.
- Tie your threads together and pull them through the center.
- Here’s where it gets fun – move the third thread to the left of the empty slot into that slot.
- Give your cardboard a spin and repeat. Before you know it, you’ll have a braid forming!
Pro tip: Want to level up? Create a loop at one end and add a bead or button to the other for a fancy closure. Ooh la la!
2. The “Three’s Company” Simple Braided Bracelet

Remember when you learned to braid hair? Well, this is basically the same thing, but for your wrist!
Grab these:
- 3 or 5 threads of embroidery floss
- Scissors
Let’s do this:
- Tie your threads together at one end.
- Separate them equally (like you’re rationing chocolate).
- Start braiding! Left over middle, right over middle, repeat until you reach your desired length.
- Knot it off and voila! You’re a bracelet-making machine!
Want to mix it up? Try using more strands for a chunkier look, or throw in a contrasting color for some pizzazz!
3. The “Sweet as Candy” Stripe Bracelet

This one’s a bit fancier, but don’t let that scare you off. It’s still easier than trying to eat just one potato chip!
You’ll need:
- 4-8 threads (go wild with colors!)
- Scissors
- Tape or a clipboard (to keep things from getting messy)
Let’s make it happen:
- Tie your threads together and secure them to a surface. (No, not your cat. Use the tape or clipboard!)
- Here’s the fun part: make forward knots from left to right. It’s like you’re building tiny diagonal staircases!
- Keep going until you’ve got a bracelet-worthy length.
Remember: Each knot is actually two half-hitches. It’s like a double-decker bus of knots!
4. The “Bead-azzled” Bracelet

This one’s so easy, it almost feels like cheating. But hey, who’s keeping score?
Round up these goodies:
- Thread or cord
- Pony beads (the more colorful, the better!)
- Scissors
Time to shine:
- String those beads onto the center of your cord. Go crazy with patterns!
- Now you’ve got options: braid the ends, knot them up, or just tie them together.
- Boom! You’re done faster than you can say “friendship bracelet.”
Want to get fancy? Use letter beads to spell out names or secret messages. It’s like wearable texting!
5. The “Twist and Shout” Spiral Staircase Bracelet
This one looks way more complicated than it is. It’s our little secret!
Gather up:
- 2 or more threads
Here’s the twist:
- Hold all but one thread together.
- Use that lone wolf thread to tie knots around the bundle.
- After a few knots, shift things around a bit for that cool spiral effect.
Pro tip: This style is super adjustable. Add beads for extra bling, or use it as an adjustable closure for other bracelets. Multi-tasking at its finest!
6. The “V for Victory” Chevron Bracelet
Okay, this one might take a couple of tries to get right. But once you’ve got it, you’ll feel like a bracelet-making superhero!
Here’s what you need:
- At least 4 threads, arranged in a mirrored color order
Let’s zigzag:
- Use forward knots from the left side.
- Use backward knots from the right side.
- Meet in the middle to form that cool ‘V’ pattern.
It looks way more complicated than it is. Trust me, after a few attempts, you’ll be churning these out like a pro!
Some Golden Rules for Bracelet Bliss:
- Always cut your threads longer than you think you need. Nothing’s worse than running out of thread right at the end!
- If you’re working with kids (or you’re just clumsy like me), use thicker yarn or colorful plastic cord. It’s easier to handle and harder to tangle.
- Embroidery floss is the classic choice, but don’t be afraid to experiment with different materials.
- To finish your masterpiece, you can tie a knot, add a button, or braid the ends for


