This post may contain affiliate links. Please see my disclosure policy for details.
Hey there, fellow Halloween enthusiasts!
Contents
Ready to cast a spell on your costume this year? I’ve got a treat for you – no tricks, I promise! We’re diving into the world of DIY Halloween hats, and trust me, it’s easier than pulling a rabbit out of a hat. Whether you’re a crafting newbie or a seasoned pro, I’ve got something for everyone.

Let’s start with the quick and easy paper witch hat – perfect for last-minute parties or when you’ve got a coven of kids to entertain. Then, we’ll level up to a fabric version that’ll make you the star of any Halloween bash. So grab your crafting cauldron, and let’s brew up some magic!
🎨 Steal This Look
- Paint Color: Sherwin-Williams Tricorn Black SW 6258
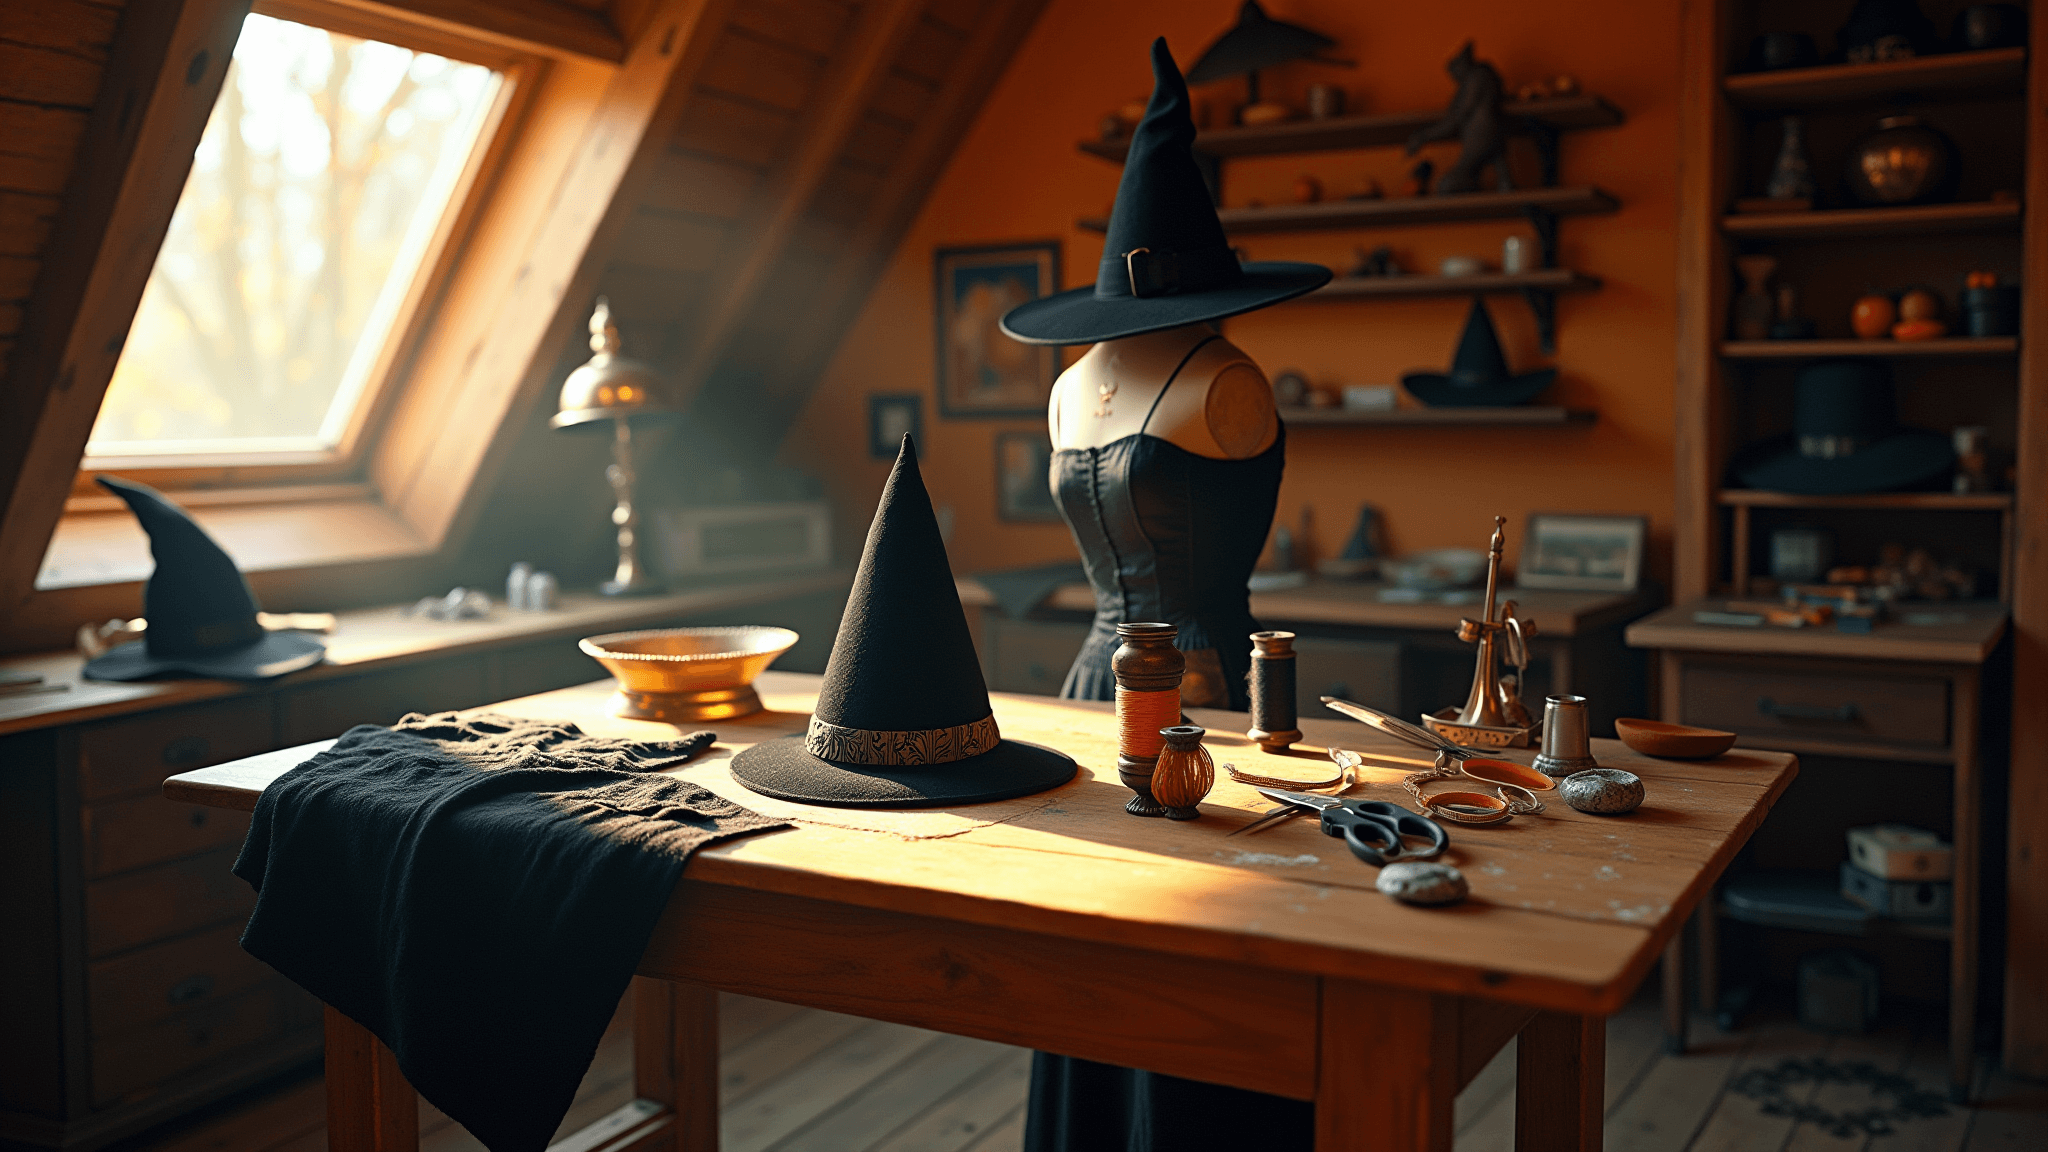
- Furniture: vintage apothecary cabinet with small drawers for organizing ribbons, feathers, and embellishments
- Lighting: industrial gooseneck desk lamp with warm LED bulb for detailed handwork
- Materials: raw-edge burlap, matte black cardstock, distressed velvet ribbon, antique brass findings
There’s something deeply satisfying about a craft room that feels like a secret workshop—where every tool has its place and the walls themselves seem to whisper encouragement for your next creation.
🌊 Get The Look
Paper Witch Hat: The 30-Minute Marvel
This little beauty is my go-to for classroom parties or when I’m feeling crafty but short on time.
Here’s what you’ll need:
- 2 sheets of black construction paper (or any dark color you fancy)
- A strip of purple paper for pizzazz
- A smidge of yellow for that classic witch hat buckle
- Scissors, glue, and a pencil
- A plate for tracing (optional, but handy)

Now, let’s make some magic:
- Create the Brim: Grab a sheet of black paper and trace a big circle. Cut it out, then snip a smaller circle in the center – think donut shape. This is your brim, witches!
- Cone Time: Roll your second sheet into a cone shape. It should fit snugly through your brim’s center hole. Secure with glue or tape, and trim the bottom so it stands tall and proud.
- Put It All Together: Slide that cone through your brim and glue it in place. Voila! You’ve got the basic shape down.
- Deck It Out: Wrap a purple paper strip around the cone for a snazzy band. Cut a tiny yellow square, fold it, snip out the center – instant buckle! Glue it to your purple band for that classic witch vibe.
- Final Touches: Let it dry, then go wild with decorations! Stickers, glitter, paper stars – the sky’s the limit.
Pro Tip: For a sturdier brim, glue your black paper to some thin cardboard before cutting. Your hat will stand up to even the wildest Halloween shenanigans!
🏠 Steal This Look
- Paint Color: Benjamin Moore Black Beauty 2128-10
- Furniture: small round craft table with built-in supply caddies, stackable clear plastic storage bins for paper and embellishments
- Lighting: adjustable-arm LED desk lamp with daylight color temperature for accurate color matching while crafting
- Materials: matte black cardstock, metallic purple foil paper, textured kraft paper backdrop, glass mason jars for tool organization
There’s something deeply satisfying about a craft that delivers big visual impact without the supply closet raid—this paper hat project reminds me that the best Halloween moments often come from the simplest materials, not the most expensive kit from the big box store.
Fabric Witch Hat: The Costume-Grade Stunner
Ready to level up? This fabric version is perfect for those who want a hat that’ll last beyond the stroke of midnight.
Here’s your spell book of supplies:
- Fabric (velvet or felt work wonders)
- Lining or interfacing for structure
- Thread and needle (or a sewing machine if you’re fancy)
- Scissors, ruler, and measuring tape
- Pins and fabric chalk

Let’s stitch some sorcery:
- Pattern Magic: Cut a large fabric circle with a smaller circle in the center for your brim. For the cone, cut a tall triangle with a curved bottom.
- Add Some Backbone: Use stiff fabric or add interfacing for structure. Pin layers together and zigzag stitch the edges.
- Cone Construction: Fold your triangle, right sides together, and sew along the long edge. Turn it right side out – presto, you’ve got a cone!
- Bring It All Together: Pin and sew the cone’s base to your brim opening. Take your time here – slow and steady wins the race.
- Decorate and Dazzle: Add trims, ribbons, or a crooked tip for extra witchy flair. Iron on patches or hot glue some sparkly bits if you’re feeling fancy.
🏠 Steal This Look
- Paint Color: Farrow & Ball Hague Blue 30
- Furniture: tufted velvet settee in deep emerald or plum
- Lighting: antique brass pharmacy floor lamp with amber glass shade
- Materials: heavyweight velvet, horsehair canvas interfacing, aged brass grommets, waxed linen thread
This is the project for the maker who secretly wants to wear their creation to a midnight dinner party, not just trick-or-treating—there’s something deeply satisfying about cutting into velvet that costs more per yard than your first apartment’s rent.
Styling Your Spellbinding Creation
For paper hats, think fun party photos or classroom crafts. Fabric hats? Perfect for adult costumes or as a statement piece you’ll use year after year.

Pair your hat with:
- A matching cape for full witch vibes
- Striped tights for a whimsical touch
- A broomstick prop to complete the look
Remember, your hat is your canvas! Go bright and neon for a modern twist, or stick to classic black for timeless appeal.
🏠 Steal This Look
- Paint Color: use Behr brand. Match the ACTUAL wall color in the image. Format: Behr Black Mocha N140-7
- Furniture: vintage apothecary cabinet with glass-front drawers for storing costume accessories
- Lighting: black iron candelabra chandelier with flickering LED taper candles
- Materials: velvet upholstery, aged brass hardware, distressed wood, mercury glass accents
There’s something deeply satisfying about walking into a room where your own handiwork takes center stage—this is the space where your creative effort becomes part of your home’s seasonal rhythm, not just a costume tossed in a bin.
Wrapping Up Our Witchy Workshop
There you have it, folks – two bewitching hat options to make your Halloween extra special. Whether you’re crafting with kids or creating a showstopping costume, these DIY hats are sure to cast a spell on everyone who sees them. So grab your supplies, let your creativity flow, and get ready to be the talk of the Halloween town!
Happy crafting, and may your Halloween be wickedly wonderful!


