This post may contain affiliate links. Please see my disclosure policy for details.
Why Red and Gold Always Win at Christmas Decorating
Contents
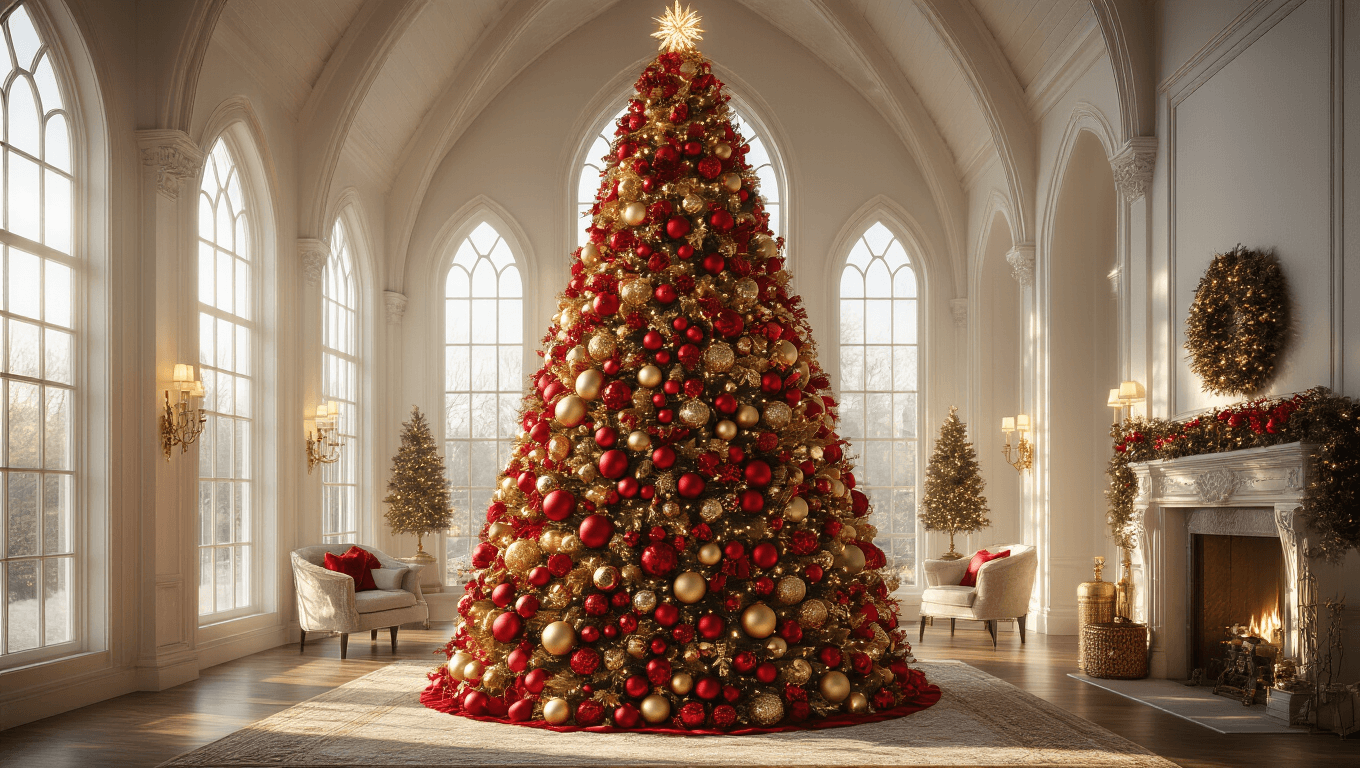
Christmas decorating can feel overwhelming, but red and gold never fail to create magic. These colors whisper classic elegance while screaming festive cheer. I’ve decorated dozens of trees, and this color combination remains my absolute go-to for creating that magazine-worthy holiday look.

The Magic of Red and Gold: Breaking Down the Perfect Palette
Why This Color Combo Works
- Rich, warm tones that complement each other perfectly
- Signals traditional holiday spirit
- Works in modern and classic spaces
- Creates instant visual drama and sophistication

🎨 Steal This Look
- Paint Color: Sherwin-Williams Alabaster SW 7008
- Furniture: Tufted velvet Chesterfield sofa in deep burgundy, paired with a distressed gold-leaf accent coffee table with antiqued mirror top
- Lighting: Crystal chandelier with warm brass candle-style arms and dimmable LED filaments
- Materials: Plush velvet, antiqued gold leaf, burnished brass, seeded glass, and rich mahogany wood tones
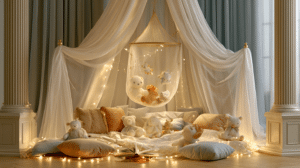
There’s something deeply comforting about this combination that takes me straight back to my grandmother’s living room, where the tree seemed to glow from within.
Essential Tools for Your Red and Gold Christmas Tree
Must-Have Decorating Supplies
- Assorted red ornaments (matte, glossy, glittery)
- Gold baubles in multiple sizes
- Wired ribbon (preferably in red or gold)
- String lights
- Tree topper (star or angel recommended)
Budget-Friendly Pro Tips
- Mix high-end and budget ornaments
- Shop post-holiday sales for discounts
- Use metallic spray paint to transform cheaper ornaments
- Thrift stores are treasure troves for unique finds

🌟 Steal This Look
- Paint Color: Benjamin Moore Chantilly Lace OC-65
- Furniture: slim-profile artificial Christmas tree with dense needle tips for ornament support
- Lighting: warm white LED string lights with gold wire
- Materials: velvet ribbon, mercury glass, antique gold filigree, deep crimson flocking
There’s something deeply satisfying about unboxing treasured ornaments each year—this is the room where memory meets ritual, where every piece tells a story worth displaying.
Step-by-Step Styling Strategy
Layer Like a Pro
- Start with lights (warm white recommended)
- Add ribbon cascading down tree branches
- Hang largest ornaments first
- Fill gaps with medium and small baubles
- Finish with delicate picks and special accent pieces
Pro Decorator Secret: Create depth by tucking ornaments partially into branches, not just hanging on edges.

✎ Steal This Look
- Paint Color: Farrow & Ball Pointing 2003
- Furniture: ornate carved wood console table with marble top for displaying wrapped gifts beneath tree
- Lighting: crystal chandelier with warm dimmable bulbs and brass candle-style arms
- Materials: velvet ribbon, mercury glass, aged brass wire, hand-blown glass, raw silk tree skirt
There’s something deeply satisfying about the ritual of building a tree layer by layer—it’s where patience transforms into that gasp-worthy moment when the lights first illuminate your finished work.
Common Styling Mistakes to Avoid
- Overcrowding tree branches
- Using only one ornament size
- Forgetting about texture variety
- Ignoring overall color balance
Alternative Style Twists
- Incorporate burgundy for deeper tone
- Add champagne metallics for extra sophistication
- Mix in white for winter wonderland feel
- Use copper accents for rustic charm

🖼 Steal This Look
- Paint Color: use Valspar brand. Match the ACTUAL wall color in the image. Format: Valspar ColorName CODE
- Furniture: velvet Chesterfield sofa in deep burgundy, antique brass side tables, distressed wood console table
- Lighting: crystal chandelier with warm dimmable LED candles, copper pendant lights with Edison bulbs
- Materials: burgundy velvet, brushed champagne gold leaf, aged copper patina, white faux fur, mercury glass
This is where your Christmas tree becomes unmistakably yours—maybe you inherited your grandmother’s copper cookie cutters or found a single perfect champagne ornament in Paris.
Photography and Social Media Tips
Quick Camera Settings
- Use soft, diffused lighting
- Avoid harsh shadows
- Focus on tree’s depth and ornament layers

💡 Steal This Look
- Paint Color: use PPG brand. Match the ACTUAL wall color in the image. Format: PPG White Linen PPG1025-1
- Furniture: low-profile velvet settee in deep burgundy positioned adjacent to the tree as a secondary focal point
- Lighting: adjustable LED track lighting with warm 2700K bulbs aimed at 45-degree angles to eliminate glare on metallic ornaments
- Materials: matte plaster walls, polished brass picture frames, raw silk drapery panels in ochre
There’s something almost meditative about capturing a tree you’ve spent hours perfecting—those layered crimson ribbons catching light just so, the gold finial catching a glint that makes the whole room feel like a held breath.
Budget Breakdown
- Budget Option: $50-$150
- Mid-Range: $150-$300
- Luxury Styling: $300-$500+
Remember: Beautiful doesn’t mean expensive. Creativity matters more than price tag.

🖼 Steal This Look
- Paint Color: Dunn-Edwards Whisper DEW341
- Furniture: existing living room sofa and side chairs, no new furniture needed
- Lighting: warm white LED string lights you already own, layered with thrifted brass candlesticks
- Materials: crimson velvet ribbon remnants, metallic gold spray paint on pinecones, recycled glass ornaments from estate sales
Some of my most complimented trees came from years when my budget was tight—those constraints forced me to get creative with ribbon weaving and handmade garlands that guests still ask about.
Final Thoughts
Red and gold aren’t just colors—they’re a holiday mood, a tradition, a feeling of warmth and connection. Whether you’re going ultra-traditional or modern minimalist, this palette offers endless possibilities.
Your tree tells a story. Make it beautiful, make it yours.